ID |
Date |
Author |
Subject |
|
262
|
Wed Feb 23 21:27:29 2022 |
TD, CN | check |
Motor position ok
Data rate: 1030kbytes/s
T ok
System wide check ok
plots uploaded
|
| Attachment 1: Screenshot_from_2022-02-23_22-29-36.png
|

|
| Attachment 2: Screenshot_from_2022-02-23_22-30-24.png
|

|
| Attachment 3: Screenshot_from_2022-02-23_22-33-23.png
|

|
| Attachment 4: Screenshot_from_2022-02-23_22-36-57.png
|

|
| Attachment 5: Screenshot_from_2022-02-23_22-37-22.png
|

|
| Attachment 6: Screenshot_from_2022-02-23_22-39-50.png
|

|
| Attachment 7: Screenshot_from_2022-02-23_22-41-08.png
|
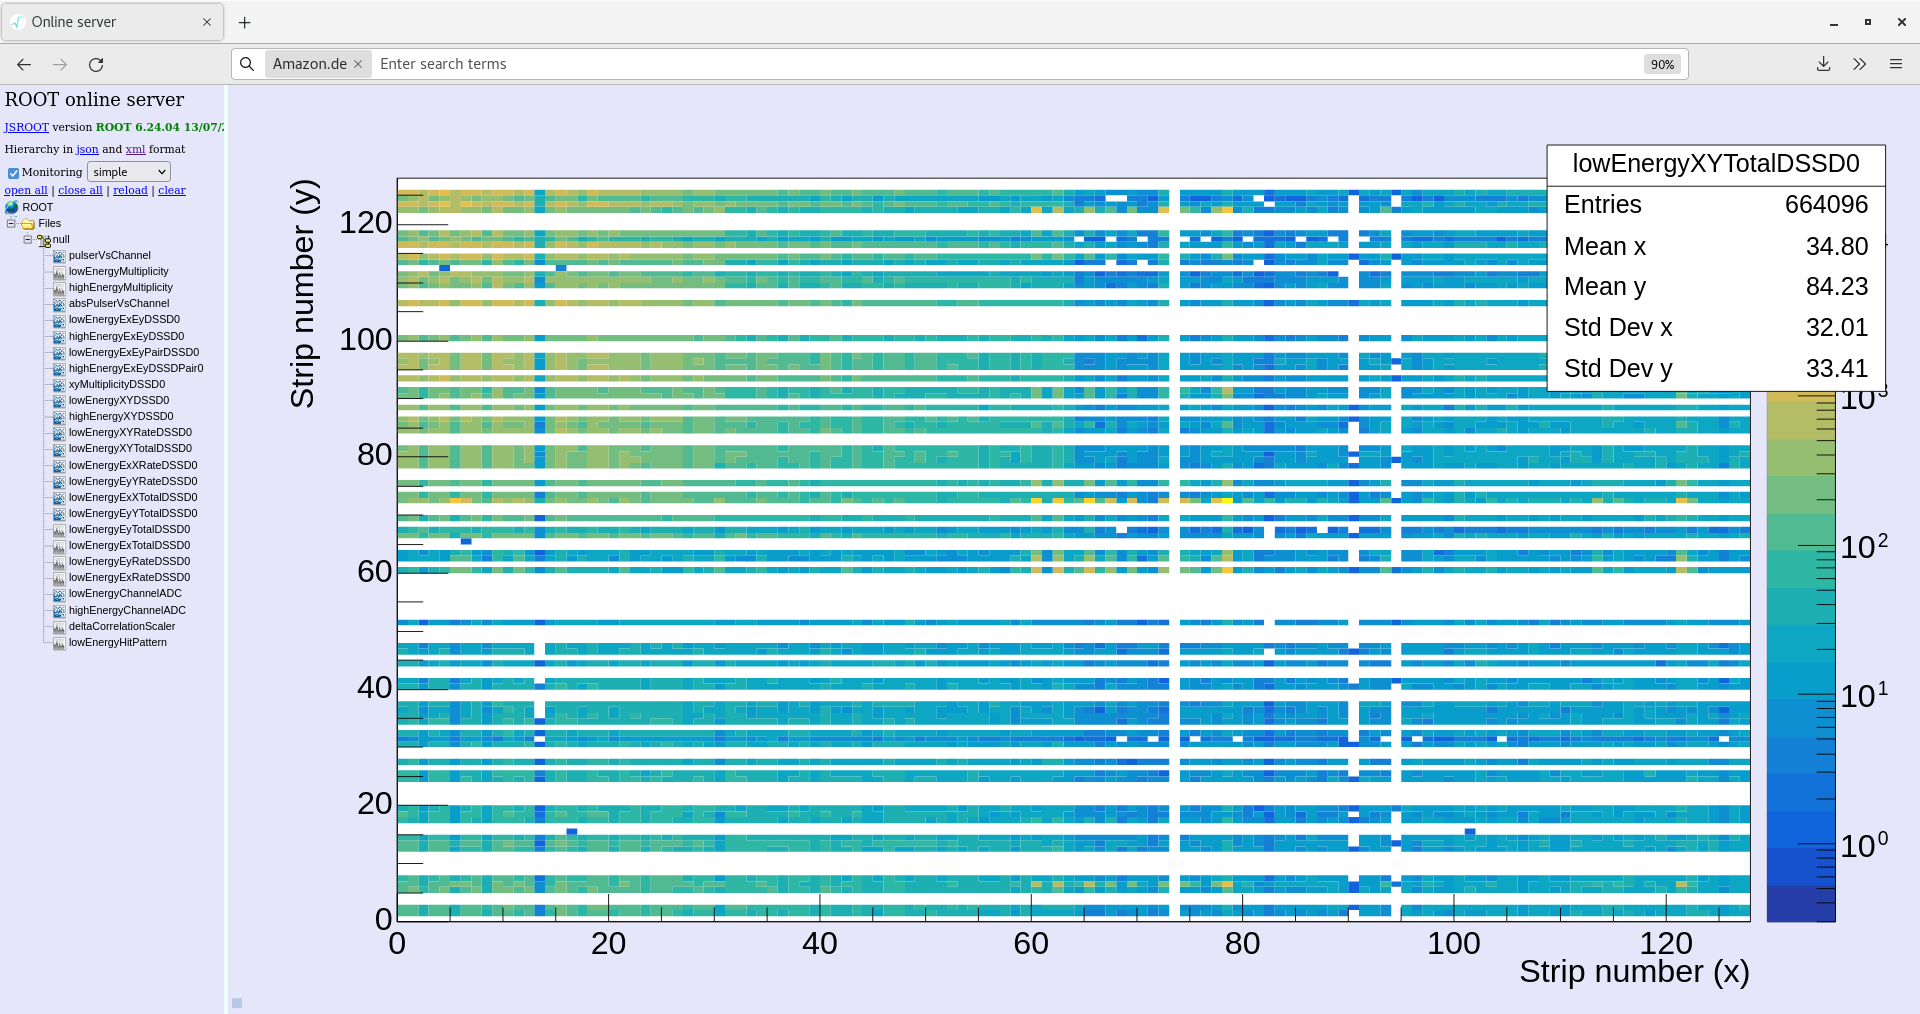
|
| Attachment 8: Screenshot_from_2022-02-23_22-42-51.png
|
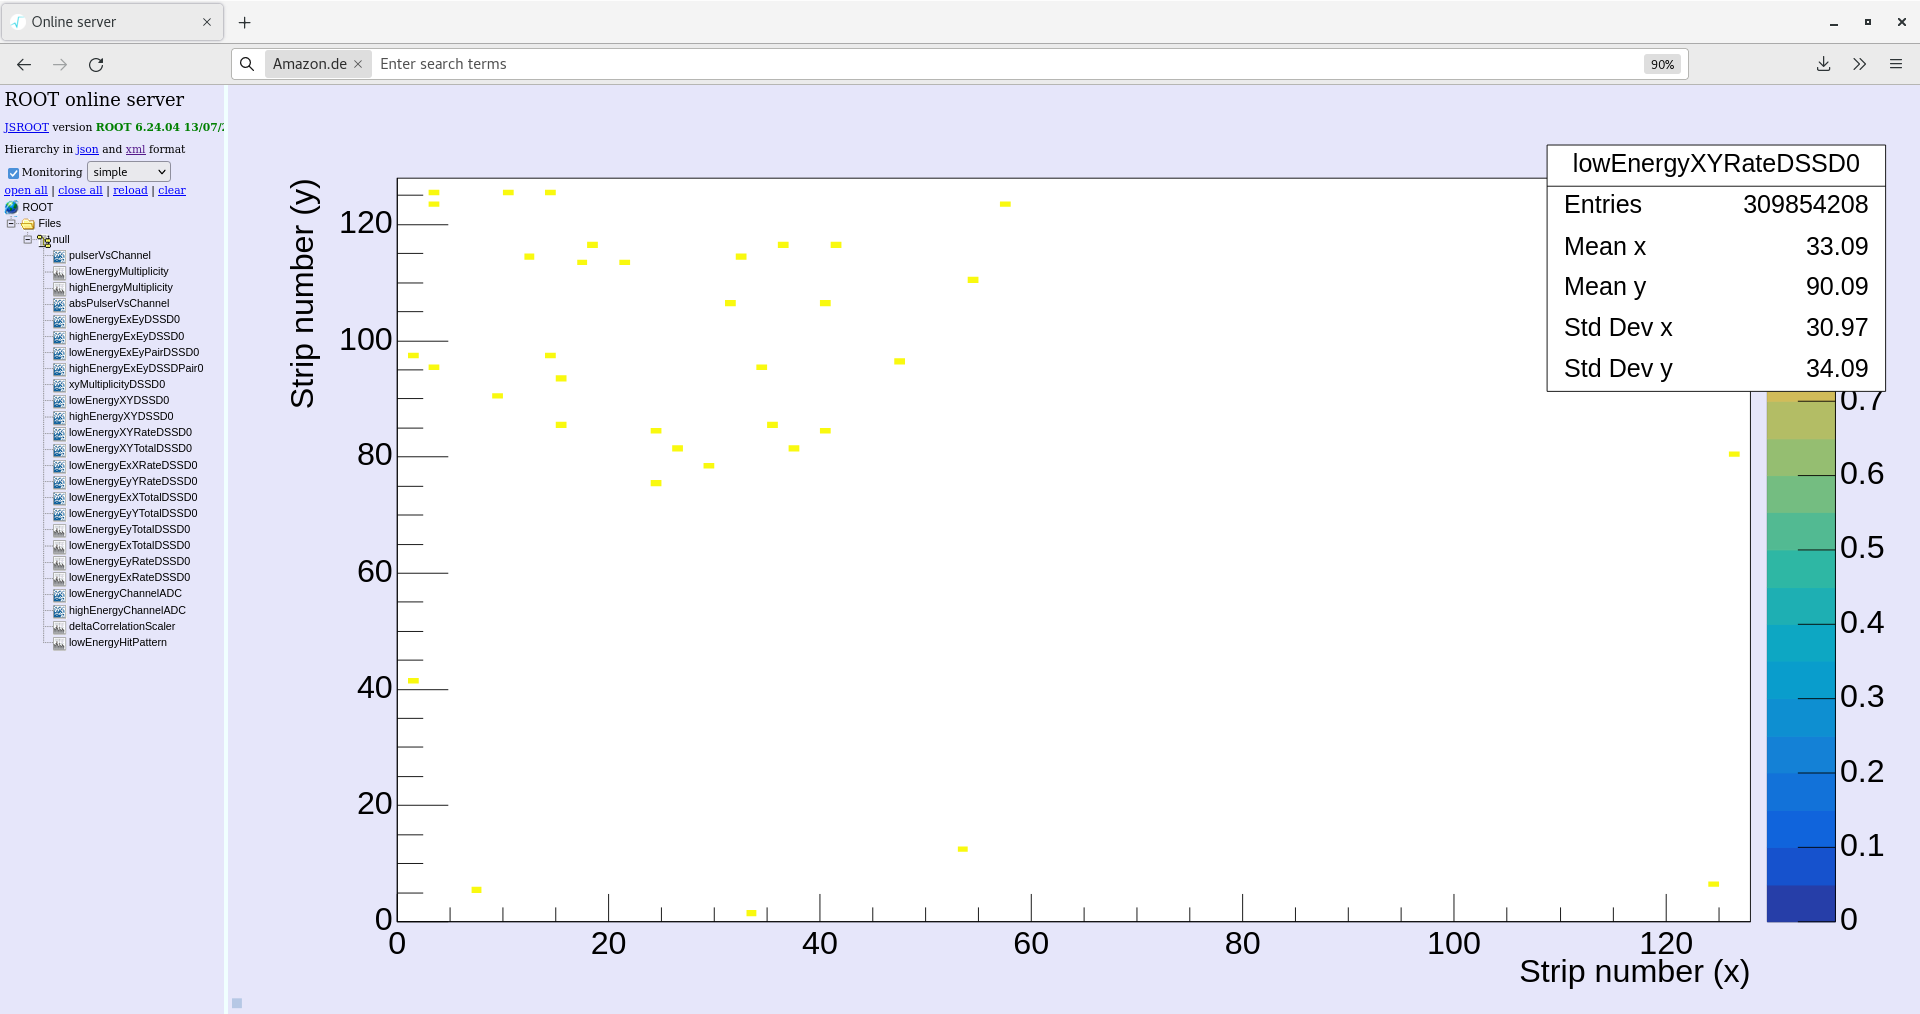
|
| Attachment 9: Screenshot_from_2022-02-23_22-43-16.png
|

|
| Attachment 10: Screenshot_from_2022-02-23_22-43-39.png
|

|
| Attachment 11: Screenshot_from_2022-02-23_22-46-52.png
|

|
|
261
|
Wed Feb 23 20:52:56 2022 |
CN, TD | System wide checks |
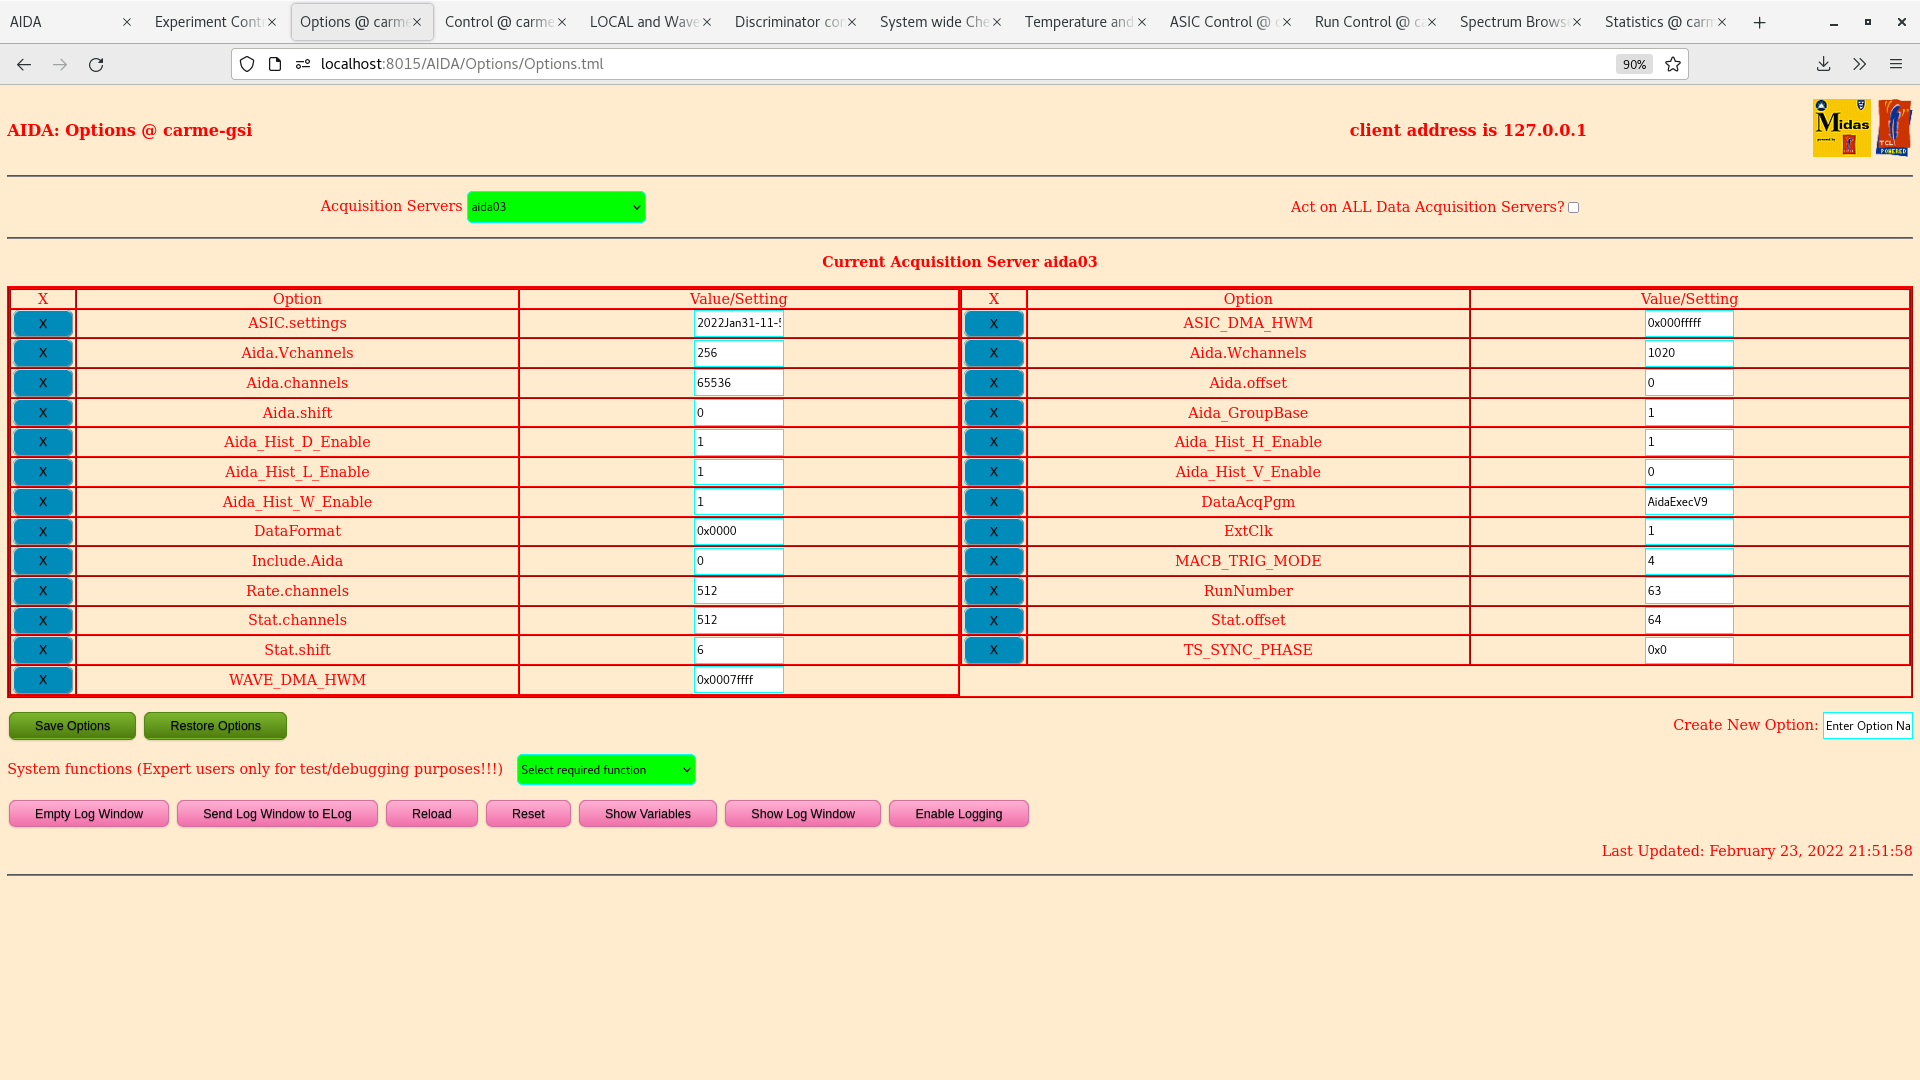
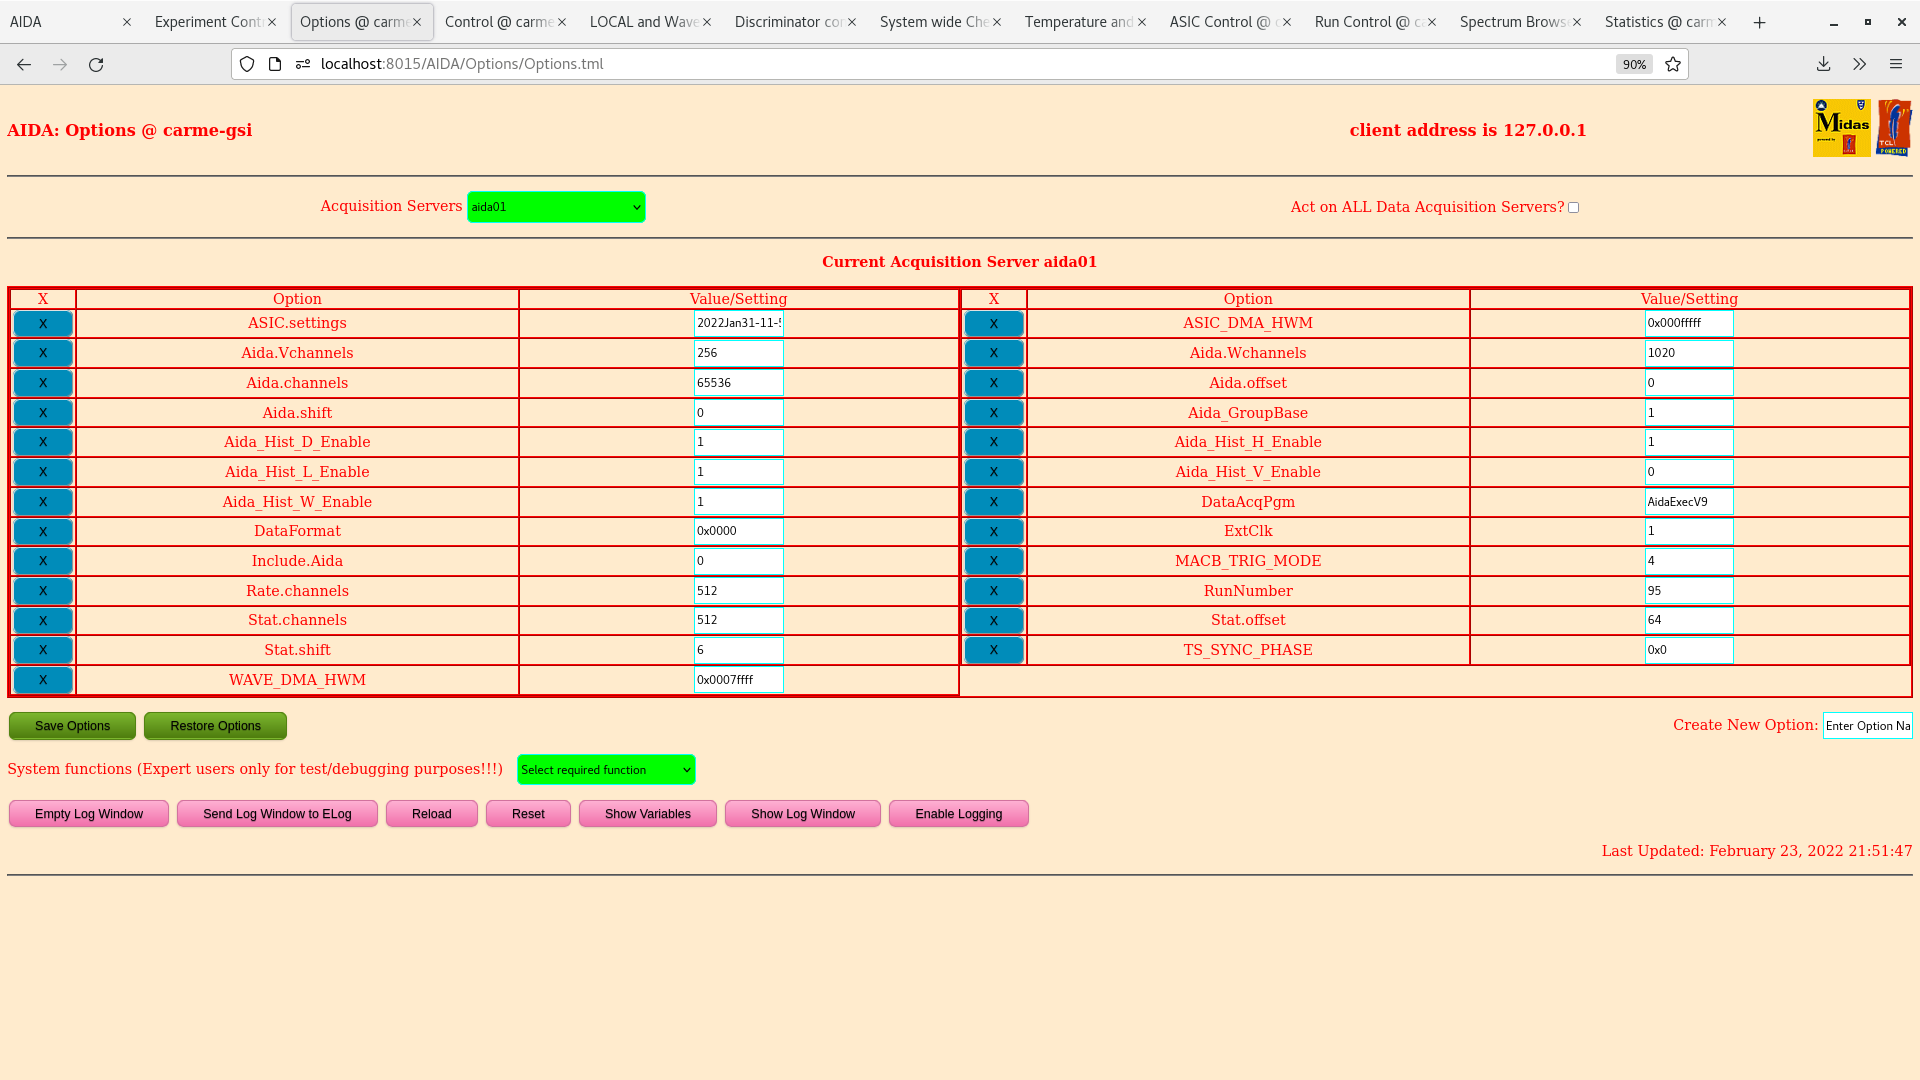
Attachments 1-5 aida01-aida05 options

System wide checks

Attachment 6 - changes to options files - differences reported but none observed (attachments 1-5)

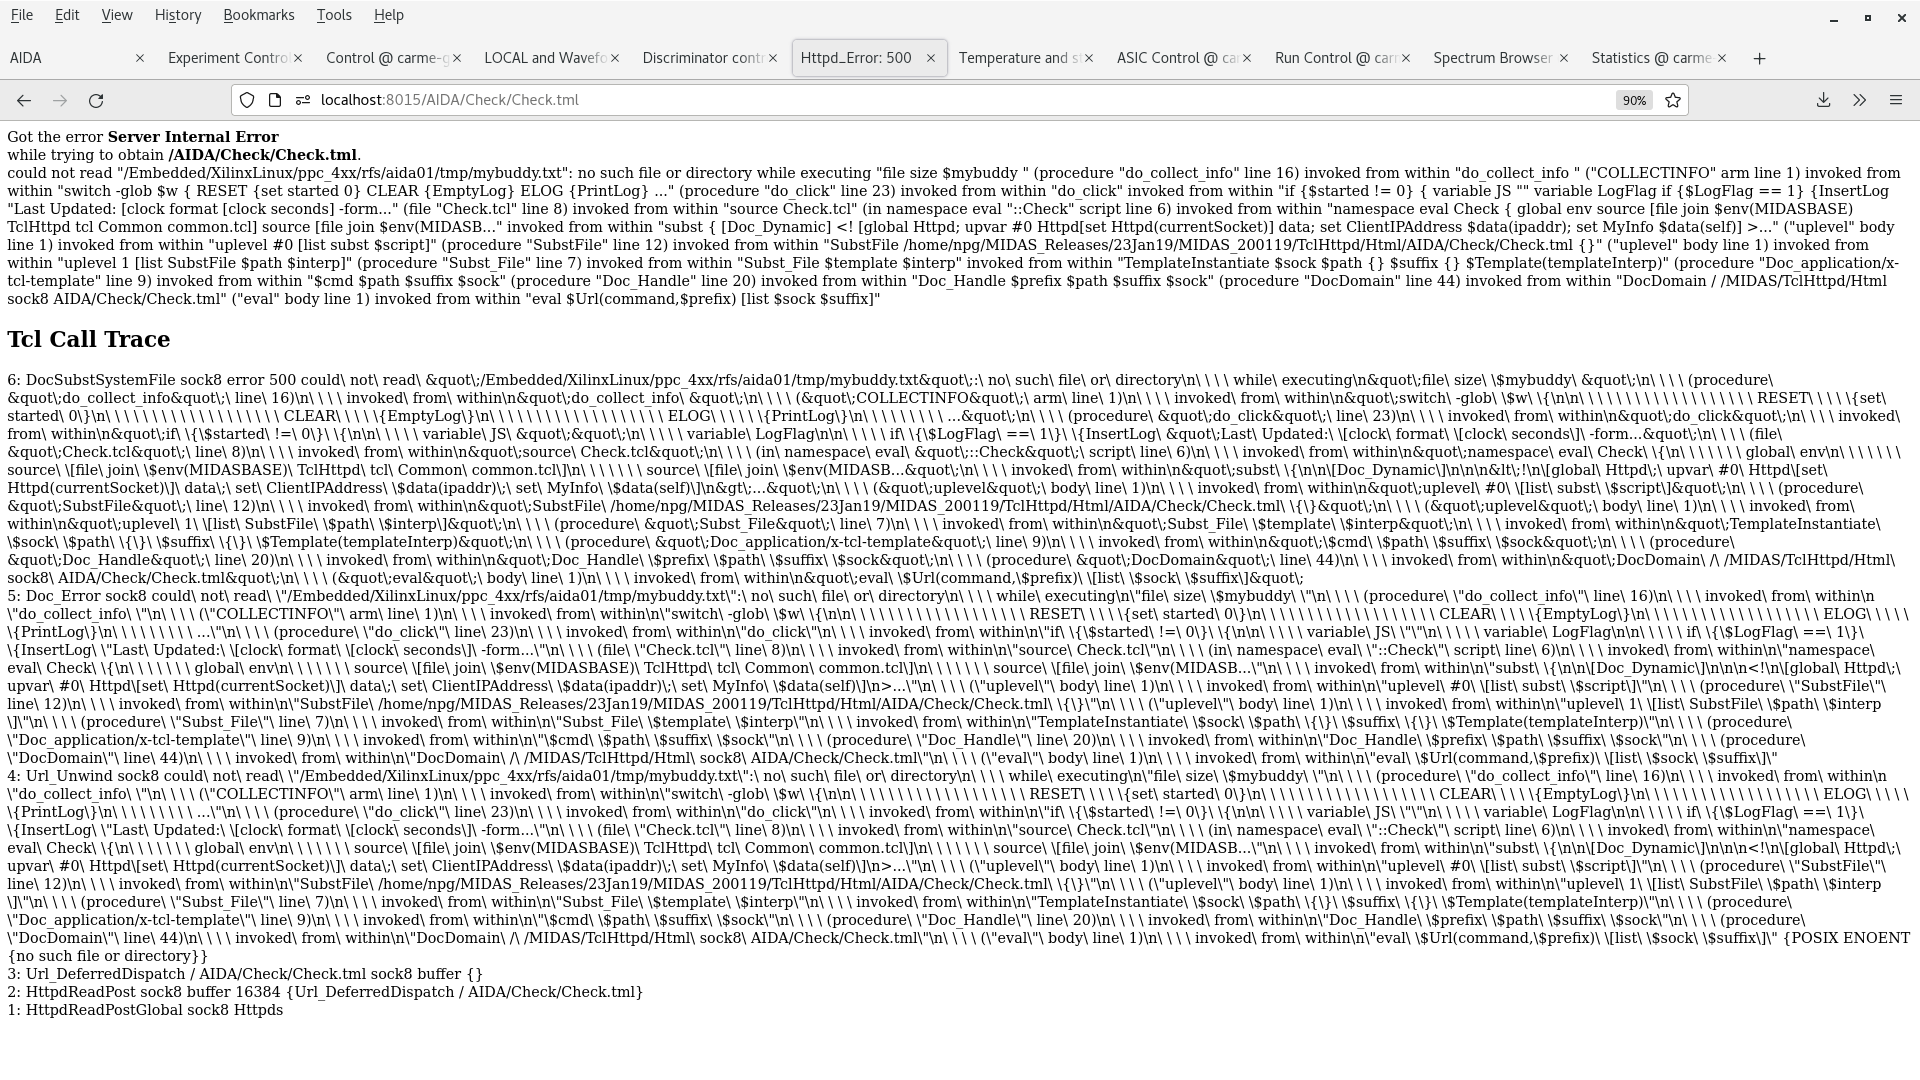
Attachment 7 - collect memory info from FEE64 Linux

Attachment 8 - collect FPGA timestamp errors

Attachment 9 - WR decoder status

Attachment 10 - ADC calibration

Attachment 11 - Clock status |
| Attachment 1: Screenshot_from_2022-02-23_21-52-10.png
|

|
| Attachment 2: Screenshot_from_2022-02-23_21-52-05.png
|

|
| Attachment 3: Screenshot_from_2022-02-23_21-52-00.png
|
|
| Attachment 4: Screenshot_from_2022-02-23_21-51-55.png
|

|
| Attachment 5: Screenshot_from_2022-02-23_21-51-50.png
|
|
| Attachment 6: Screenshot_from_2022-02-23_21-51-35.png
|

|
| Attachment 7: Screenshot_from_2022-02-23_21-51-20.png
|
|
| Attachment 8: Screenshot_from_2022-02-23_21-51-08.png
|

|
| Attachment 9: Screenshot_from_2022-02-23_21-51-02.png
|

|
| Attachment 10: Screenshot_from_2022-02-23_21-50-56.png
|

|
| Attachment 11: Screenshot_from_2022-02-23_21-50-49.png
|

|
|
260
|
Wed Feb 23 20:06:43 2022 |
TD CN | E141 kinematics |
Assuming DSSSD is 1000um thick we can expect to observe protons for E_lab=11MeV as follows

14N(d,p)15N(gs)   E_p=5.4MeV
14N(d,p)15N(5.3) E_p=8.0MeV |
| Attachment 1: E141_kinematics.txt
|
________________________________________________________________________________
Reaction: 14N(2H,1H)15N
A: 14 2 1 15
Z: 7 1 1 7
Mass(amu): 14.003074 2.014102 1.007825 15.000109
Error(keV): 0.001 0.000 0.000 0.001
Origin:
Status:
Q = 8.6087 +/- 0.0000 MeV
________________________________________________________________________________
Enter reaction: 14n(2h,4he)
________________________________________________________________________________
Reaction: 14N(2H,4He)12C
A: 14 2 4 12
Z: 7 1 2 6
Mass(amu): 14.003074 2.014102 4.002603 12.000000
Error(keV): 0.001 0.000 0.000 0.000
Origin:
Status:
Q = 13.5742 +/- 0.0000 MeV
________________________________________________________________________________
Medium: si
density: 2.33000 g/cm**3
Molecule:
1 atom(s) of charge: 14.0 mass: 28.0860 amu
Average ionization potential: 0.172253E-03 MeV
Electron density: 0.699429 *10**24/cm**3
Average charge: 14.0000
Ion: 1h
charge: 1.0 mass: 1.0000 amu
Energy(MeV) dE/dx(MeV/mm) dE/dx(MeV.cm**2/mg) Range(mm) Range(mg/cm**2)
1.00000 41.7638 0.179244 0.168683E-01 3.93032
2.00000 26.4413 0.113482 0.479716E-01 11.1774
3.00000 19.8139 0.850383E-01 0.920942E-01 21.4580
4.00000 16.0296 0.687967E-01 0.148410 34.5796
5.00000 13.5554 0.581779E-01 0.216350 50.4095
6.00000 11.7994 0.506413E-01 0.295737 68.9066
7.00000 10.4828 0.449906E-01 0.385601 89.8451
8.00000 9.69841 0.416241E-01 0.486197 113.284
9.00000 8.85218 0.379922E-01 0.594047 138.413
10.0000 8.15487 0.349994E-01 0.712066 165.911
11.0000 7.56942 0.324868E-01 0.839325 195.563
12.0000 7.07026 0.303445E-01 0.976032 227.415
13.0000 6.63918 0.284943E-01 1.12211 261.451
14.0000 6.26279 0.268789E-01 1.27739 297.632
15.0000 5.93105 0.254552E-01 1.44140 335.846
16.0000 5.63627 0.241900E-01 1.61476 376.239
17.0000 5.37246 0.230577E-01 1.79614 418.501
18.0000 5.13484 0.220380E-01 1.98680 462.925
19.0000 4.91963 0.211143E-01 2.18570 509.269
20.0000 4.72370 0.202734E-01 2.39308 557.587
Medium: si
density: 2.33000 g/cm**3
Molecule:
1 atom(s) of charge: 14.0 mass: 28.0860 amu
Average ionization potential: 0.172253E-03 MeV
Electron density: 0.699429 *10**24/cm**3
Average charge: 14.0000
Ion: 4he
charge: 2.0 mass: 4.0000 amu
Energy(MeV) dE/dx(MeV/mm) dE/dx(MeV.cm**2/mg) Range(mm) Range(mg/cm**2)
1.00000 257.862 1.10670 0.382916E-02 0.892195
2.00000 217.610 0.933946 0.970542E-02 2.26136
3.00000 184.248 0.790762 0.147204E-01 3.42986
4.00000 159.425 0.684229 0.205680E-01 4.79233
5.00000 140.613 0.603489 0.272616E-01 6.35195
6.00000 125.944 0.540534 0.347858E-01 8.10510
7.00000 114.206 0.490155 0.431299E-01 10.0493
8.00000 104.603 0.448940 0.522753E-01 12.1802
9.00000 96.5996 0.414591 0.622123E-01 14.4955
10.0000 89.8241 0.385511 0.729664E-01 17.0012
11.0000 84.0110 0.360562 0.844573E-01 19.6786
12.0000 78.9663 0.338911 0.967262E-01 22.5372
13.0000 74.5447 0.319934 0.109668 25.5527
14.0000 70.6356 0.303157 0.123440 28.7614
15.0000 67.1531 0.288211 0.137756 32.0971
16.0000 64.0297 0.274806 0.152904 35.6267
17.0000 61.2114 0.262710 0.168794 39.3289
18.0000 58.6547 0.251737 0.185593 43.2431
19.0000 56.3239 0.241733 0.202664 47.2208
20.0000 54.1897 0.232574 0.220839 51.4555
______________________________________________________________________________________________________________________________
Reaction: 14N(2H,2H)14N
A: 14 2 2 14
Z: 7 1 1 7
Mass(amu): 14.003074 2.014102 2.014102 14.003074
Error(keV): 0.001 0.000 0.000 0.001
Origin:
Status:
Q(gs): 0.0000 +/- 0.0001 MeV
Projectile lab energy: 11.000 MeV
CM energy: 9.614 MeV
Excitation energy: 0.000 MeV
Reaction Q-value: 0.000 MeV
Reaction threshold: 0.000 MeV
Particle 3 Particle 4 Non-relativistic Jacobians
( scattered/ejectile ) ( recoil ) Ejectile Ejectile
Ejectile Recoil dOmega/ dOmega/
Lab CM Lab Lab Lab dOmega Lab CM Lab Lab Lab dOmega dOmega dOmega Recoil Recoil
Angle Angle Energy Beta ToF Lab/CM Angle Angle Energy Beta ToF Lab/CM Lab/CM Lab/CM dOmega dOmega
(deg) (deg) (MeV) (ns/cm) ratio (deg) (deg) (MeV) (ns/cm) ratio Lab/Lab CM/Lab
0.00 0.00 11.000 0.1078 0.309 0.0000 NaN 180.00 0.000 NaN NaN NaN 0.0000 NaN NaN NaN
10.00 11.44 10.952 0.1076 0.310 0.7665 84.28 168.56 0.048 0.0027 12.281 2.5089 0.7665 2.5084 0.3056 0.3987
20.00 22.83 10.810 0.1069 0.312 0.7758 78.58 157.17 0.190 0.0054 6.183 1.2631 0.7758 1.2628 0.6144 0.7919
30.00 34.14 10.582 0.1058 0.315 0.7915 72.93 145.86 0.418 0.0080 4.169 0.8516 0.7915 0.8515 0.9295 1.1744
40.00 45.33 10.281 0.1043 0.320 0.8134 67.33 134.67 0.719 0.0105 3.176 0.6488 0.8134 0.6487 1.2539 1.5416
50.00 56.36 9.920 0.1024 0.326 0.8416 61.82 123.64 1.080 0.0129 2.592 0.5294 0.8415 0.5294 1.5897 1.8891
60.00 67.19 9.517 0.1003 0.332 0.8758 56.40 112.81 1.483 0.0151 2.212 0.4518 0.8757 0.4518 1.9384 2.2135
70.00 77.80 9.089 0.0981 0.340 0.9158 51.10 102.20 1.911 0.0171 1.949 0.3981 0.9157 0.3980 2.3005 2.5123
80.00 88.18 8.654 0.0957 0.348 0.9610 45.91 91.82 2.346 0.0190 1.759 0.3593 0.9609 0.3593 2.6748 2.7835
90.00 98.31 8.228 0.0933 0.357 1.0107 40.84 81.69 2.772 0.0206 1.618 0.3305 1.0106 0.3304 3.0584 3.0263
100.00 108.18 7.822 0.0910 0.366 1.0636 35.91 71.82 3.178 0.0221 1.511 0.3086 1.0635 0.3086 3.4459 3.2402
110.00 117.80 7.448 0.0888 0.375 1.1181 31.10 62.20 3.552 0.0233 1.430 0.2919 1.1181 0.2919 3.8300 3.4256
120.00 127.18 7.113 0.0868 0.384 1.1724 26.41 52.82 3.887 0.0244 1.367 0.2791 1.1724 0.2791 4.2008 3.5832
130.00 136.35 6.825 0.0851 0.392 1.2242 21.82 43.65 4.175 0.0253 1.319 0.2693 1.2242 0.2693 4.5465 3.7140
140.00 145.33 6.585 0.0836 0.399 1.2711 17.34 34.67 4.415 0.0260 1.282 0.2619 1.2711 0.2619 4.8542 3.8189
150.00 154.14 6.398 0.0824 0.405 1.3107 12.93 25.86 4.602 0.0266 1.256 0.2565 1.3107 0.2565 5.1107 3.8993
160.00 162.83 6.263 0.0815 0.409 1.3408 8.58 17.17 4.737 0.0269 1.238 0.2528 1.3408 0.2528 5.3039 3.9559
170.00 171.44 6.182 0.0810 0.412 1.3596 4.28 8.56 4.818 0.0272 1.228 0.2507 1.3596 0.2507 5.4241 3.9896
180.00 180.00 6.155 0.0808 0.413 0.0000 0.00 0.00 4.845 0.0272 1.224 0.0000 0.0000 0.0000 5.4649 *******
______________________________________________________________________________________________________________________________
Reaction: 14N(2H,2H)14N
A: 14 2 2 14
Z: 7 1 1 7
Mass(amu): 14.003074 2.014102 2.014102 14.003074
Error(keV): 0.001 0.000 0.000 0.001
Origin:
Status:
Q(gs): 0.0000 +/- 0.0001 MeV
Projectile lab energy: 3.000 MeV
CM energy: 2.623 MeV
Excitation energy: 0.000 MeV
Reaction Q-value: 0.000 MeV
Reaction threshold: 0.000 MeV
Particle 3 Particle 4 Non-relativistic Jacobians
( scattered/ejectile ) ( recoil ) Ejectile Ejectile
Ejectile Recoil dOmega/ dOmega/
Lab CM Lab Lab Lab dOmega Lab CM Lab Lab Lab dOmega dOmega dOmega Recoil Recoil
Angle Angle Energy Beta ToF Lab/CM Angle Angle Energy Beta ToF Lab/CM Lab/CM Lab/CM dOmega dOmega
(deg) (deg) (MeV) (ns/cm) ratio (deg) (deg) (MeV) (ns/cm) ratio Lab/Lab CM/Lab
0.00 0.00 3.000 0.0565 0.591 0.0000 NaN 180.00 0.000 0.0000 Inf NaN 0.0000 NaN NaN NaN
10.00 11.43 2.987 0.0564 0.592 0.7672 84.28 168.57 0.013 0.0014 23.541 2.5099 0.7672 2.5098 0.3057 0.3984
20.00 22.82 2.948 0.0560 0.596 0.7765 78.59 157.18 0.052 0.0028 11.851 1.2636 0.7765 1.2635 0.6146 0.7915
30.00 34.13 2.886 0.0554 0.602 0.7921 72.93 145.87 0.114 0.0042 7.991 0.8519 0.7921 0.8519 0.9298 1.1738
40.00 45.31 2.804 0.0546 0.611 0.8139 67.34 134.69 0.196 0.0055 6.087 0.6490 0.8139 0.6490 1.2541 1.5408
50.00 56.33 2.706 0.0537 0.622 0.8420 61.83 123.67 0.294 0.0067 4.967 0.5296 0.8420 0.5296 1.5899 1.8882
60.00 67.16 2.596 0.0526 0.635 0.8761 56.42 112.84 0.404 0.0079 4.239 0.4520 0.8761 0.4520 1.9384 2.2126
70.00 77.78 2.480 0.0514 0.649 0.9160 51.11 102.22 0.520 0.0089 3.735 0.3982 0.9160 0.3982 2.3003 2.5113
80.00 88.15 2.361 0.0501 0.665 0.9611 45.92 91.85 0.639 0.0099 3.371 0.3594 0.9610 0.3594 2.6742 2.7826
90.00 98.28 2.245 0.0489 0.682 1.0106 40.86 81.72 0.755 0.0108 3.100 0.3305 1.0105 0.3305 3.0572 3.0254
100.00 108.15 2.135 0.0477 0.700 1.0633 35.92 71.85 0.865 0.0115 2.896 0.3087 1.0632 0.3087 3.4442 3.2393
110.00 117.78 2.033 0.0465 0.717 1.1177 31.11 62.22 0.967 0.0122 2.739 0.2920 1.1176 0.2920 3.8277 3.4248
120.00 127.16 1.941 0.0455 0.734 1.1718 26.42 52.84 1.059 0.0127 2.618 0.2791 1.1717 0.2791 4.1977 3.5824
130.00 136.33 1.863 0.0445 0.749 1.2234 21.83 43.67 1.137 0.0132 2.526 0.2693 1.2234 0.2693 4.5427 3.7132
140.00 145.31 1.797 0.0437 0.763 1.2701 17.34 34.69 1.203 0.0136 2.457 0.2619 1.2701 0.2619 4.8497 3.8183
150.00 154.13 1.746 0.0431 0.774 1.3096 12.94 25.87 1.254 0.0139 2.406 0.2565 1.3096 0.2565 5.1056 3.8987
160.00 162.82 1.710 0.0427 0.782 1.3396 8.59 17.18 1.290 0.0141 2.372 0.2528 1.3396 0.2528 5.2984 3.9553
170.00 171.43 1.688 0.0424 0.787 1.3583 4.28 8.57 1.312 0.0142 2.352 0.2507 1.3583 0.2507 5.4183 3.9890
180.00 NaN 1.680 0.0423 0.789 NaN 0.00 NaN 1.320 0.0142 2.345 NaN NaN NaN NaN NaN
______________________________________________________________________________________________________________________________
______________________________________________________________________________________________________________________________
Reaction: 14N(2H,1H)15N
A: 14 2 1 15
Z: 7 1 1 7
Mass(amu): 14.003074 2.014102 1.007825 15.000109
Error(keV): 0.001 0.000 0.000 0.001
Origin:
Status:
Q(gs): 8.6087 +/- 0.0001 MeV
Projectile lab energy: 11.000 MeV
CM energy: 9.614 MeV
Excitation energy: 0.000 MeV
Reaction Q-value: 8.609 MeV
Reaction threshold: 0.000 MeV
Particle 3 Particle 4 Non-relativistic Jacobians
( scattered/ejectile ) ( recoil ) Ejectile Ejectile
Ejectile Recoil dOmega/ dOmega/
Lab CM Lab Lab Lab dOmega Lab CM Lab Lab Lab dOmega dOmega dOmega Recoil Recoil
Angle Angle Energy Beta ToF Lab/CM Angle Angle Energy Beta ToF Lab/CM Lab/CM Lab/CM dOmega dOmega
(deg) (deg) (MeV) (ns/cm) ratio (deg) (deg) (MeV) (ns/cm) ratio Lab/Lab CM/Lab
0.00 0.00 19.605 0.2012 0.166 0.0000 0.00 180.00 0.004 0.0008 43.955 0.0000 0.0000 0.0000 NaN NaN
10.00 10.72 19.562 0.2010 0.166 0.8712 67.67 169.28 0.047 0.0026 12.887 -4.9755 0.8712 -4.9759 -0.1751 -0.2010
20.00 21.42 19.435 0.2004 0.166 0.8767 70.68 158.58 0.173 0.0050 6.697 0.2448 0.8767 0.2446 3.5841 4.0882
30.00 32.08 19.231 0.1994 0.167 0.8858 68.27 147.92 0.378 0.0074 4.534 0.5498 0.8858 0.5496 1.6117 1.8195
40.00 42.67 18.956 0.1980 0.168 0.8984 64.47 137.33 0.653 0.0097 3.451 0.5224 0.8984 0.5223 1.7199 1.9144
50.00 53.18 18.623 0.1963 0.170 0.9143 60.13 126.82 0.986 0.0119 2.808 0.4645 0.9142 0.4644 1.9686 2.1533
60.00 63.60 18.244 0.1943 0.172 0.9331 55.55 116.40 1.365 0.0140 2.387 0.4130 0.9330 0.4129 2.2595 2.4218
70.00 73.90 17.834 0.1922 0.174 0.9544 50.86 106.10 1.775 0.0159 2.093 0.3717 0.9543 0.3717 2.5676 2.6905
80.00 84.09 17.406 0.1899 0.176 0.9778 46.13 95.91 2.202 0.0178 1.879 0.3393 0.9777 0.3393 2.8820 2.9477
90.00 94.15 16.977 0.1876 0.178 1.0027 41.39 85.85 2.632 0.0194 1.719 0.3138 1.0026 0.3138 3.1954 3.1870
100.00 104.09 16.558 0.1854 0.180 1.0284 36.67 75.91 3.051 0.0209 1.596 0.2937 1.0283 0.2937 3.5015 3.4050
110.00 113.90 16.161 0.1832 0.182 1.0541 31.98 66.10 3.447 0.0222 1.502 0.2778 1.0540 0.2778 3.7938 3.5995
120.00 123.59 15.798 0.1812 0.184 1.0789 27.32 56.41 3.810 0.0233 1.429 0.2653 1.0788 0.2653 4.0660 3.7690
130.00 133.18 15.477 0.1794 0.186 1.1019 22.70 46.82 4.131 0.0243 1.372 0.2556 1.1018 0.2556 4.3114 3.9129
140.00 142.67 15.206 0.1778 0.188 1.1222 18.11 37.33 4.403 0.0251 1.329 0.2481 1.1222 0.2481 4.5233 4.0308
150.00 152.07 14.989 0.1766 0.189 1.1391 13.55 27.93 4.620 0.0257 1.297 0.2426 1.1390 0.2426 4.6955 4.1224
160.00 161.42 14.831 0.1757 0.190 1.1516 9.02 18.58 4.777 0.0261 1.276 0.2388 1.1516 0.2388 4.8228 4.1878
170.00 170.72 14.736 0.1751 0.190 1.1594 4.51 9.28 4.873 0.0264 1.263 0.2366 1.1594 0.2366 4.9010 4.2270
180.00 NaN 14.704 0.1749 0.191 NaN 0.00 NaN 4.905 0.0265 1.259 NaN NaN NaN NaN NaN
______________________________________________________________________________________________________________________________
Reaction: 14N(2H,1H)15N
A: 14 2 1 15
Z: 7 1 1 7
Mass(amu): 14.003074 2.014102 1.007825 15.000109
Error(keV): 0.001 0.000 0.000 0.001
Origin:
Status:
Q(gs): 8.6087 +/- 0.0001 MeV
Projectile lab energy: 3.000 MeV
CM energy: 2.623 MeV
Excitation energy: 0.000 MeV
Reaction Q-value: 8.609 MeV
Reaction threshold: 0.000 MeV
Particle 3 Particle 4 Non-relativistic Jacobians
( scattered/ejectile ) ( recoil ) Ejectile Ejectile
Ejectile Recoil dOmega/ dOmega/
Lab CM Lab Lab Lab dOmega Lab CM Lab Lab Lab dOmega dOmega dOmega Recoil Recoil
Angle Angle Energy Beta ToF Lab/CM Angle Angle Energy Beta ToF Lab/CM Lab/CM Lab/CM dOmega dOmega
(deg) (deg) (MeV) (ns/cm) ratio (deg) (deg) (MeV) (ns/cm) ratio Lab/Lab CM/Lab
0.00 NaN 11.547 0.1554 0.215 NaN 180.00 NaN 0.062 0.0030 11.216 NaN NaN NaN NaN NaN
10.00 10.48 11.530 0.1553 0.215 0.9119 146.83 169.52 0.079 0.0034 9.951 8.3535 0.9119 8.3535 0.1092 0.1197
20.00 20.94 11.481 0.1550 0.215 0.9158 122.63 159.06 0.128 0.0043 7.793 4.4681 0.9158 4.4681 0.2050 0.2238
30.00 31.37 11.400 0.1544 0.216 0.9221 105.93 148.63 0.208 0.0055 6.108 2.5075 0.9221 2.5074 0.3678 0.3988
40.00 41.77 11.292 0.1537 0.217 0.9308 93.50 138.23 0.317 0.0067 4.956 1.5952 0.9308 1.5951 0.5836 0.6269
50.00 52.10 11.160 0.1528 0.218 0.9417 83.43 127.90 0.449 0.0080 4.163 1.1310 0.9417 1.1309 0.8327 0.8842
60.00 62.38 11.009 0.1518 0.220 0.9546 74.75 117.62 0.599 0.0093 3.601 0.8690 0.9545 0.8690 1.0985 1.1508
70.00 72.58 10.845 0.1507 0.221 0.9690 66.96 107.42 0.764 0.0105 3.190 0.7077 0.9690 0.7077 1.3691 1.4130
80.00 82.70 10.672 0.1495 0.223 0.9847 59.76 97.30 0.937 0.0116 2.880 0.6016 0.9846 0.6016 1.6368 1.6623
90.00 92.75 10.496 0.1483 0.225 1.0012 52.99 87.25 1.112 0.0126 2.644 0.5281 1.0011 0.5281 1.8958 1.8936
100.00 102.70 10.324 0.1471 0.227 1.0180 46.52 77.30 1.285 0.0136 2.460 0.4754 1.0180 0.4753 2.1416 2.1037
110.00 112.58 10.160 0.1459 0.229 1.0347 40.29 67.42 1.449 0.0144 2.316 0.4365 1.0347 0.4365 2.3704 2.2909
120.00 122.38 10.008 0.1449 0.230 1.0506 34.24 57.62 1.601 0.0151 2.204 0.4075 1.0506 0.4075 2.5783 2.4541
130.00 132.10 9.872 0.1439 0.232 1.0653 28.34 47.90 1.736 0.0158 2.116 0.3857 1.0653 0.3857 2.7618 2.5925
140.00 141.76 9.757 0.1431 0.233 1.0782 22.55 38.24 1.852 0.0163 2.049 0.3696 1.0782 0.3696 2.9175 2.7060
150.00 151.37 9.665 0.1424 0.234 1.0887 16.84 28.63 1.944 0.0167 2.000 0.3579 1.0887 0.3579 3.0422 2.7943
160.00 160.94 9.597 0.1419 0.235 1.0966 11.19 19.06 2.012 0.0170 1.966 0.3500 1.0966 0.3500 3.1334 2.8573
170.00 170.48 9.556 0.1416 0.236 1.1015 5.59 9.52 2.053 0.0171 1.946 0.3454 1.1015 0.3454 3.1889 2.8951
180.00 NaN 9.542 0.1415 0.236 NaN 0.00 NaN 2.067 0.0172 1.940 NaN NaN NaN NaN NaN
______________________________________________________________________________________________________________________________
______________________________________________________________________________________________________________________________
... 144 more lines ...
|
|
259
|
Wed Feb 23 19:22:55 2022 |
CN, TD | check |
- Motor checked , OK
SW3
- Merger OK
- Screenshot uploaded
- Data rate : 755 kbytes/s
SW4
- current plot uploaded
SW2
- T OK
- system wide check OK
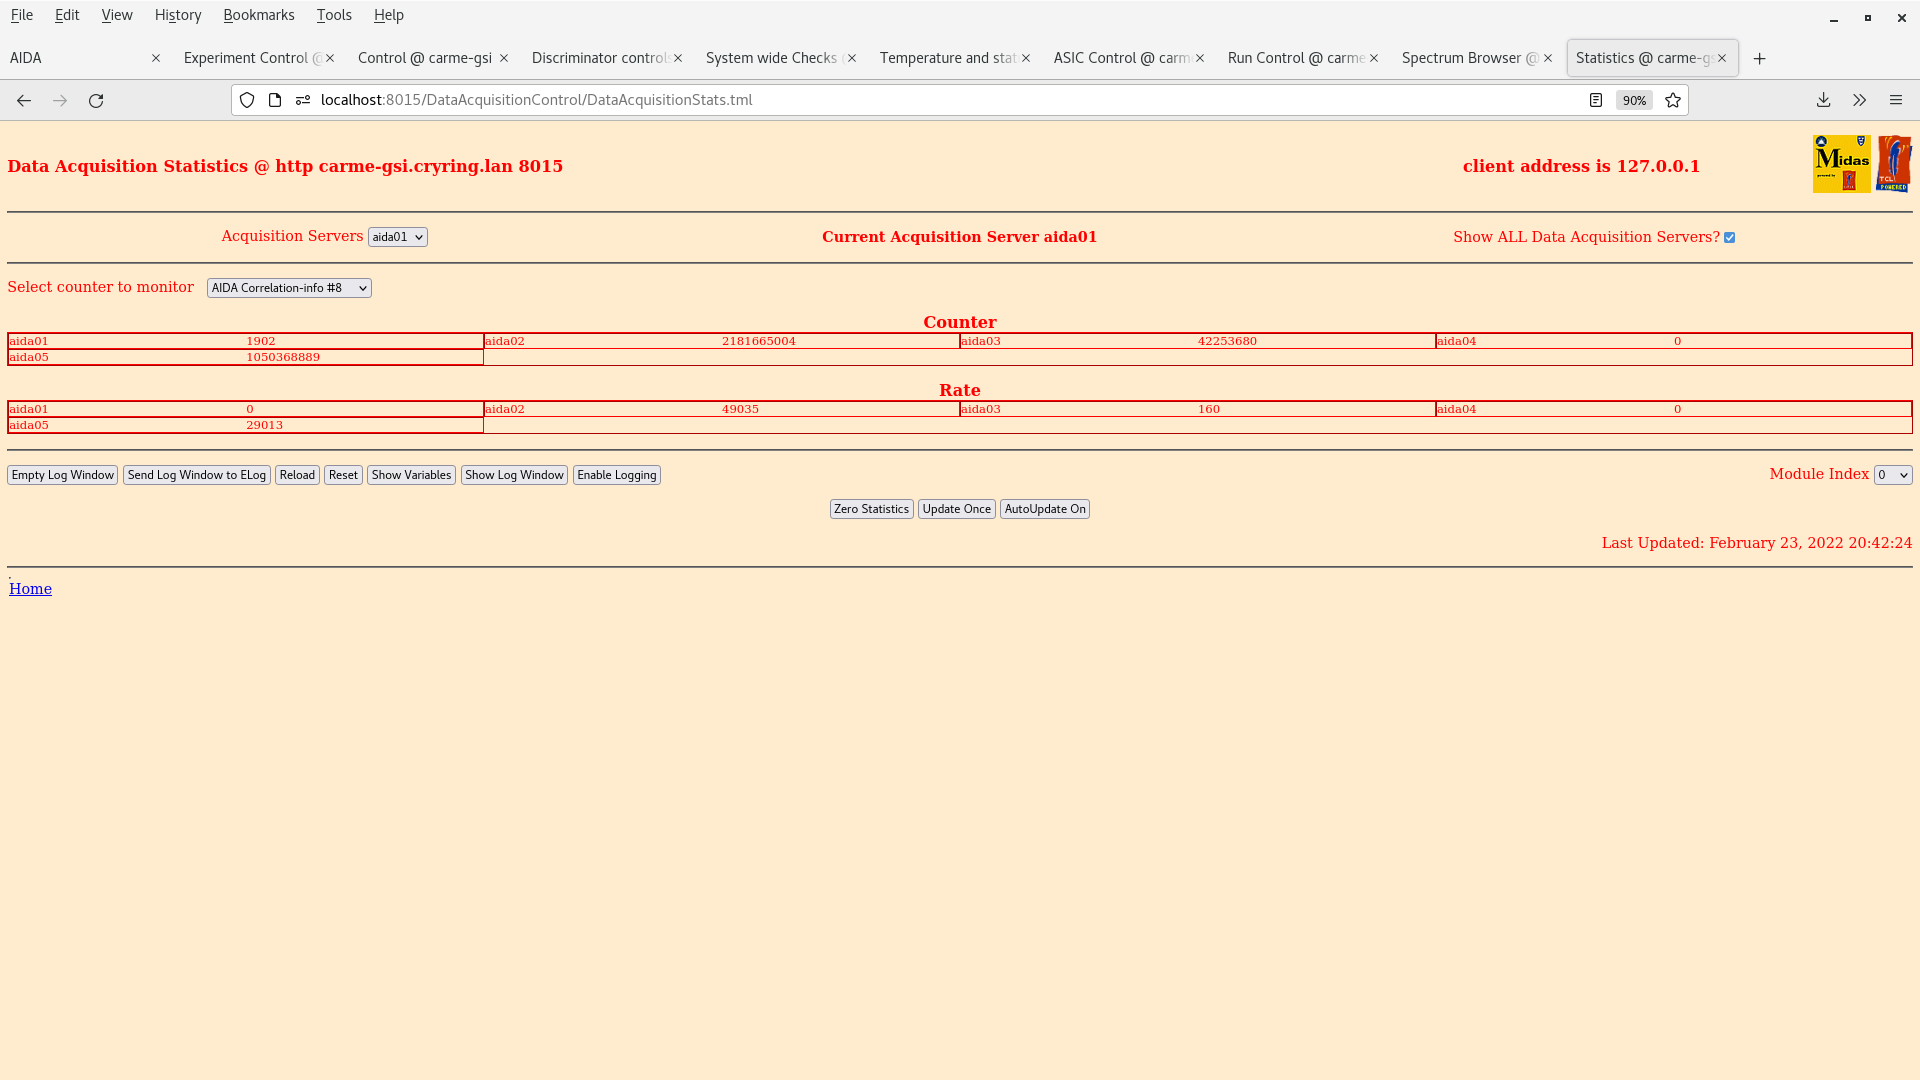
- Statistics ok
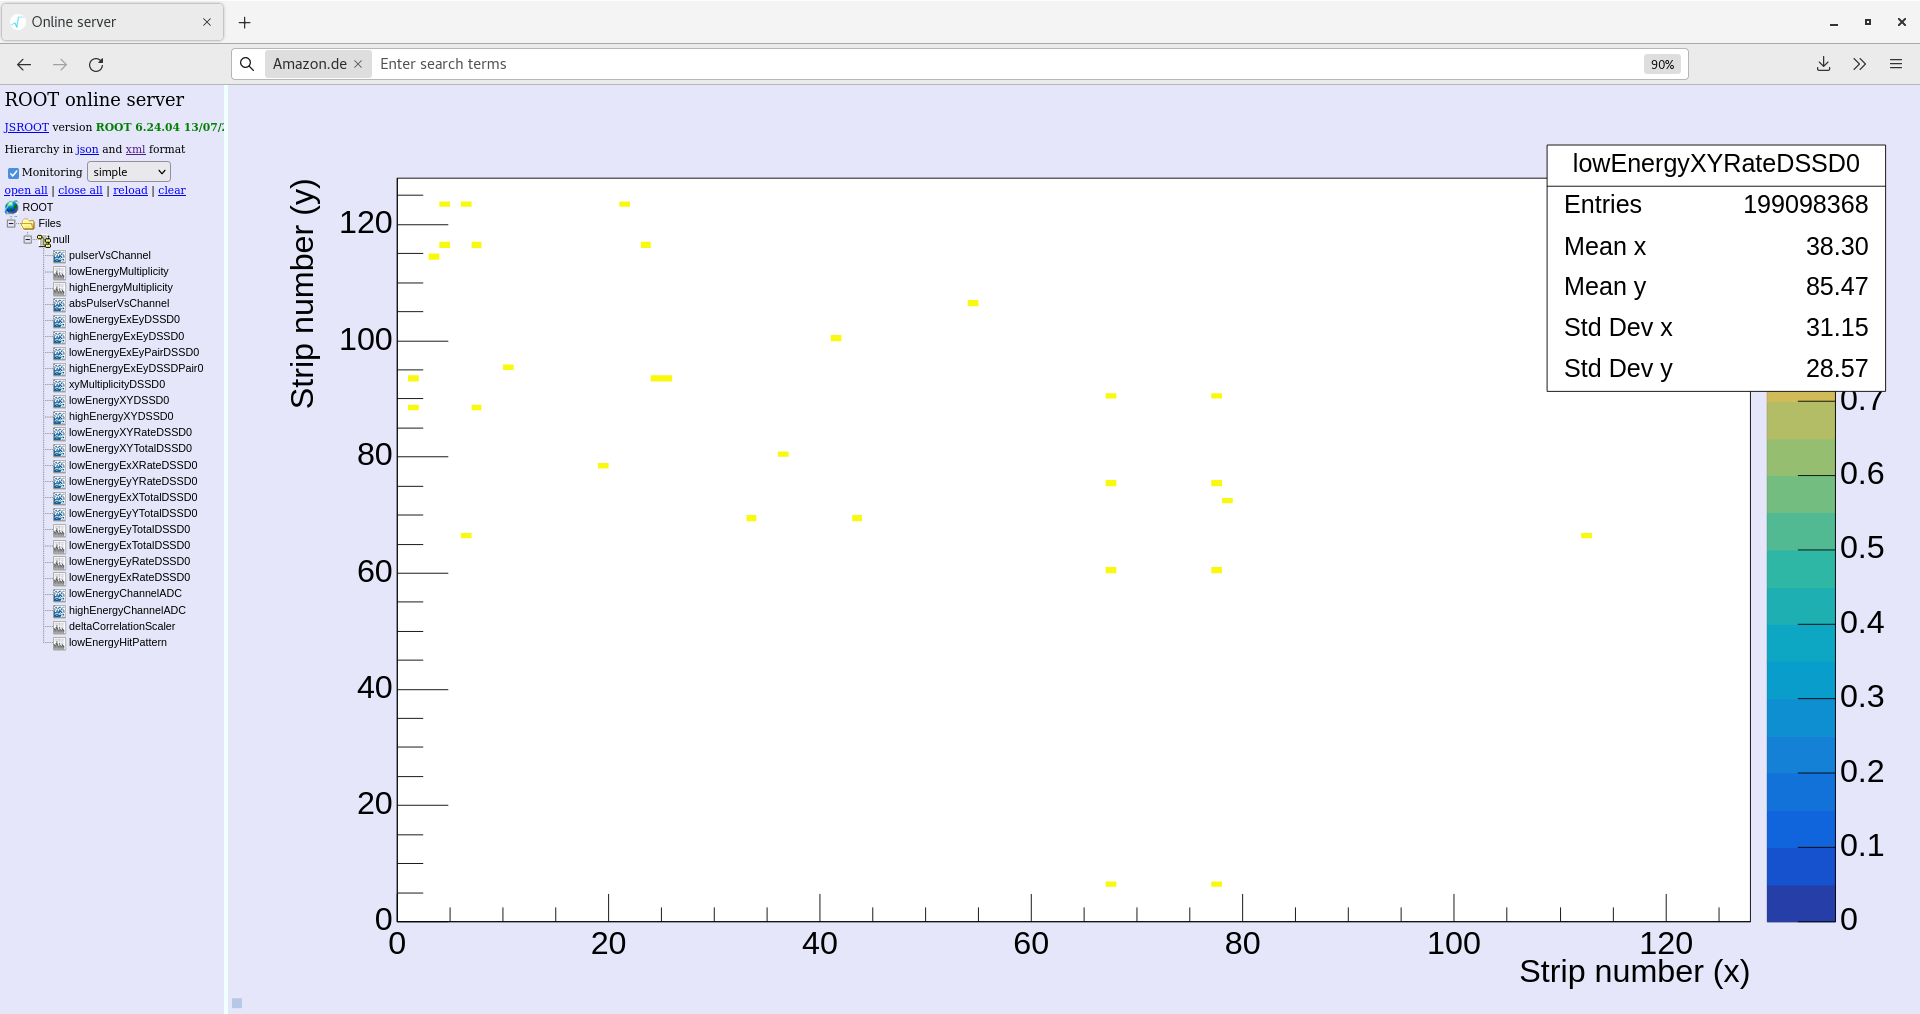
- Spectra ok
SW5
4 plots uploaded
|
| Attachment 1: Screenshot_from_2022-02-23_20-27-38.png
|

|
| Attachment 2: Screenshot_from_2022-02-23_20-33-16.png
|

|
| Attachment 3: Screenshot_from_2022-02-23_20-35-15.png
|

|
| Attachment 4: Screenshot_from_2022-02-23_20-41-50.png
|

|
| Attachment 5: Screenshot_from_2022-02-23_20-42-53.png
|
|
| Attachment 6: Screenshot_from_2022-02-23_20-44-43.png
|

|
| Attachment 7: Screenshot_from_2022-02-23_20-48-47.png
|

|
| Attachment 8: Screenshot_from_2022-02-23_20-50-12.png
|
|
| Attachment 9: Screenshot_from_2022-02-23_20-51-10.png
|

|
| Attachment 10: Screenshot_from_2022-02-23_20-51-54.png
|

|
|
258
|
Wed Feb 23 18:58:12 2022 |
TD CN | Wednesday 23 February 15.00-23.00 shift |
Assorted screenshots of the CARME, CRYRING and gas jet target control systems in operation

Attachment 1 - detector motion controls

Attachment 2 - gas jet target pressures (blue proxy for target density, red proxy for gas load to CRYRING)

Attachment 3 - Schottky probe monitor of beam

Attachment 4 - CRYRING controls monitor

Attachment 5 - CRYRING vacuum pressures

Attachment 6 - CRYRING beam position and profile monitor |
| Attachment 1: 20220223_195402.jpg
|

|
| Attachment 2: 20220223_195349.jpg
|

|
| Attachment 3: 20220223_195208.jpg
|

|
| Attachment 4: 20220223_195203.jpg
|

|
| Attachment 5: 20220223_195142.jpg
|

|
| Attachment 6: 20220223_195133.jpg
|

|
|
257
|
Wed Feb 23 16:57:35 2022 |
CB, CN | Optimising motor motion |
Optimised motor motion during run R58
Moved 2 mm in (20.3 potentiometer)
29.47 potentiometer
36.5 potentiometer
(started moving pneumatic)
64.36 potentiometer
74.03 potentiomater (servo in by 10 mm)
Moved in, collected counts for 5 minutes, moved out, waited for re-injection.
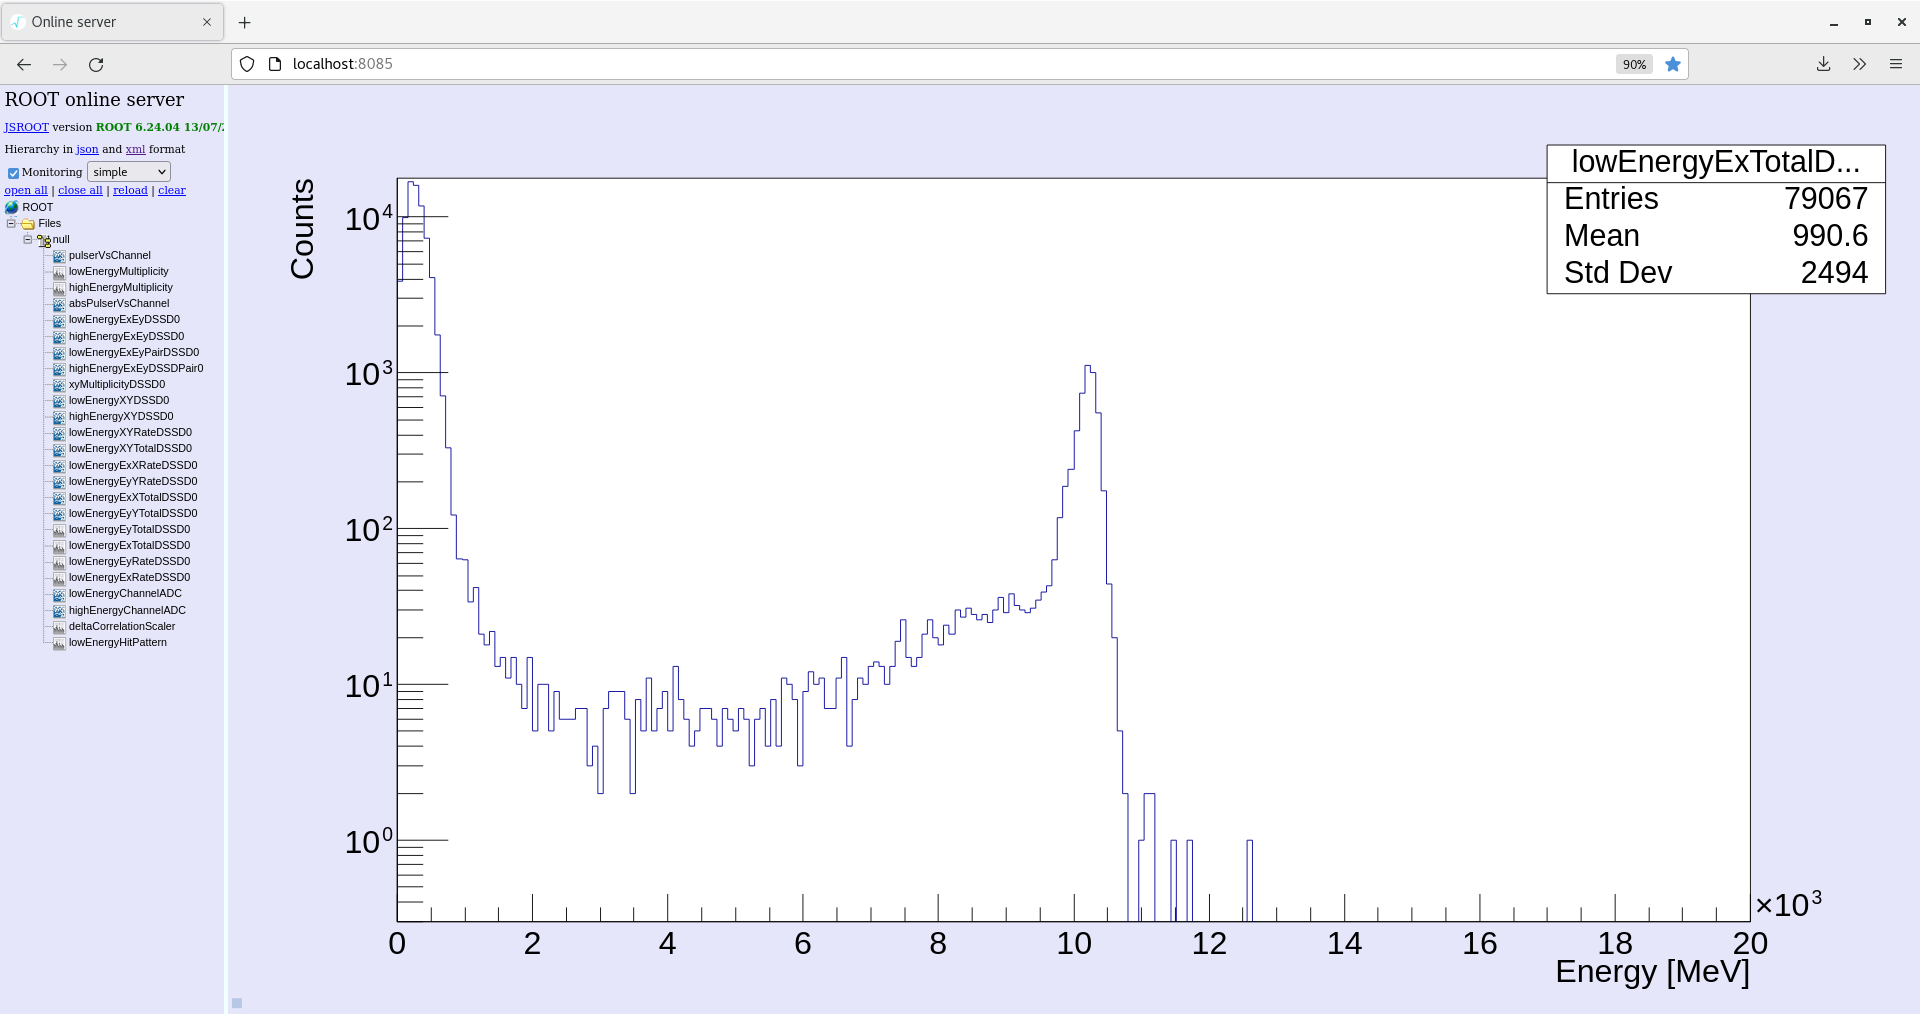
20.3 - 400 counts on the Rutherford peak, bins 125-131 on lowEnergyExTotalDSSD0
20.47 - 646
36.5 - 827
64.36 - 3900
74.03 - 10040
Based on Rutherford rate ratio, estimated we are 40-50 mm away from interaction point, i.e. beam roughly 1-2 cm on outer half of ring which may be consistent with BPM measurement in YR08
Decided to use 74.03 mm for data collection.
Started data acquisition on R59 at 17:27
Beam 3E7 at injection, 600 second storage, 3 second between cycles
Target pressure 1.3E12 based on 8.21E18 x S1=1.6E-8 |
|
256
|
Wed Feb 23 10:56:06 2022 |
Laszlo, Thanassis | Current status |
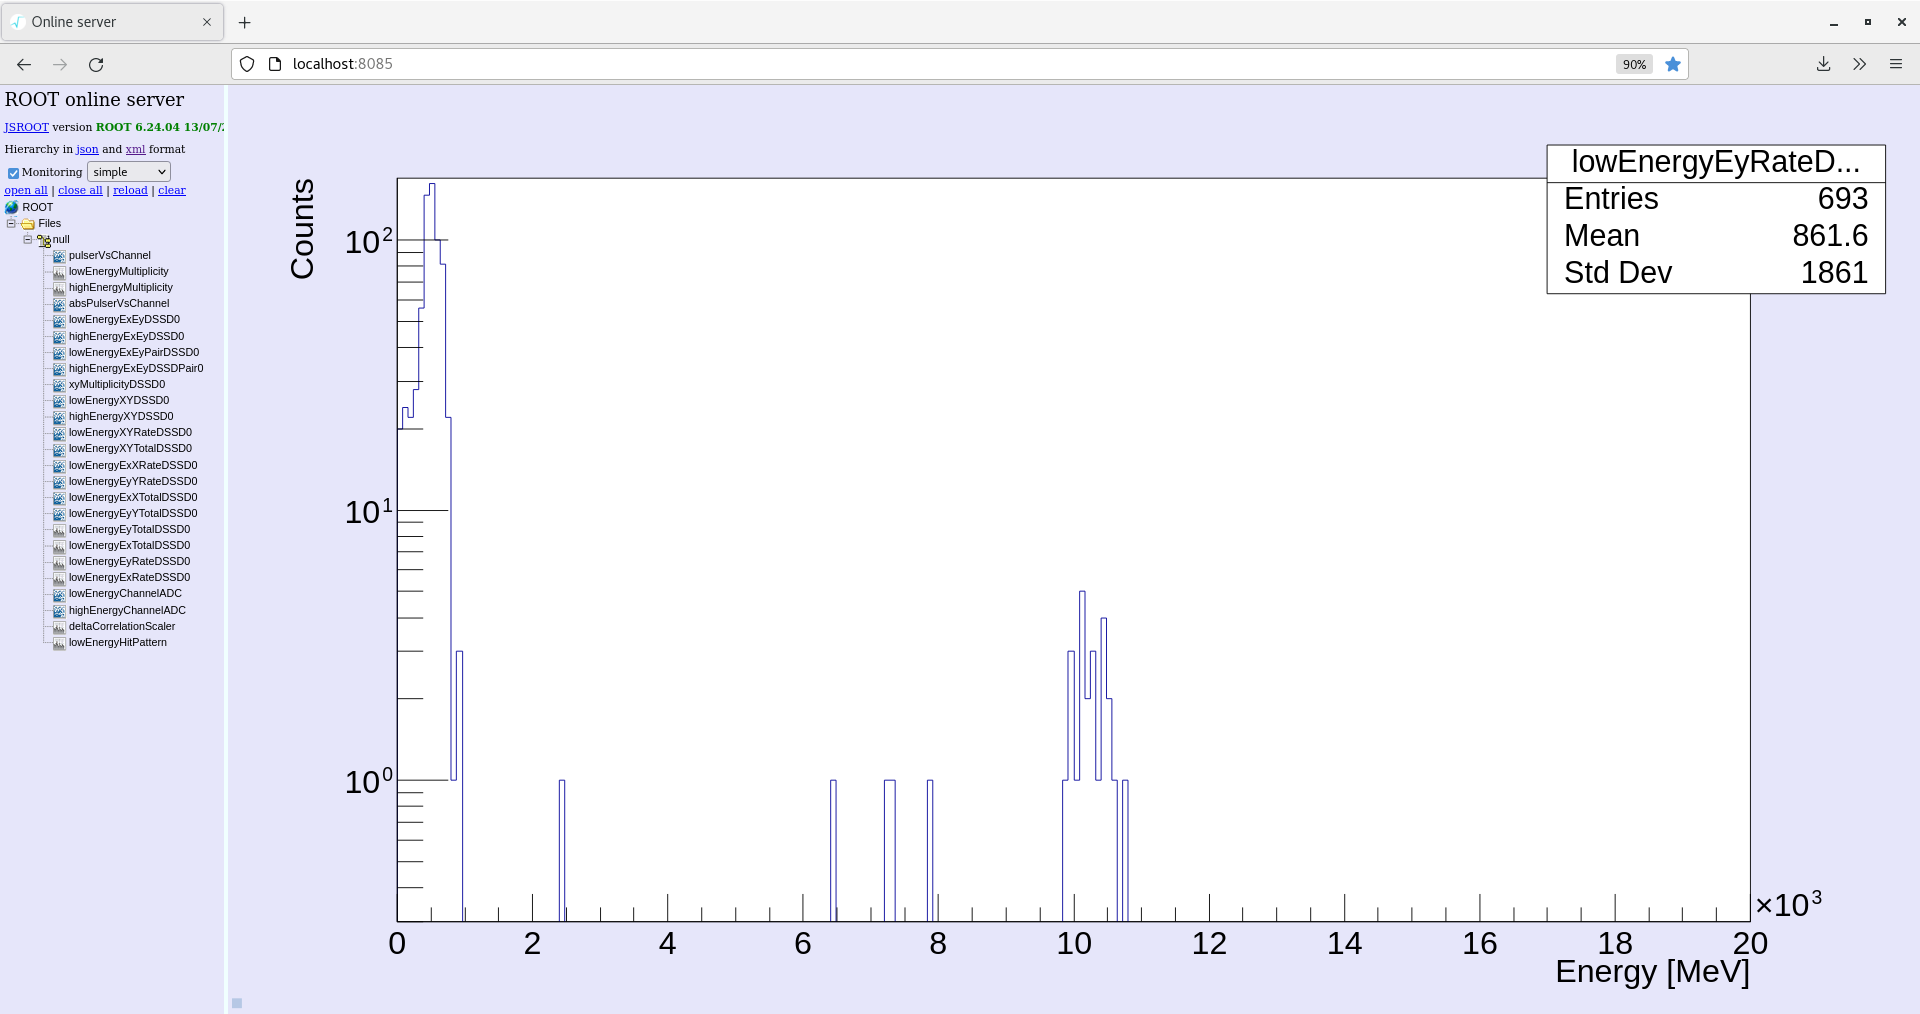
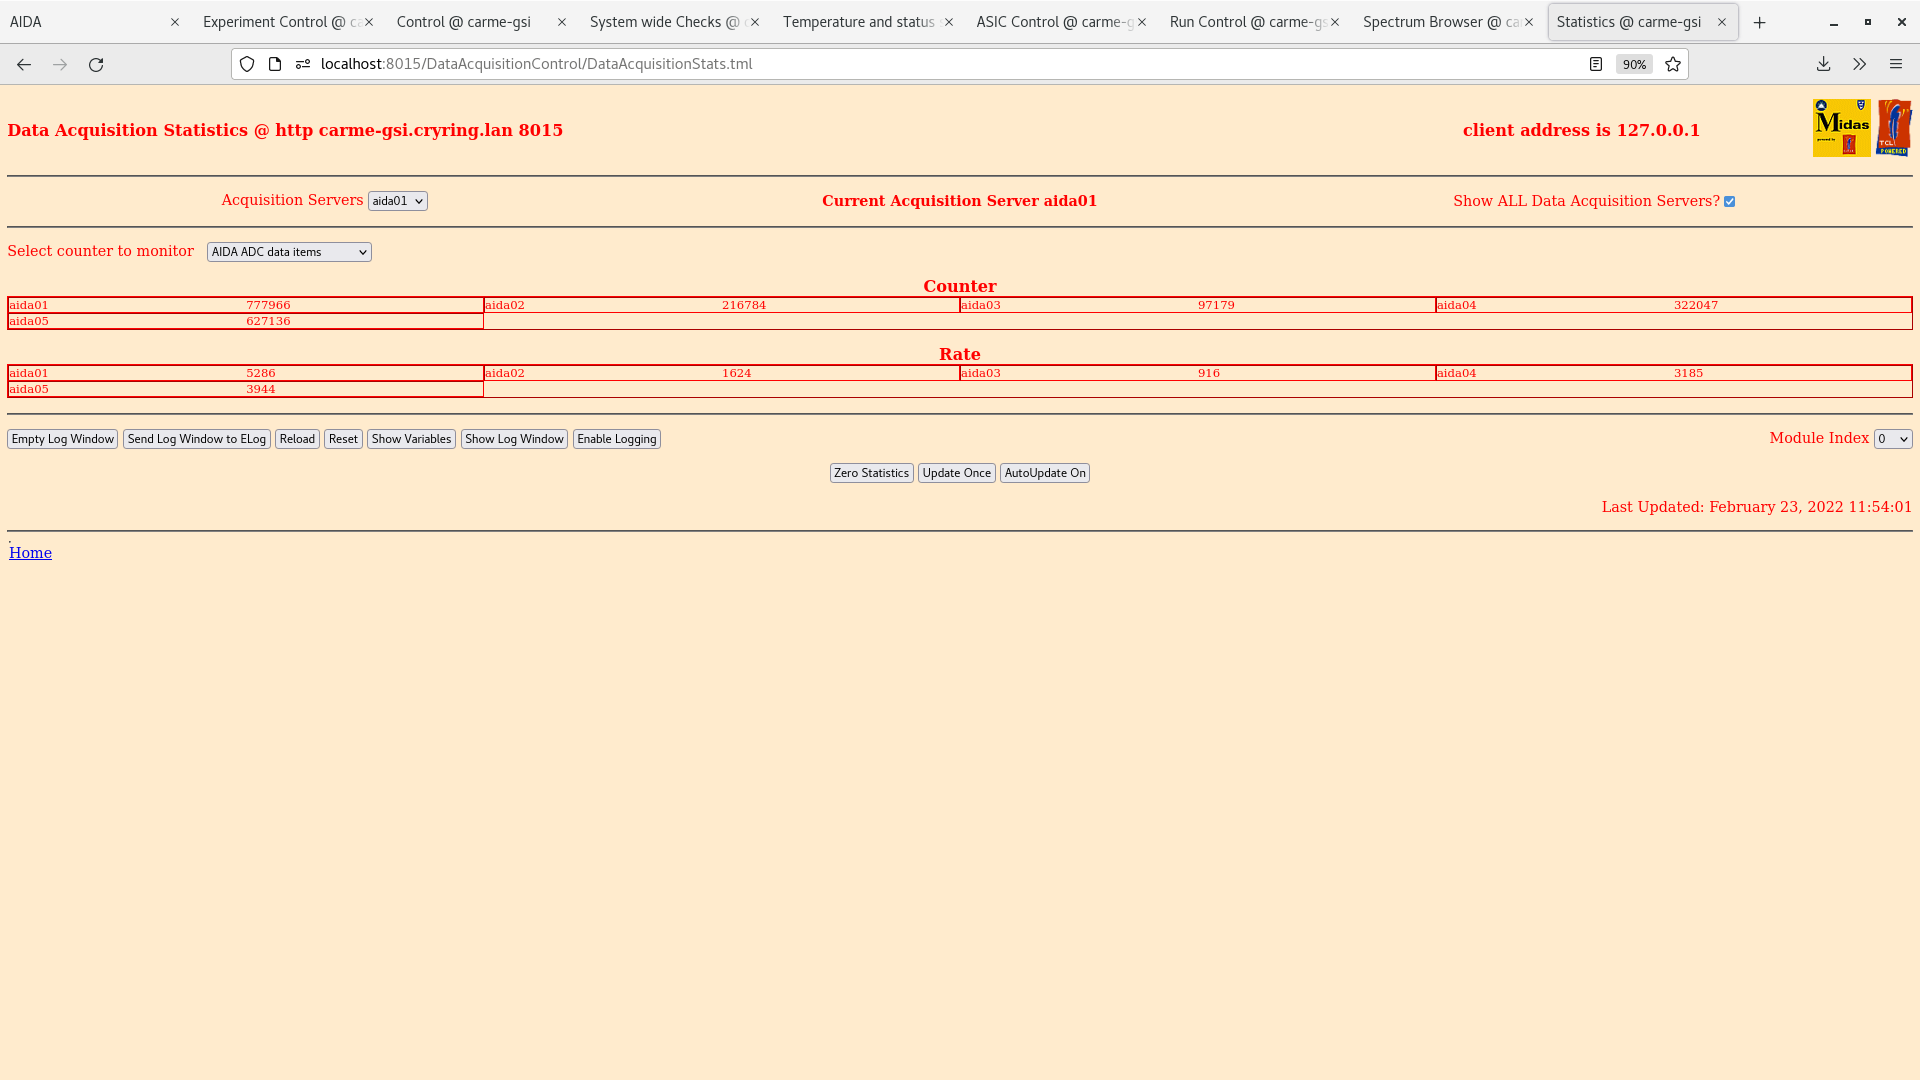
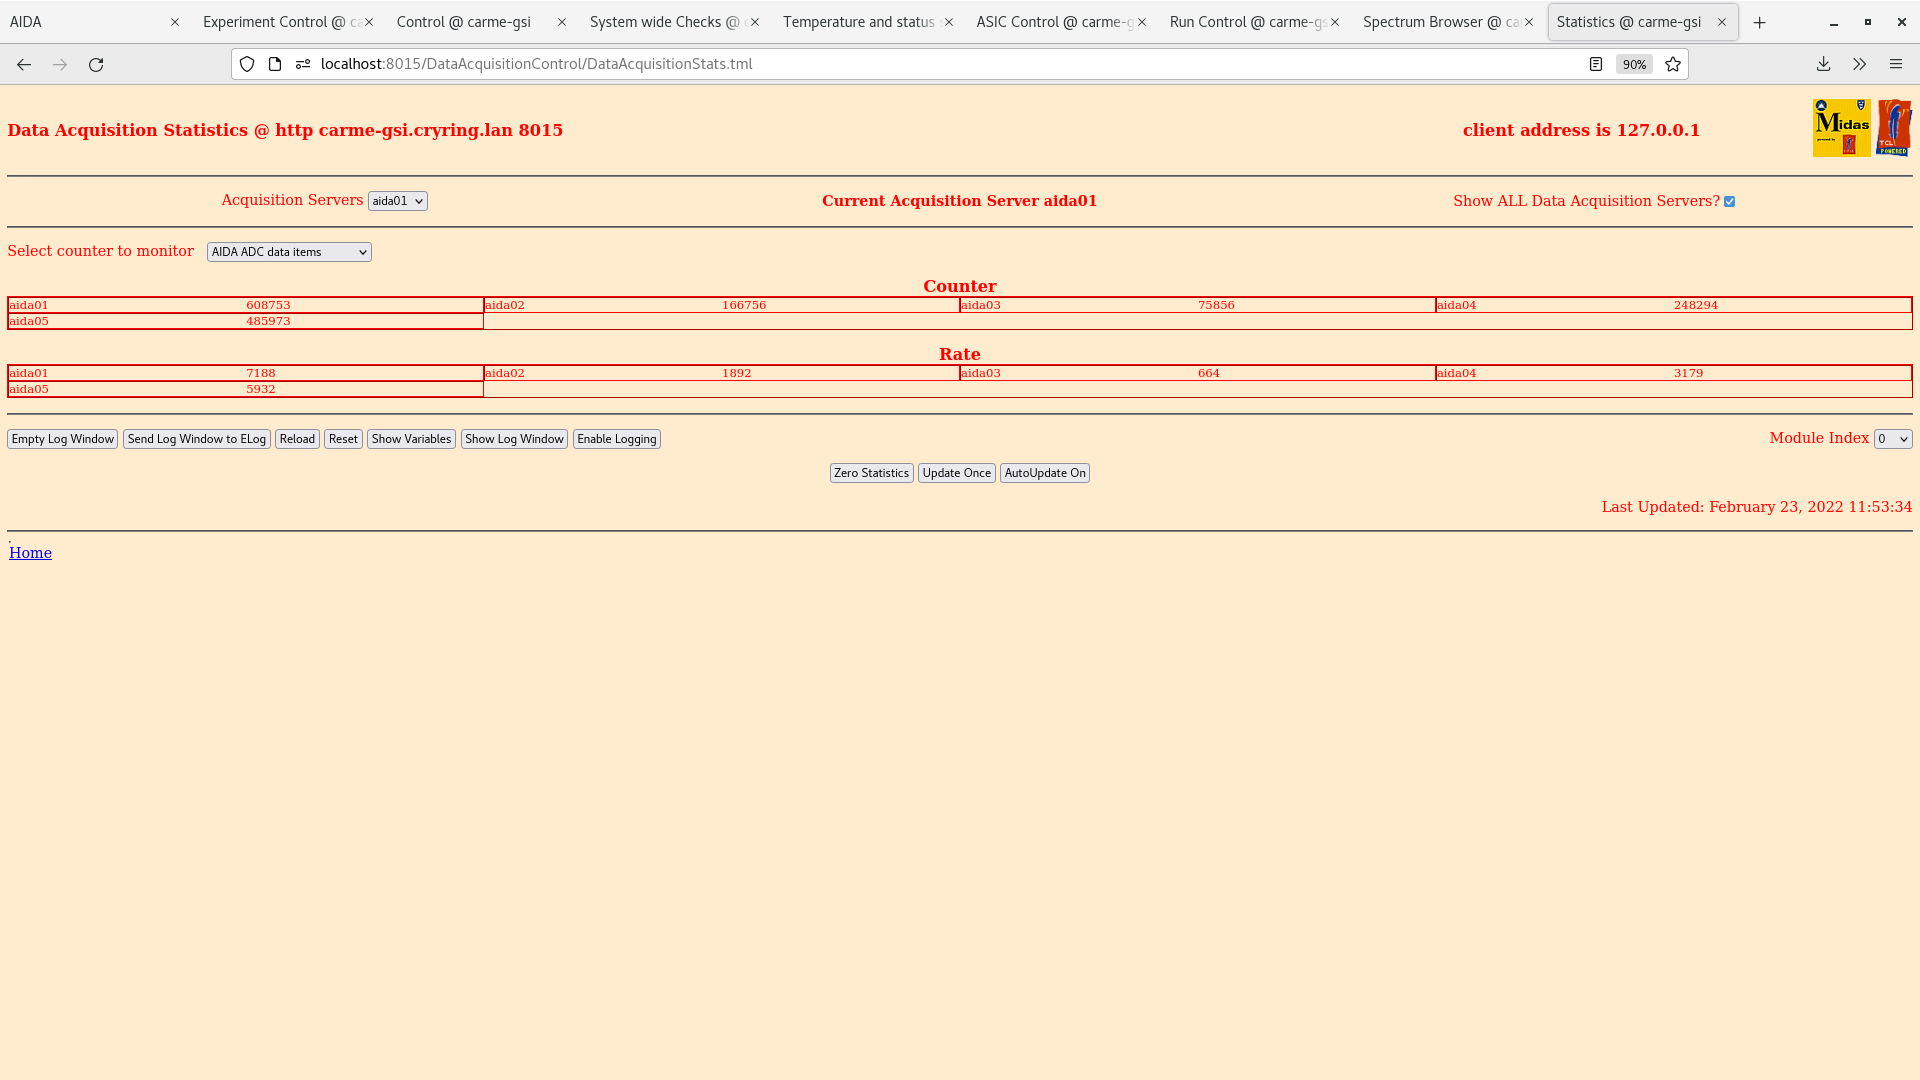
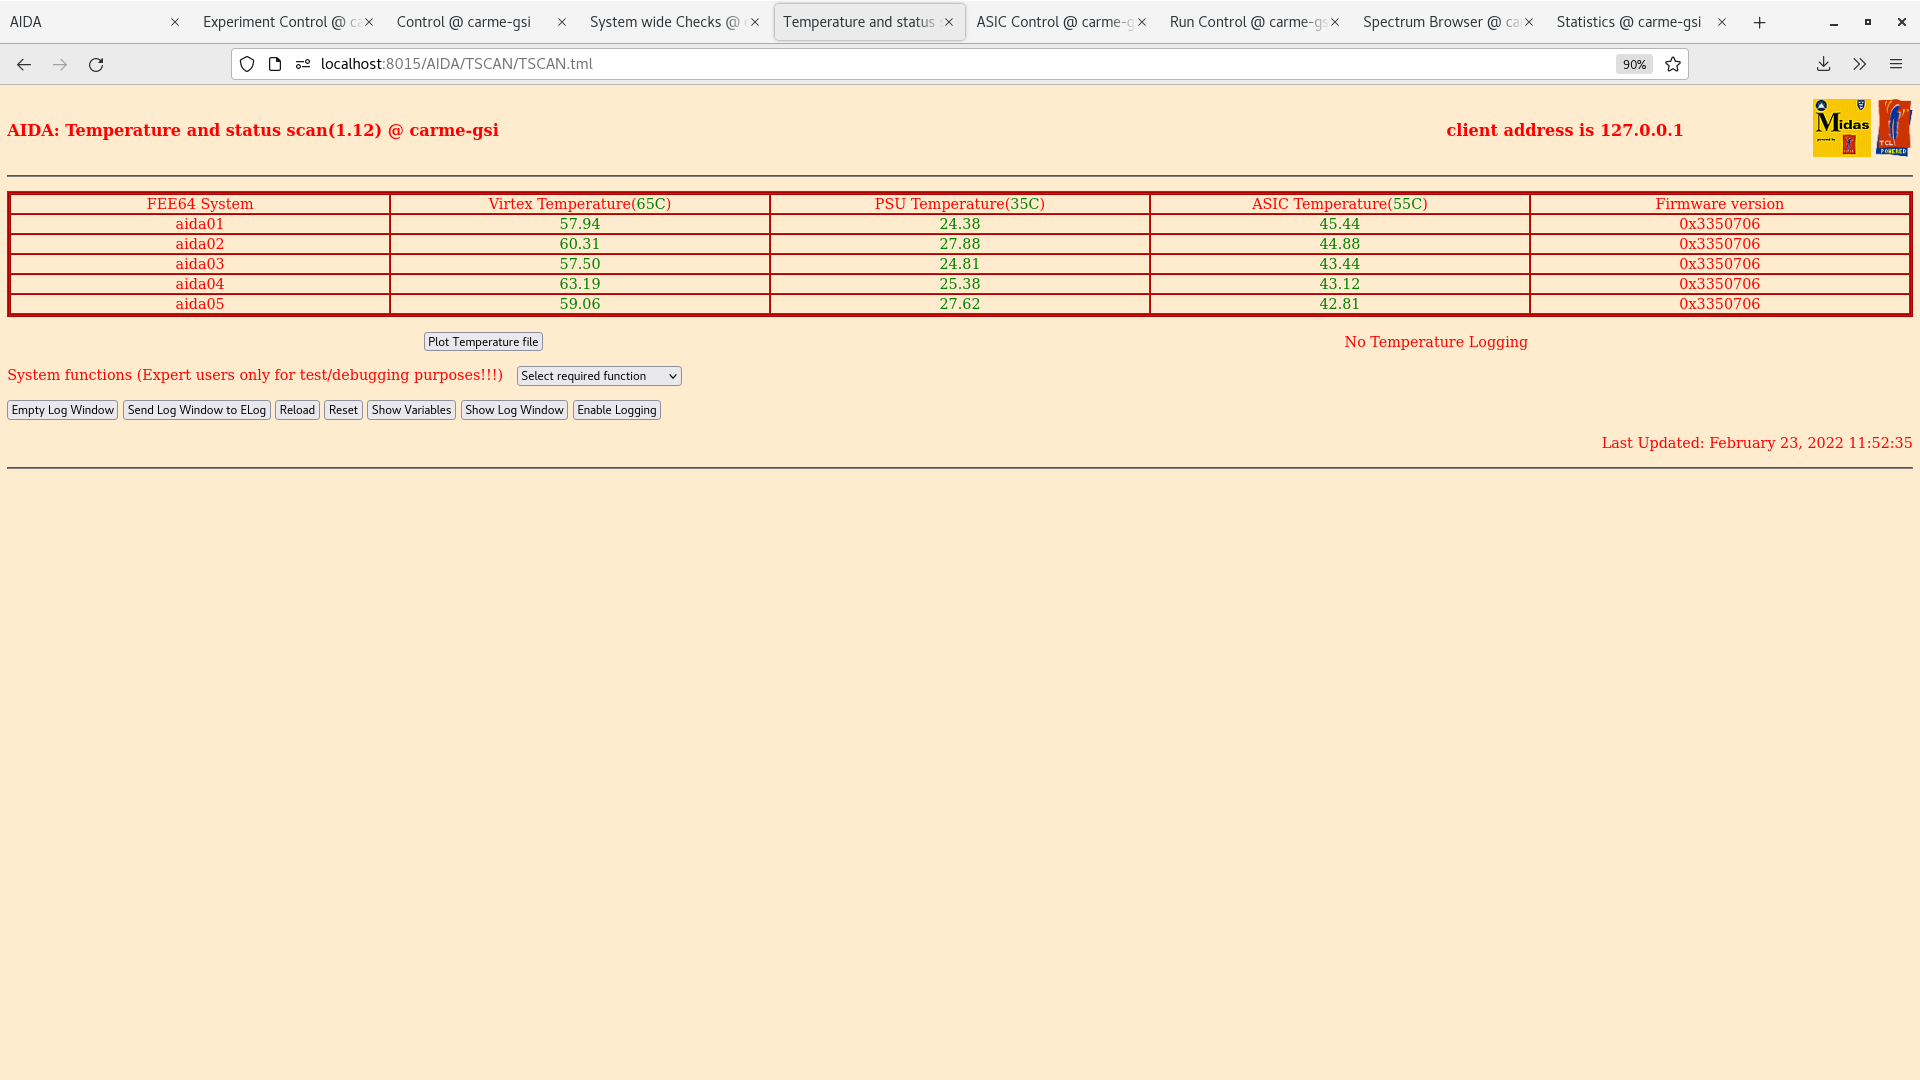
11:55
Temps OK
System Check OK
White Rabbit fail diff: 102
Write Speed: ~1.2Mb/s
Leakage Current: ~3.47uA
Cryo Temp = 129.2K setpoint (unchanged)
Pressures stable
AVG Pressures:
YR07: 1.99e-10mbar
YR08: 2.6e-9mbar
YR09: 1.03e-9mbar
YR10: 1.7e-10mbar |
| Attachment 1: Screenshot_from_2022-02-23_11-55-28.png
|

|
| Attachment 2: Screenshot_from_2022-02-23_11-55-08.png
|
|
| Attachment 3: Screenshot_from_2022-02-23_11-54-49.png
|
|
| Attachment 4: Screenshot_from_2022-02-23_11-54-37.png
|

|
| Attachment 5: Screenshot_from_2022-02-23_11-54-26.png
|

|
| Attachment 6: Screenshot_from_2022-02-23_11-54-07.png
|
|
| Attachment 7: Screenshot_from_2022-02-23_11-53-51.png
|

|
| Attachment 8: Screenshot_from_2022-02-23_11-53-38.png
|
|
| Attachment 9: Screenshot_from_2022-02-23_11-53-26.png
|

|
| Attachment 10: Screenshot_from_2022-02-23_11-52-51.png
|
|
|
255
|
Wed Feb 23 09:50:19 2022 |
Laszlo, Thanassis | Moving detector in |
We are moving the detector in run 56 |
|
254
|
Wed Feb 23 08:58:30 2022 |
Laszlo, Thanassis | Current status |
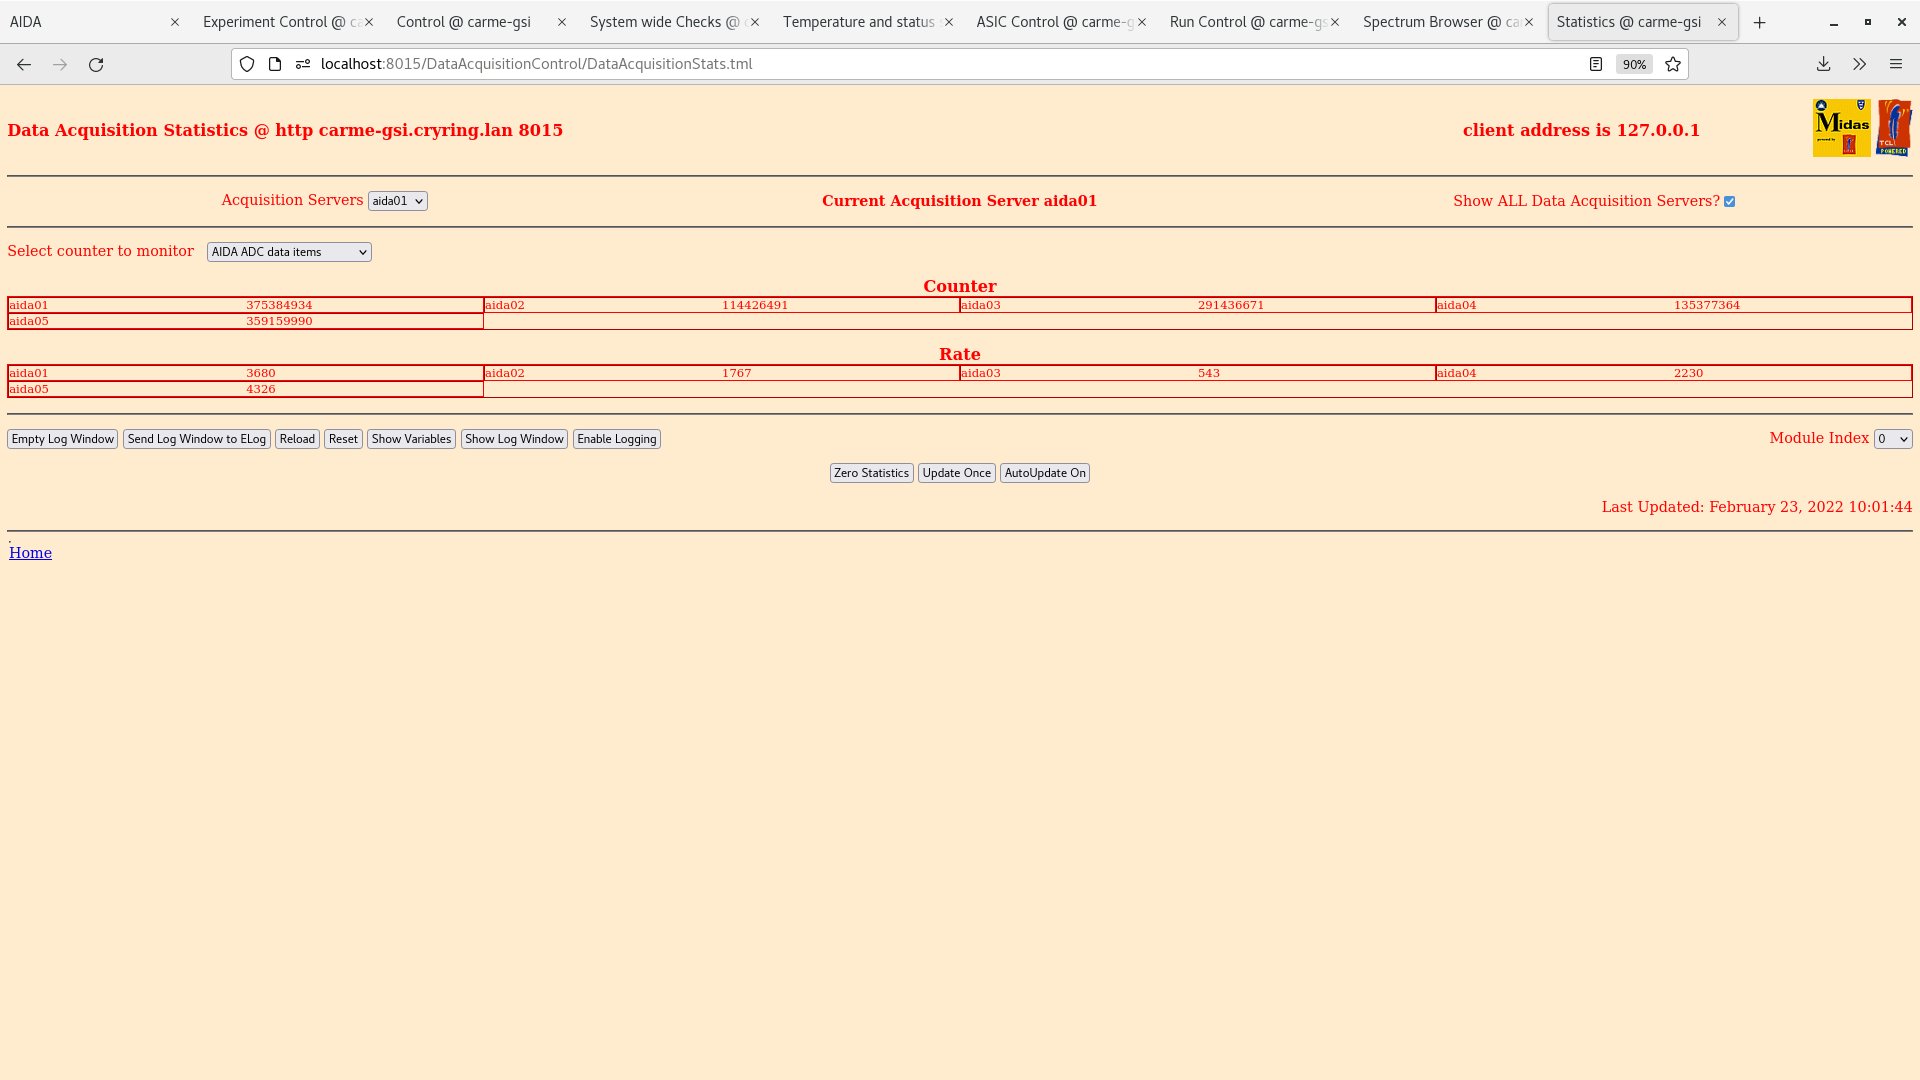
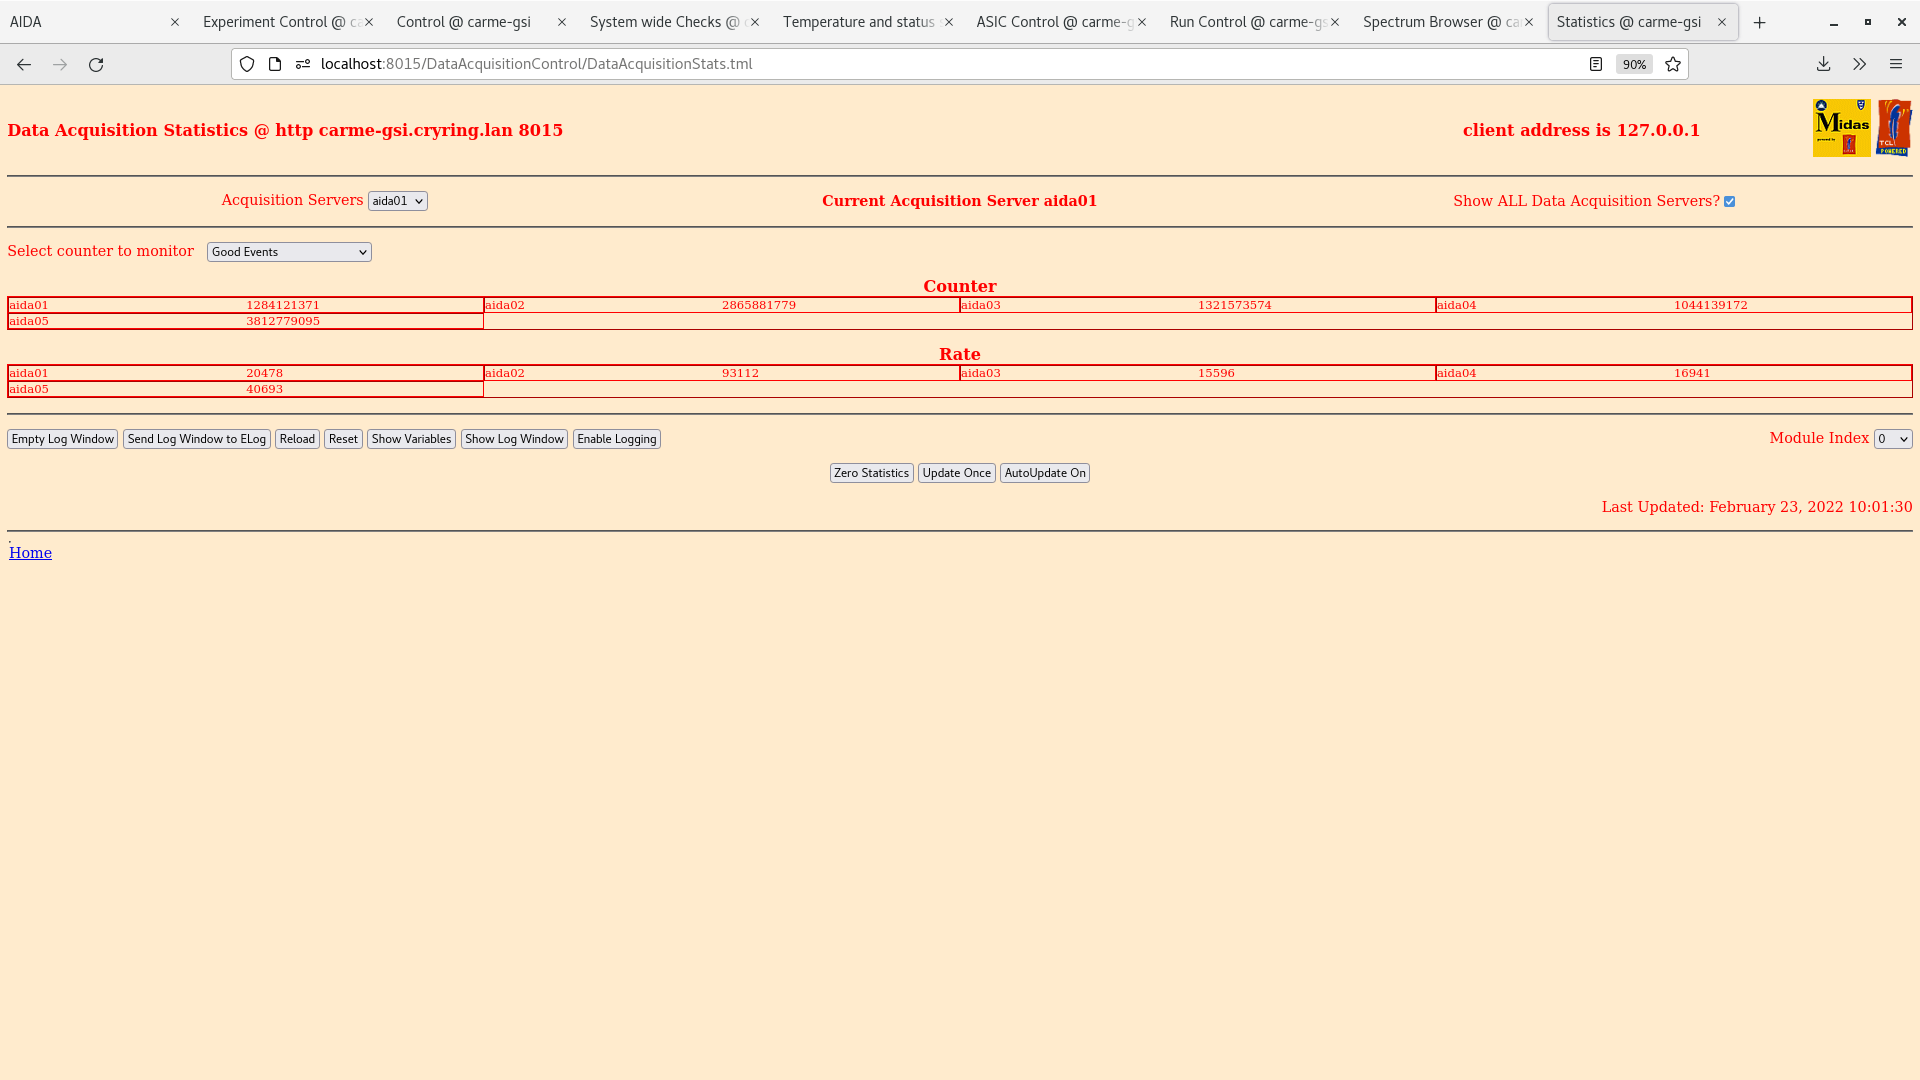
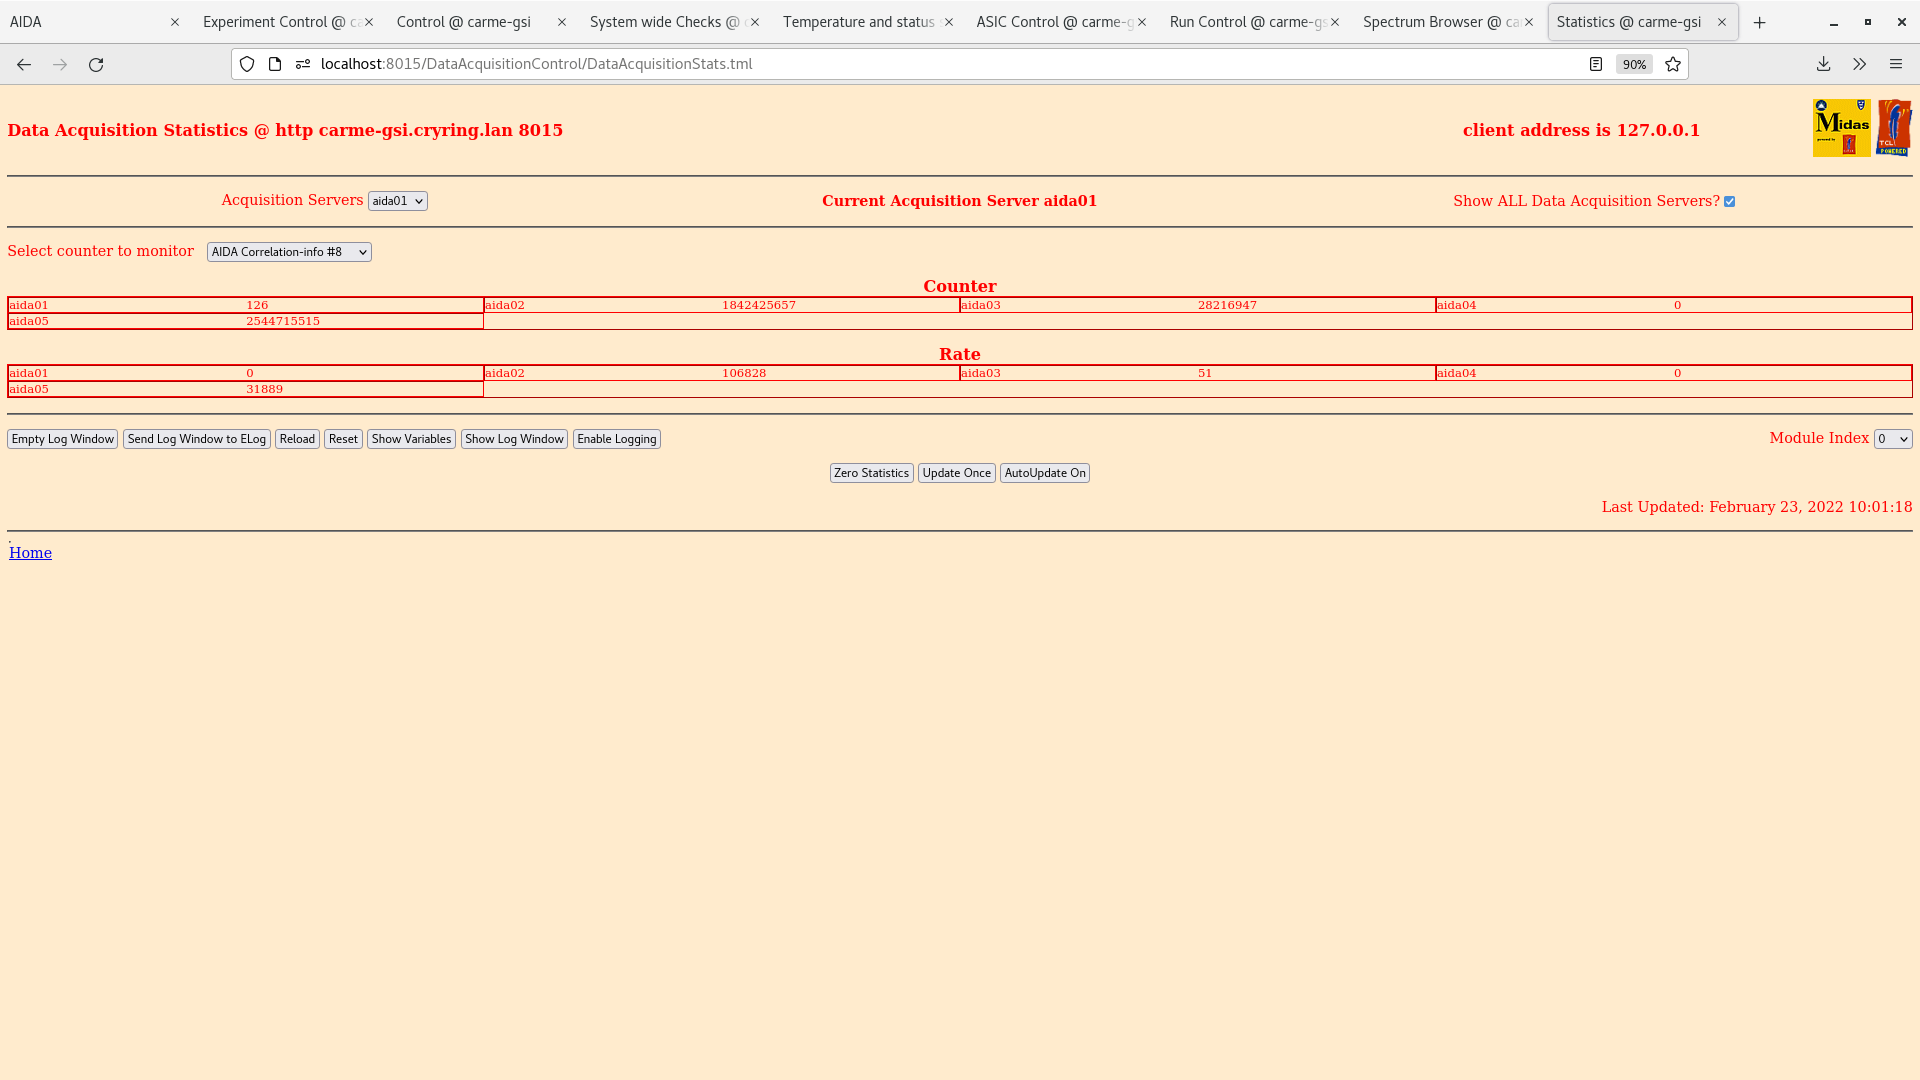
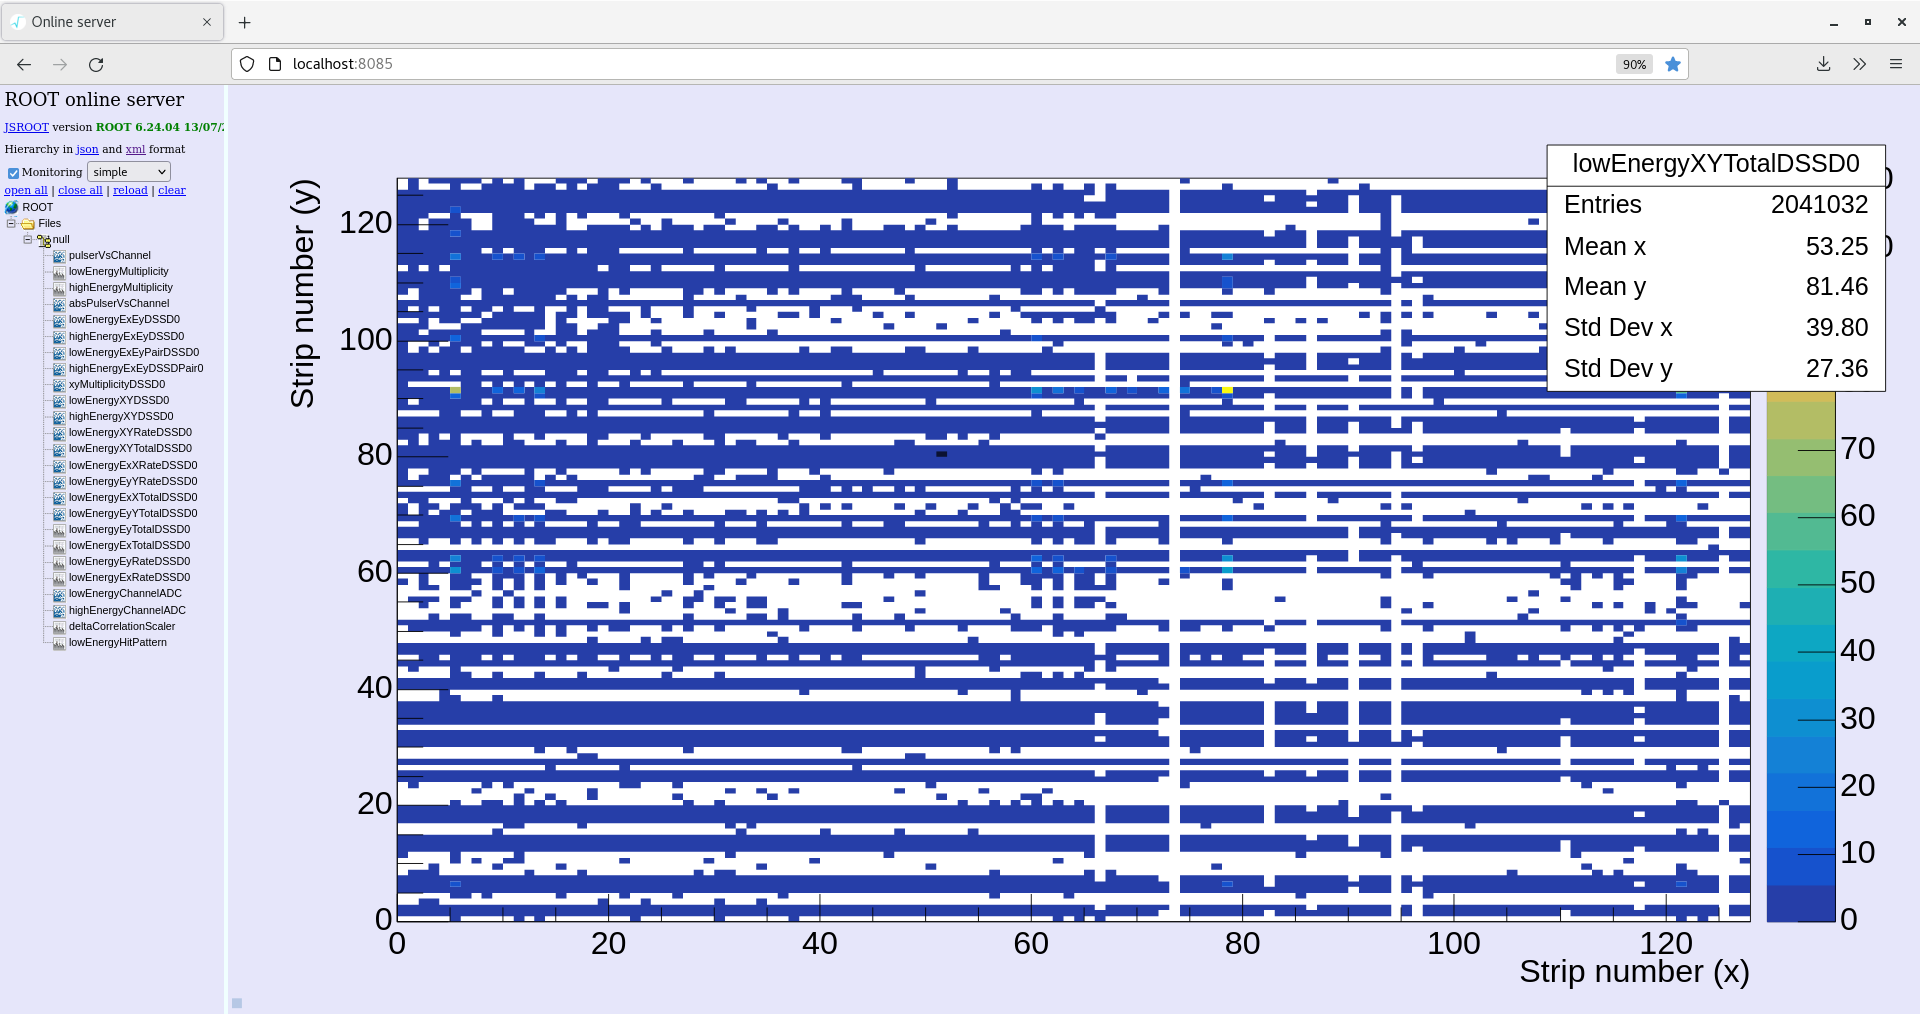
10:00
Temps OK
System Check OK
White Rabbit fail diff: 102
Write Speed: ~1.2Mb/s
Leakage Current: ~3.47uA
Cryo Temp = 129.2K setpoint (unchanged)
Pressures stable
AVG Pressures:
YR07: 1.93e-10mbar
YR08: 2.64e-9mbar
YR09: 1.13e-9mbar
YR10: 1.55e-10mbar |
| Attachment 1: Screenshot_from_2022-02-23_10-03-03.png
|

|
| Attachment 2: Screenshot_from_2022-02-23_10-02-49.png
|

|
| Attachment 3: Screenshot_from_2022-02-23_10-02-18.png
|

|
| Attachment 4: Screenshot_from_2022-02-23_10-01-48.png
|
|
| Attachment 5: Screenshot_from_2022-02-23_10-01-33.png
|
|
| Attachment 6: Screenshot_from_2022-02-23_10-01-21.png
|
|
| Attachment 7: Screenshot_from_2022-02-23_09-59-58.png
|

|
| Attachment 8: Screenshot_from_2022-02-23_09-59-39.png
|
|
| Attachment 9: Screenshot_from_2022-02-23_09-59-14.png
|
|
| Attachment 10: Screenshot_from_2022-02-23_09-58-59.png
|

|
|
253
|
Wed Feb 23 07:58:38 2022 |
Laszlo, Thanassis | Current status |
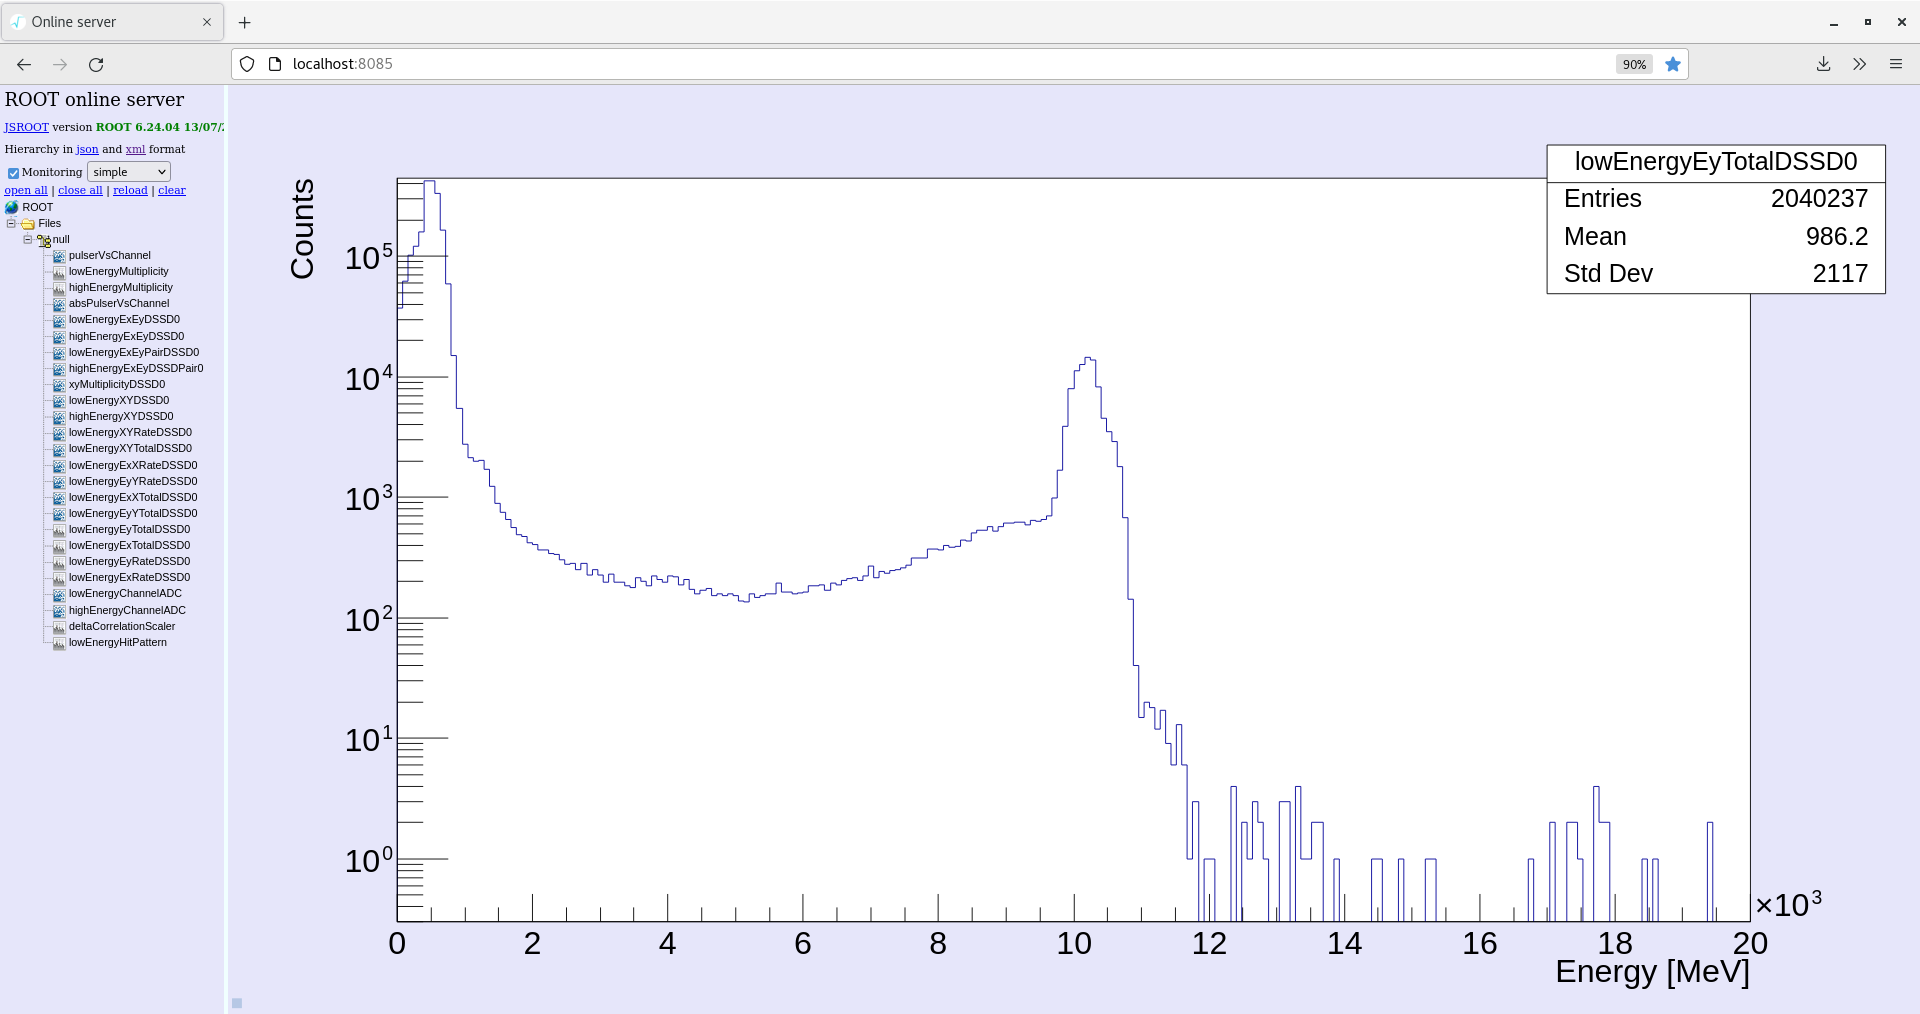
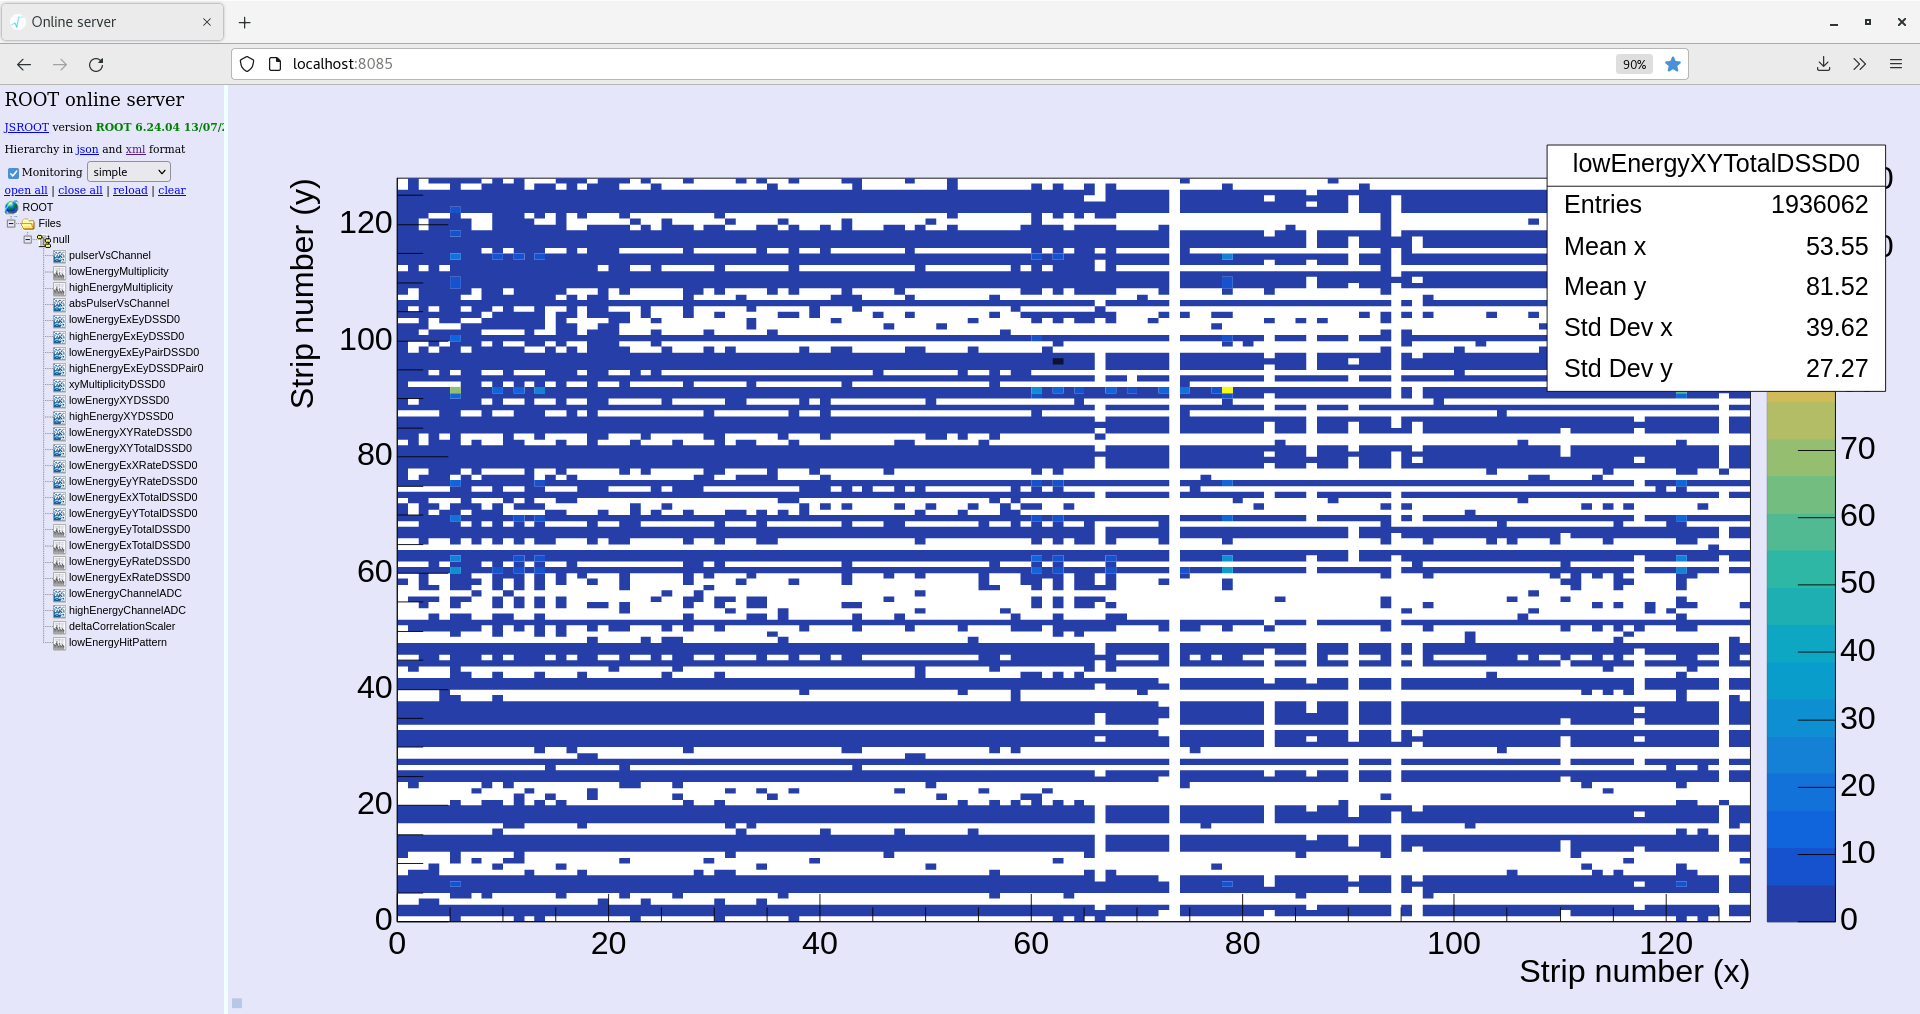
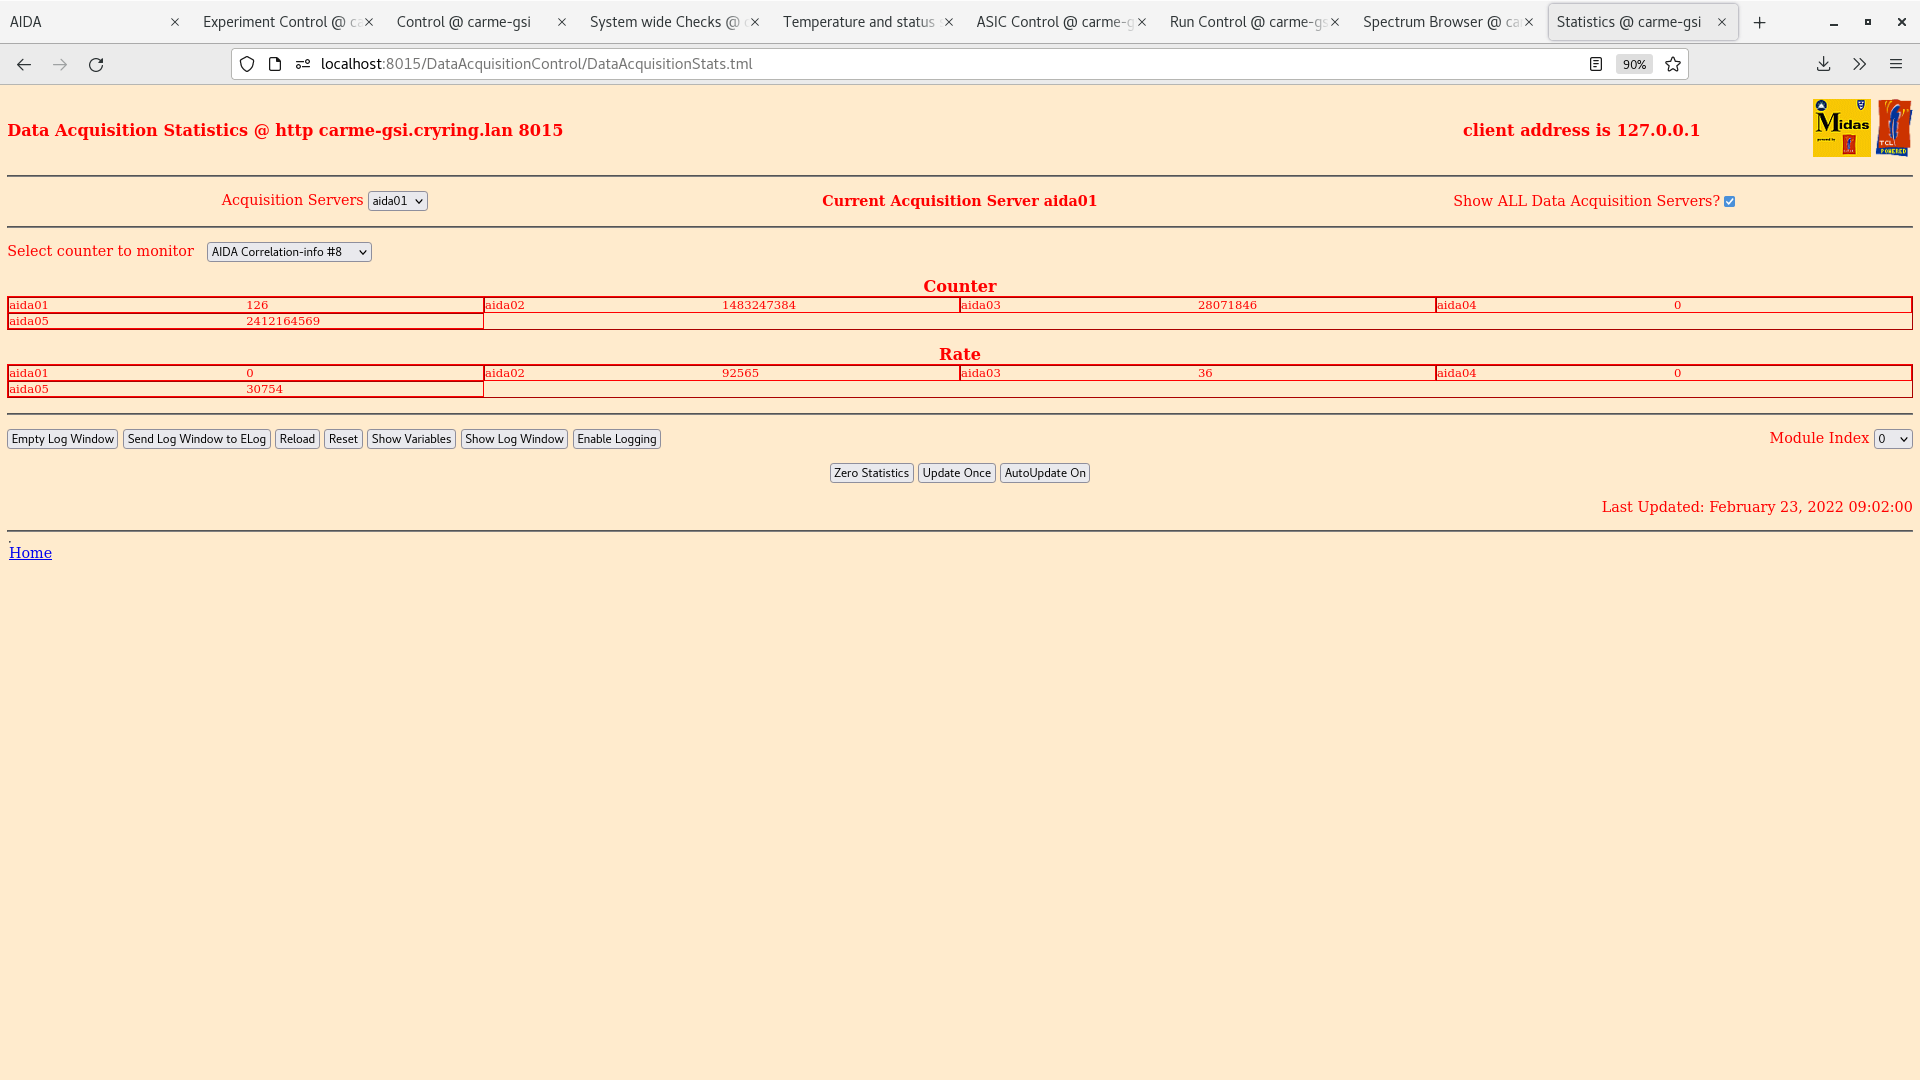
09:00
Temps OK
System Check OK
White Rabbit fail diff: 101
Write Speed: ~1.2Mb/s
Leakage Current: ~3.47uA
Cryo Temp = 129.2K setpoint (unchanged)
Pressures stable
AVG Pressures:
YR07: 1.88e-10mbar
YR08: 2.28e-9mbar
YR09: 9.15e-10mbar
YR10: 1.52e-10mbar |
| Attachment 1: Screenshot_from_2022-02-23_09-03-08.png
|
|
| Attachment 2: Screenshot_from_2022-02-23_09-02-35.png
|

|
| Attachment 3: Screenshot_from_2022-02-23_09-02-20.png
|

|
| Attachment 4: Screenshot_from_2022-02-23_09-02-04.png
|
|
| Attachment 5: Screenshot_from_2022-02-23_09-01-50.png
|

|
| Attachment 6: Screenshot_from_2022-02-23_09-01-36.png
|

|
| Attachment 7: Screenshot_from_2022-02-23_09-01-15.png
|

|
| Attachment 8: Screenshot_from_2022-02-23_09-00-35.png
|

|
| Attachment 9: Screenshot_from_2022-02-23_08-59-04.png
|

|
| Attachment 10: Screenshot_from_2022-02-23_08-58-46.png
|

|
|
252
|
Wed Feb 23 06:58:19 2022 |
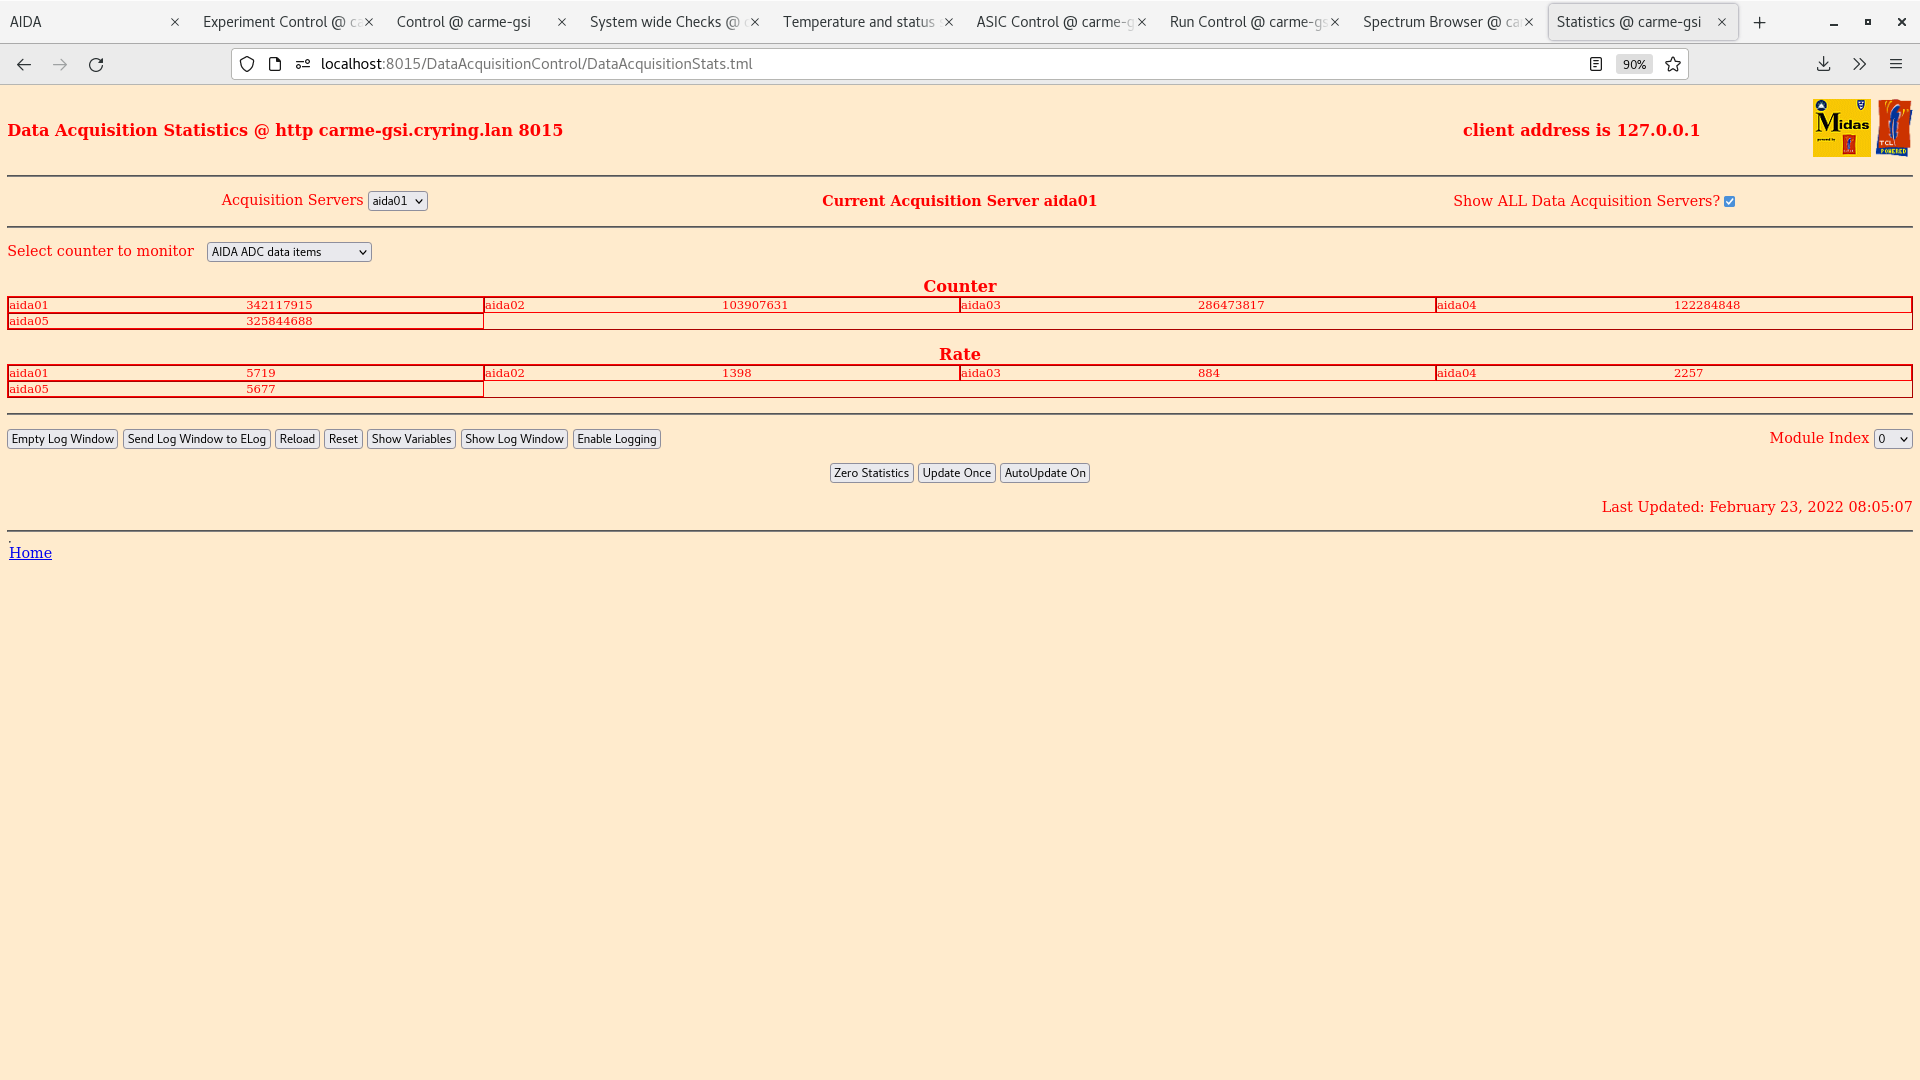
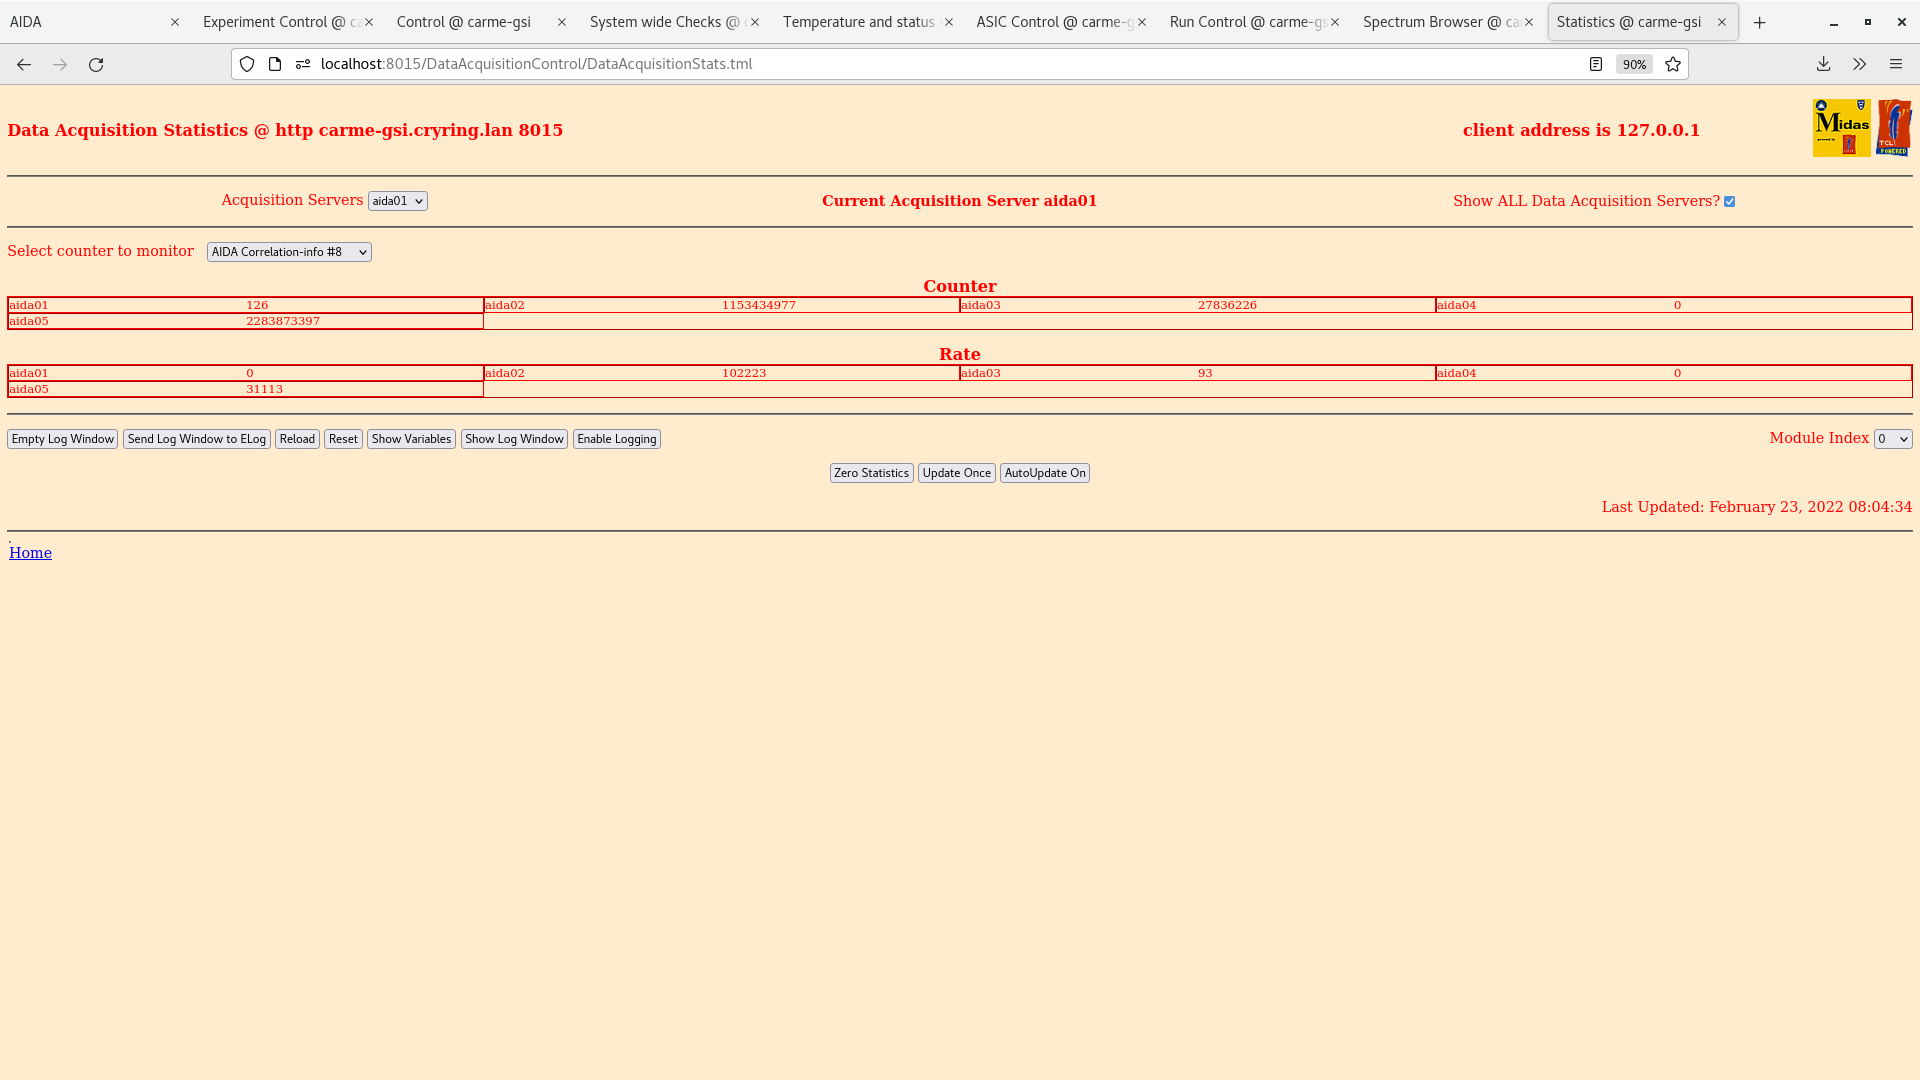
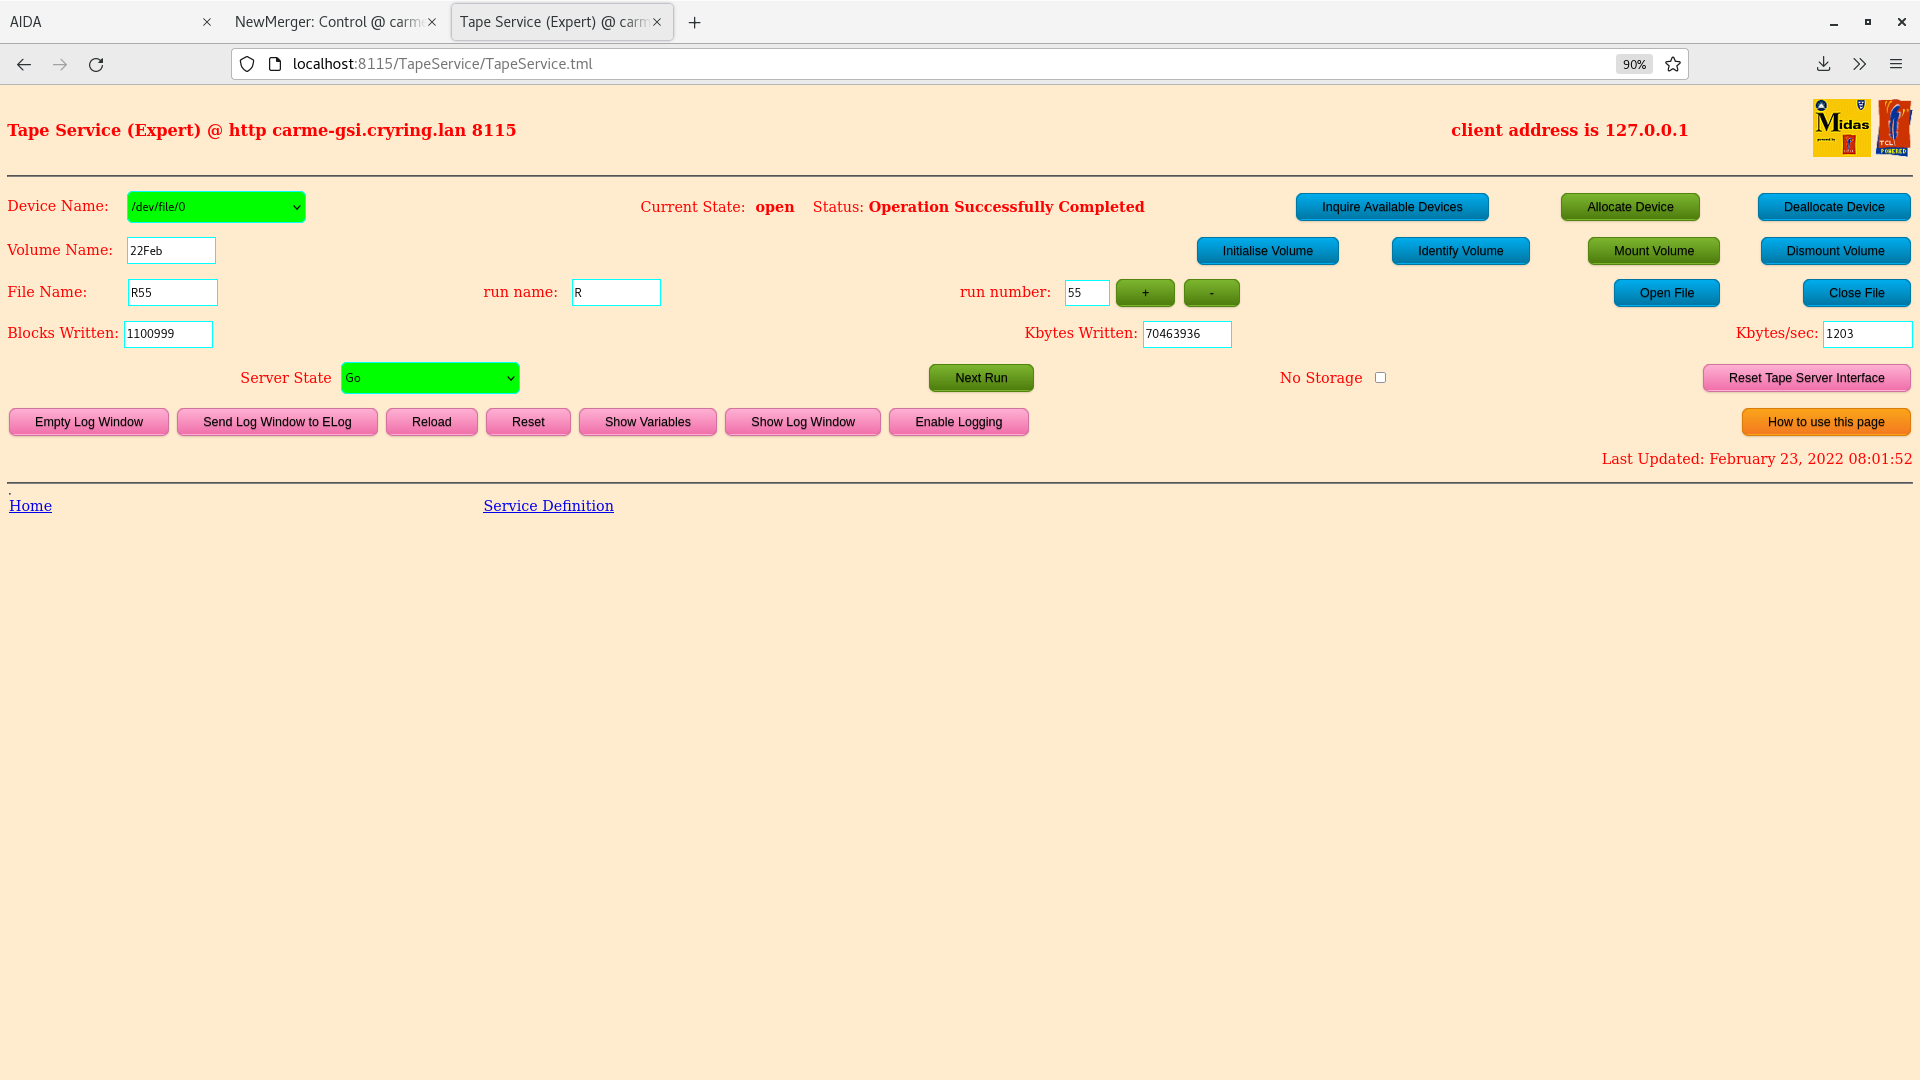
Laszlo, Thanassis | Current status |
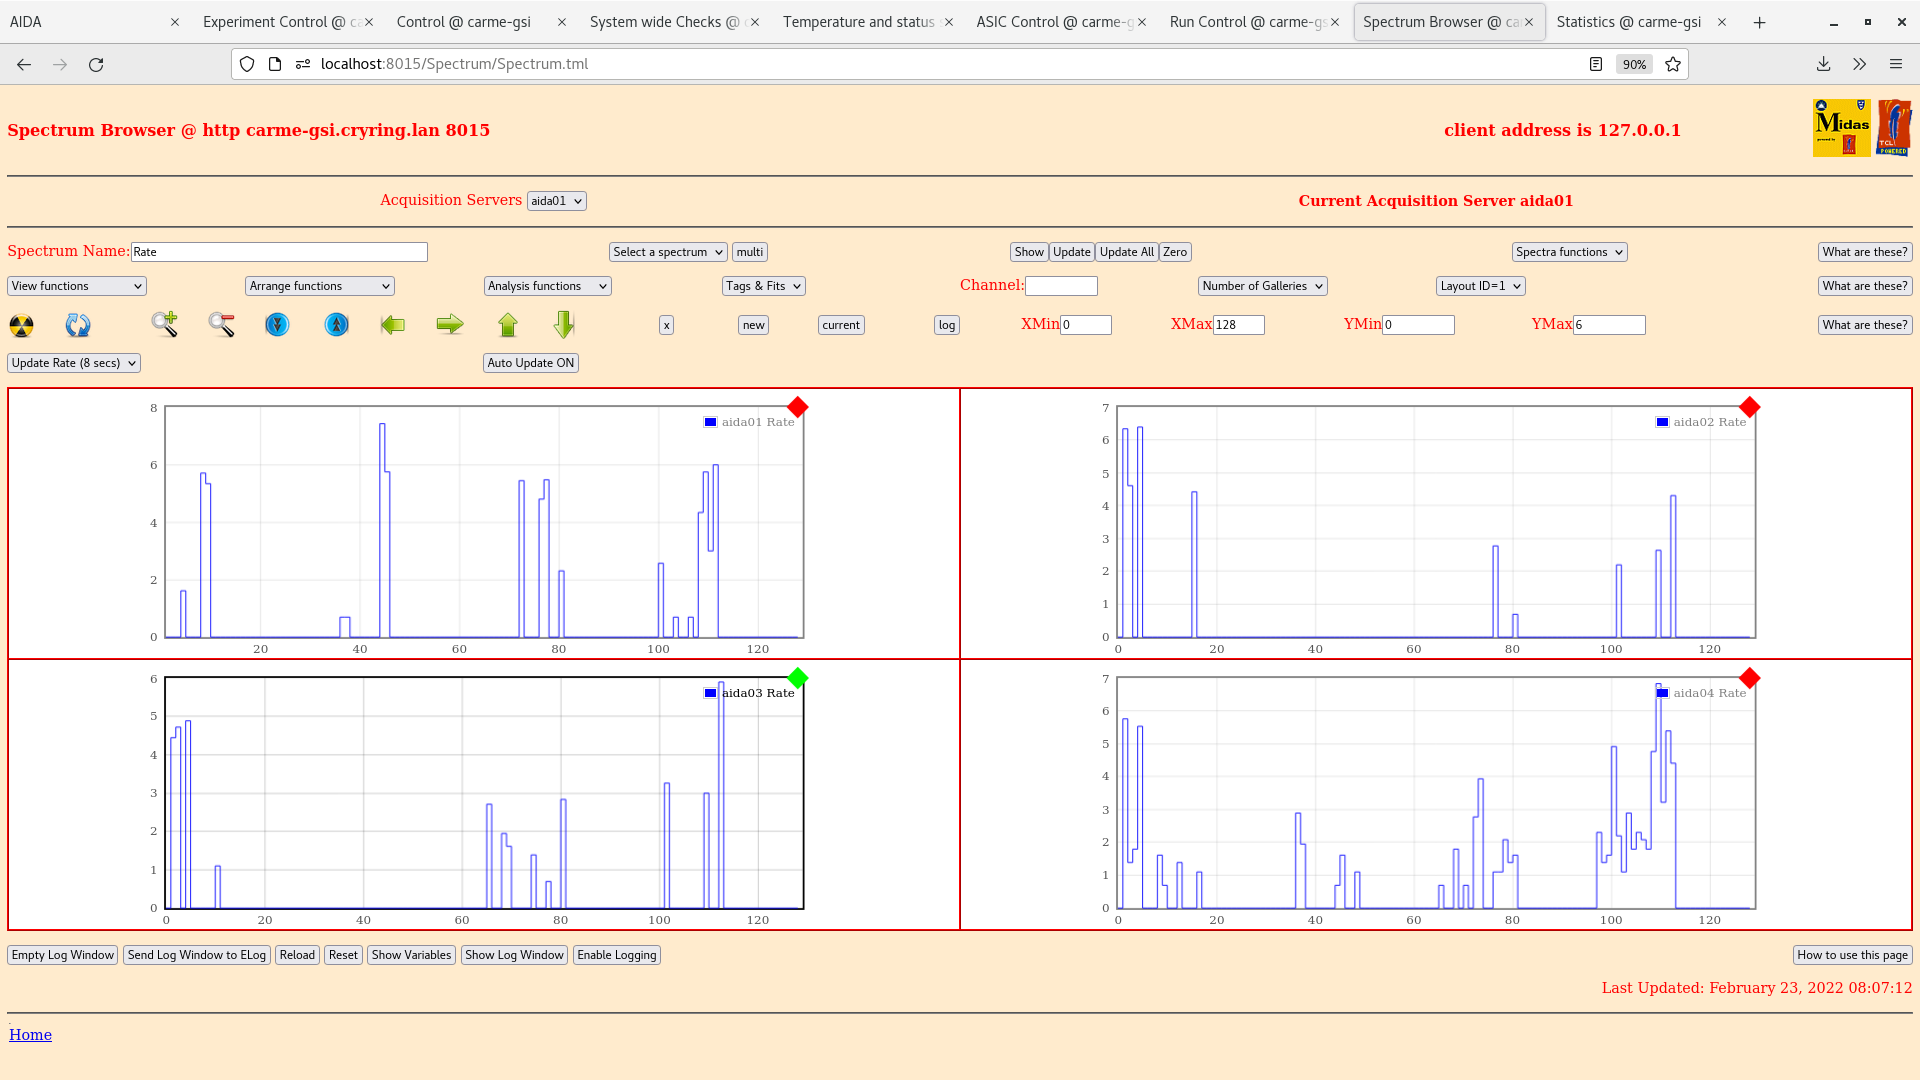
08:00
Temps OK
System Check OK
White Rabbit fail diff: 99
Write Speed: ~1.0Mb/s
Leakage Current: ~3.47uA
Cryo Temp = 129.2K setpoint (unchanged)
Pressures stable
AVG Pressures:
YR07: 2.06e-10mbar
YR08: 2.71e-9mbar
YR09: 1.06e-9mbar (up from previous check)
YR10: 1.78e-10mbar |
| Attachment 1: Screenshot_from_2022-02-23_08-08-36.png
|

|
| Attachment 2: Screenshot_from_2022-02-23_08-08-16.png
|

|
| Attachment 3: Screenshot_from_2022-02-23_08-07-48.png
|

|
| Attachment 4: Screenshot_from_2022-02-23_08-07-21.png
|
|
| Attachment 5: Screenshot_from_2022-02-23_08-05-30.png
|

|
| Attachment 6: Screenshot_from_2022-02-23_08-05-11.png
|
|
| Attachment 7: Screenshot_from_2022-02-23_08-04-42.png
|
|
| Attachment 8: Screenshot_from_2022-02-23_08-04-01.png
|

|
| Attachment 9: Screenshot_from_2022-02-23_08-02-57.png
|

|
| Attachment 10: Screenshot_from_2022-02-23_08-02-19.png
|
|
| Attachment 11: leakage-2022-02-23_08-00-38.png
|

|
|
251
|
Wed Feb 23 06:00:25 2022 |
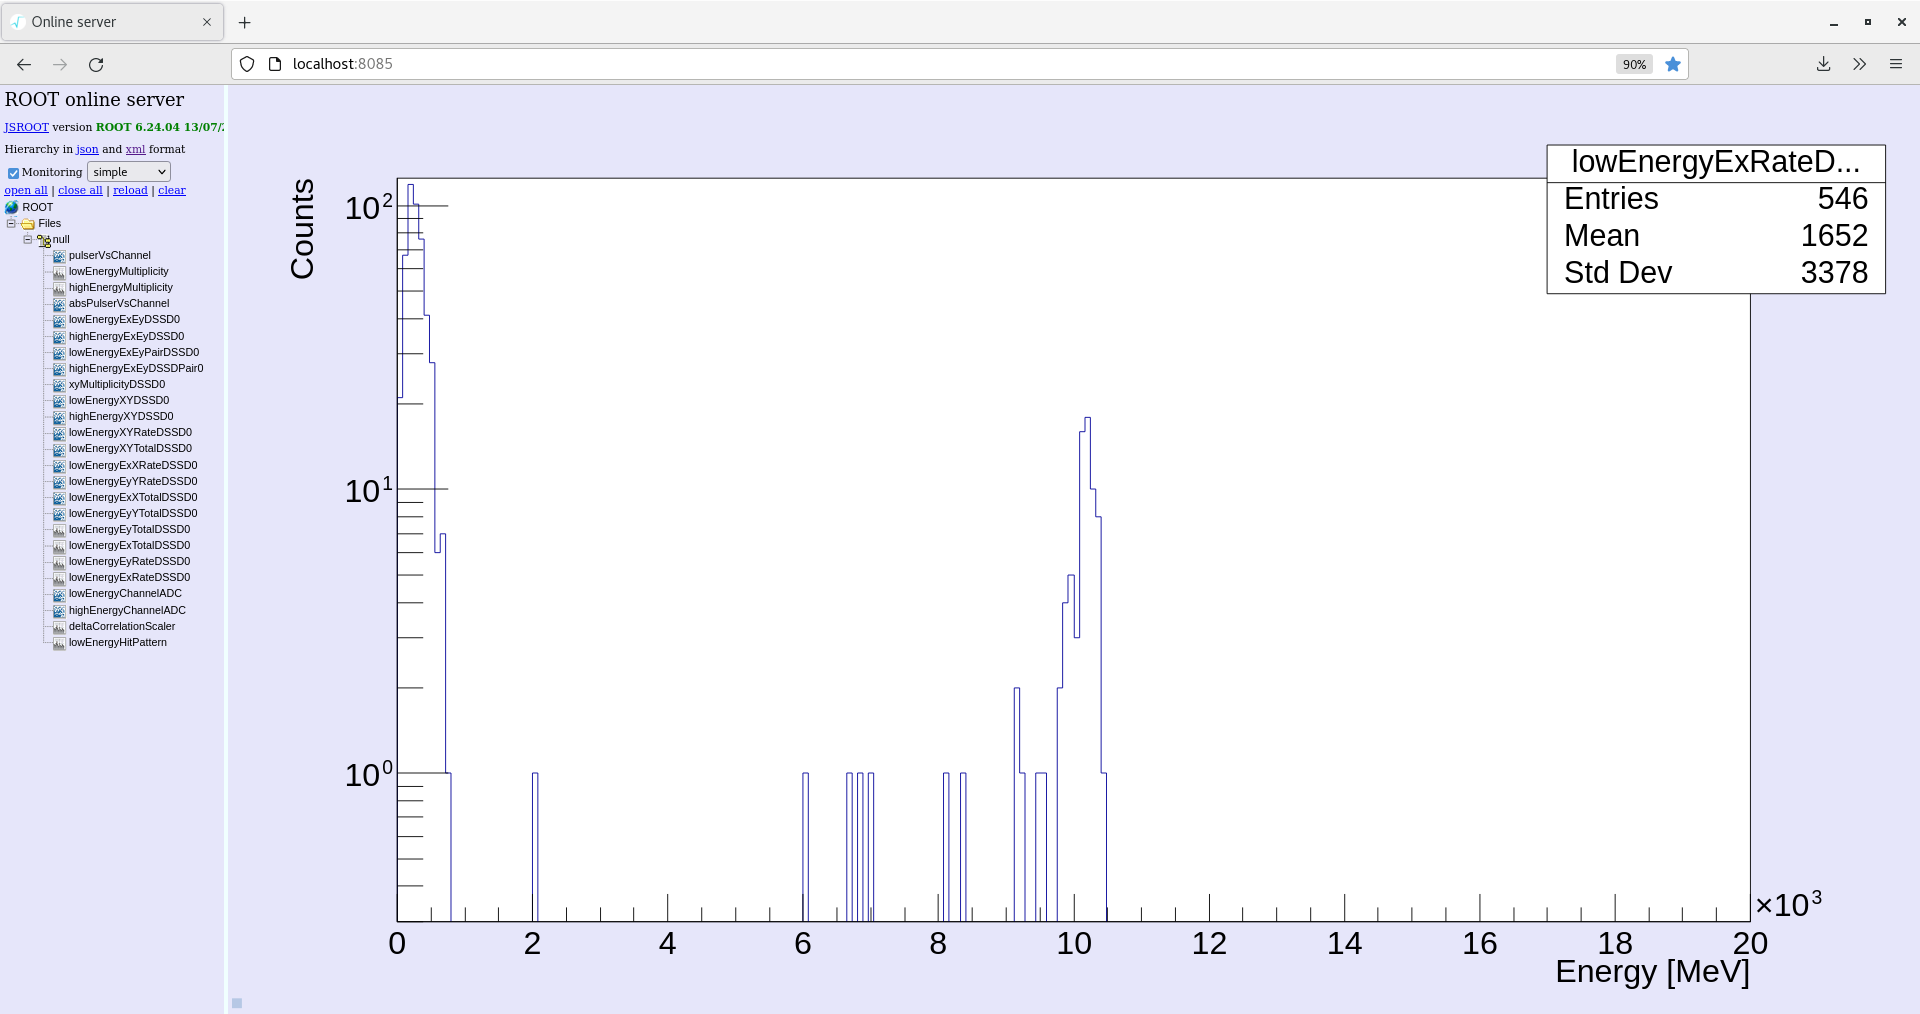
Jordan, George | Current status |
07:00
Pressure Stable
Temps OK
System Check OK
White Rabbit fail diff: 90
Write speed: ~1Mb/s
Leakage Current: 3.47uA
Cryo Temp Setpoint: 129.2K (unchanged)
AVG Pressures:
YR07: 1.66e-10mbar
YR08: 1.93e-9mbar
YR09: 7.63e-10mbar
YR10: 1.26e-10mbar |
| Attachment 1: 2022-02-23_07-06-36exRate.png
|
|
| Attachment 2: 2022-02-23_07-06-11exTotal.png
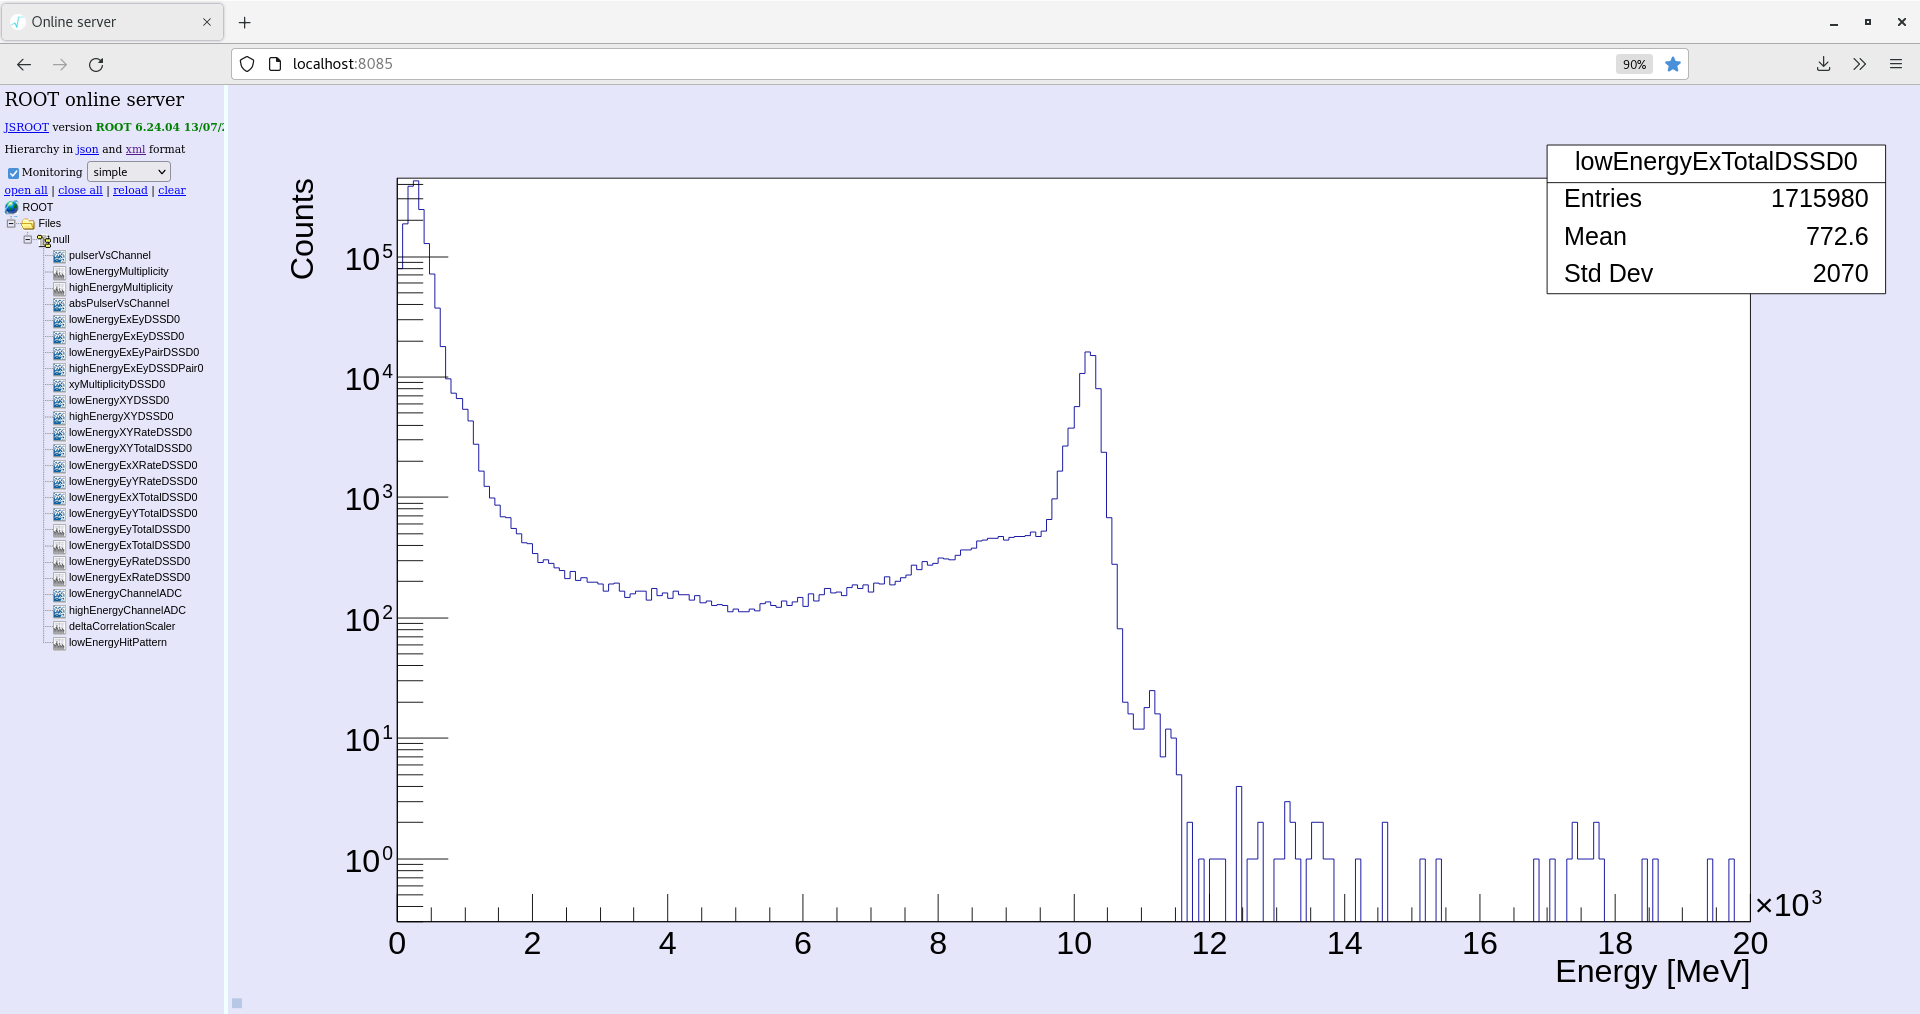
|
|
| Attachment 3: 2022-02-23_07-05-42xyTotal.png
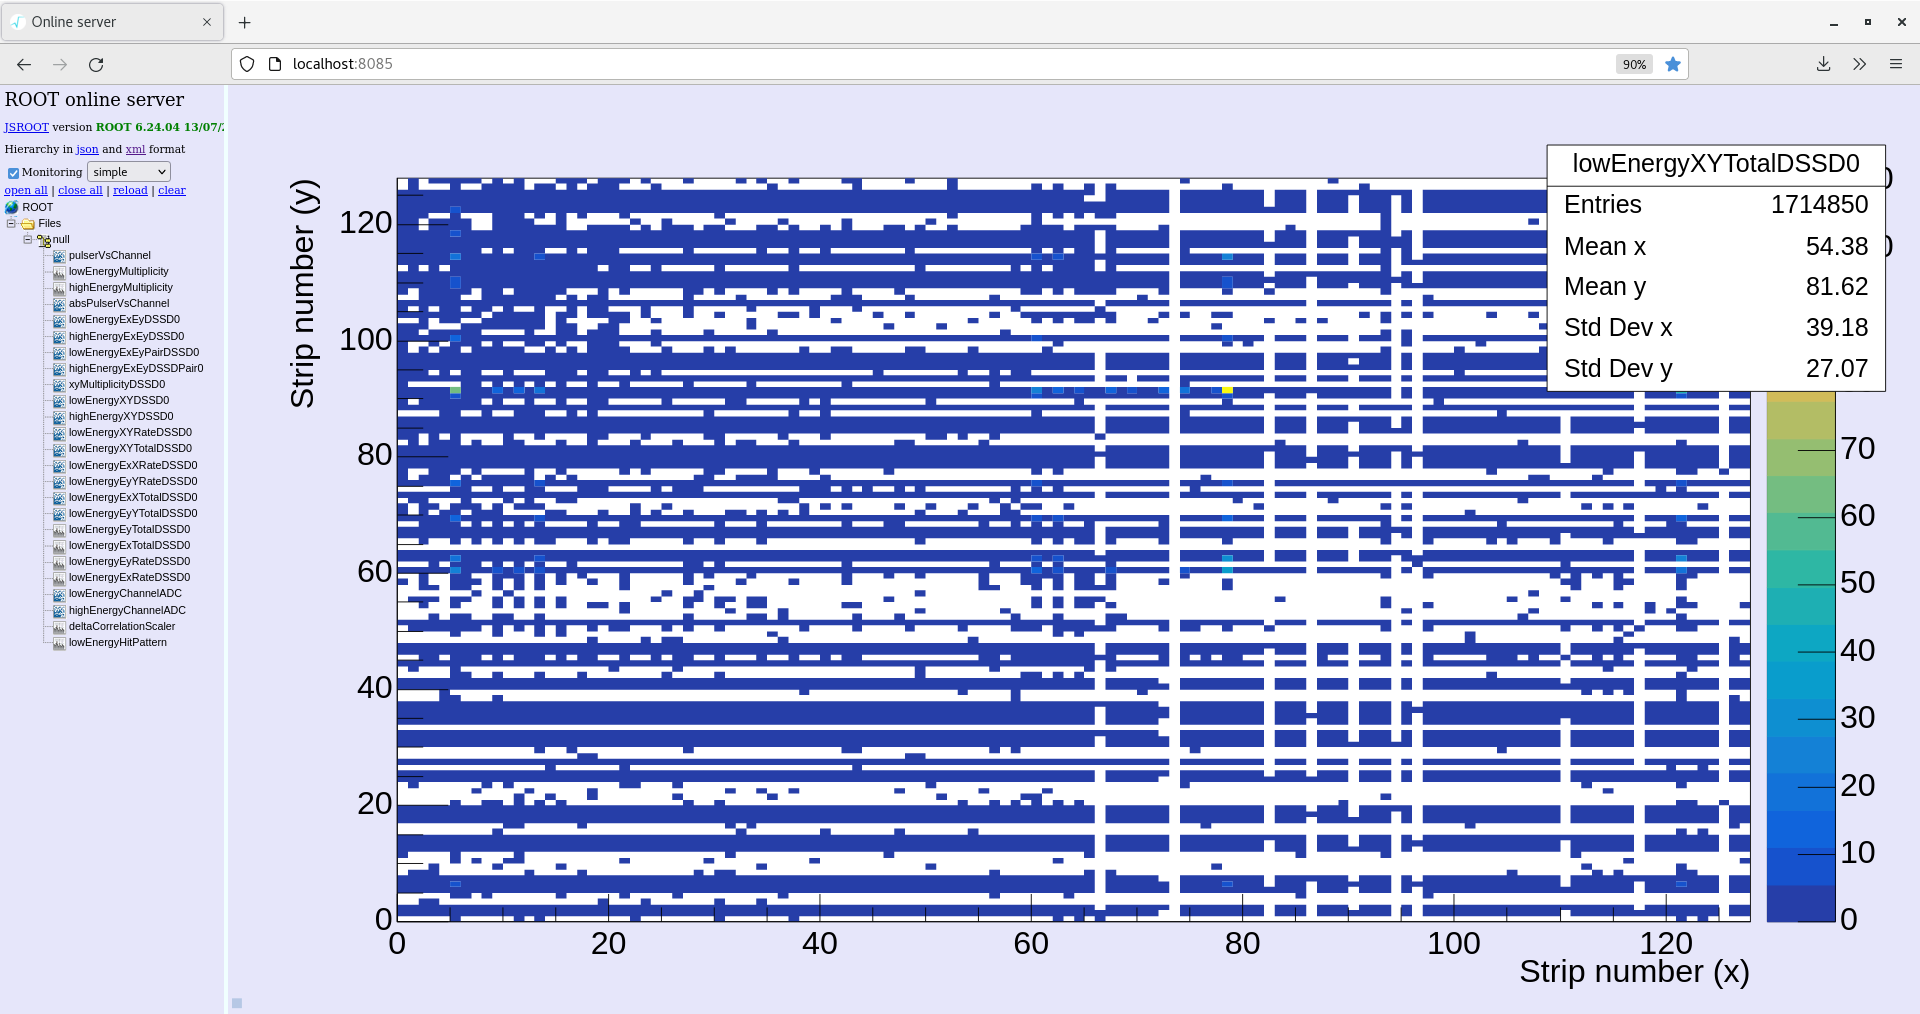
|
|
|
250
|
Wed Feb 23 04:55:48 2022 |
Jordan, George | Current status |
05:55
Temps OK
System Check OK
White Rabbit fail diff: 90
Write Speed: ~1.0Mb/s
Leakage Current: ~3.47uA
Cryo Temp = 129.2K setpoint (unchanged)
Pressures stable
AVG Pressures:
YR07: 1.79e-10mbar
YR08: 2.21e-9mbar
YR09: 8.64e-10mbar
YR10: 1.36e-10mbar |
| Attachment 1: 2022-02-23_06-00-29xyTotal.png
|

|
| Attachment 2: 2022-02-23_05-59-36exRate.png
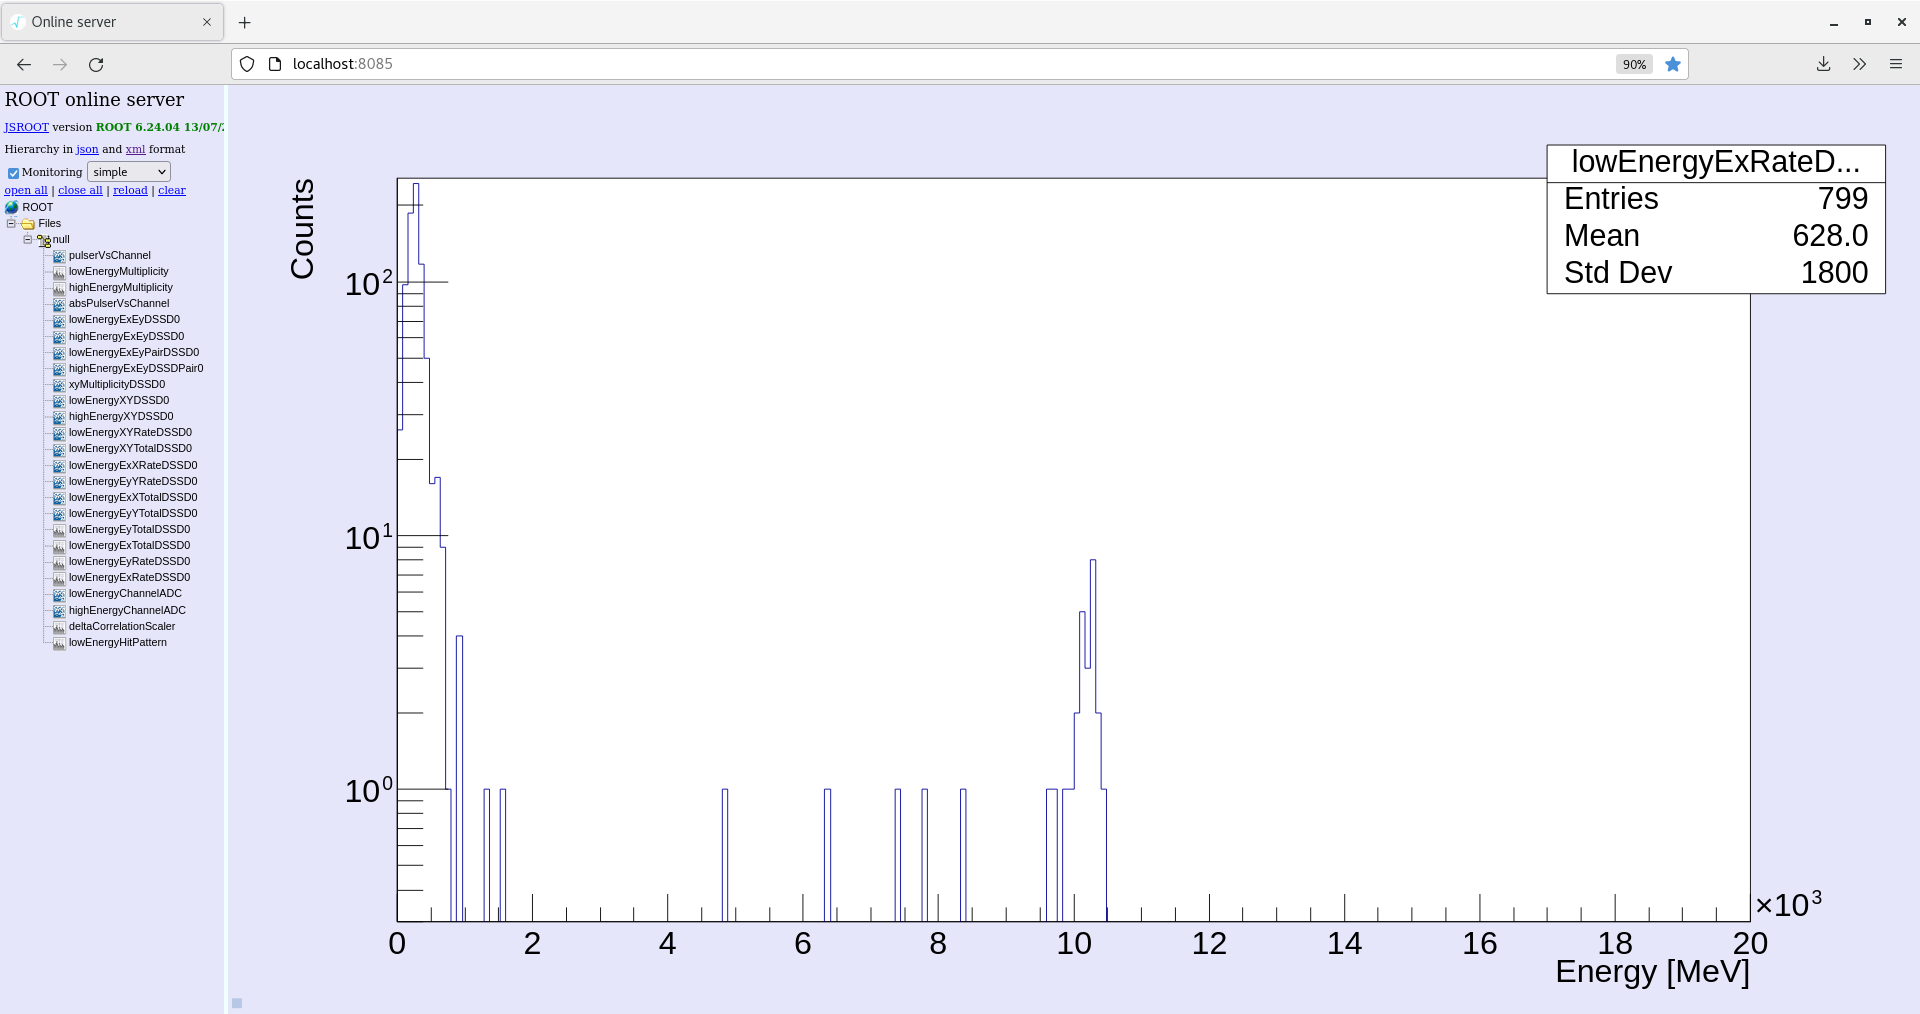
|
|
| Attachment 3: 2022-02-23_05-59-05exTotal.png
|

|
|
249
|
Wed Feb 23 03:52:13 2022 |
Jordan, George | Current status |
04:52
Pressure seems to be climbing a little but still stable (just peaked at end of check)
Temps OK
Write Speed: ~1.0Mb/s
System Checks OK
White Rabbit fail diff: 90
Leakage Current: 3.47uA
Cryo Temp: 129.2K (unchanged)
AVG Pressures:
YR07: 1.79e-10mbar
YR08: 2.3e-9mbar
YR09: 9.46e-10mbar
YR10: 1.41e10mbar
Avg pressures plots for last hour and last 6 hours attached. |
| Attachment 1: 2022-02-23_04-58-19-XYtotal.png
|

|
| Attachment 2: 2022-02-23_04-57-17-Ex-total-hist.png
|

|
| Attachment 3: 2022-02-23_04-56-36-Ex-rate-hist.png
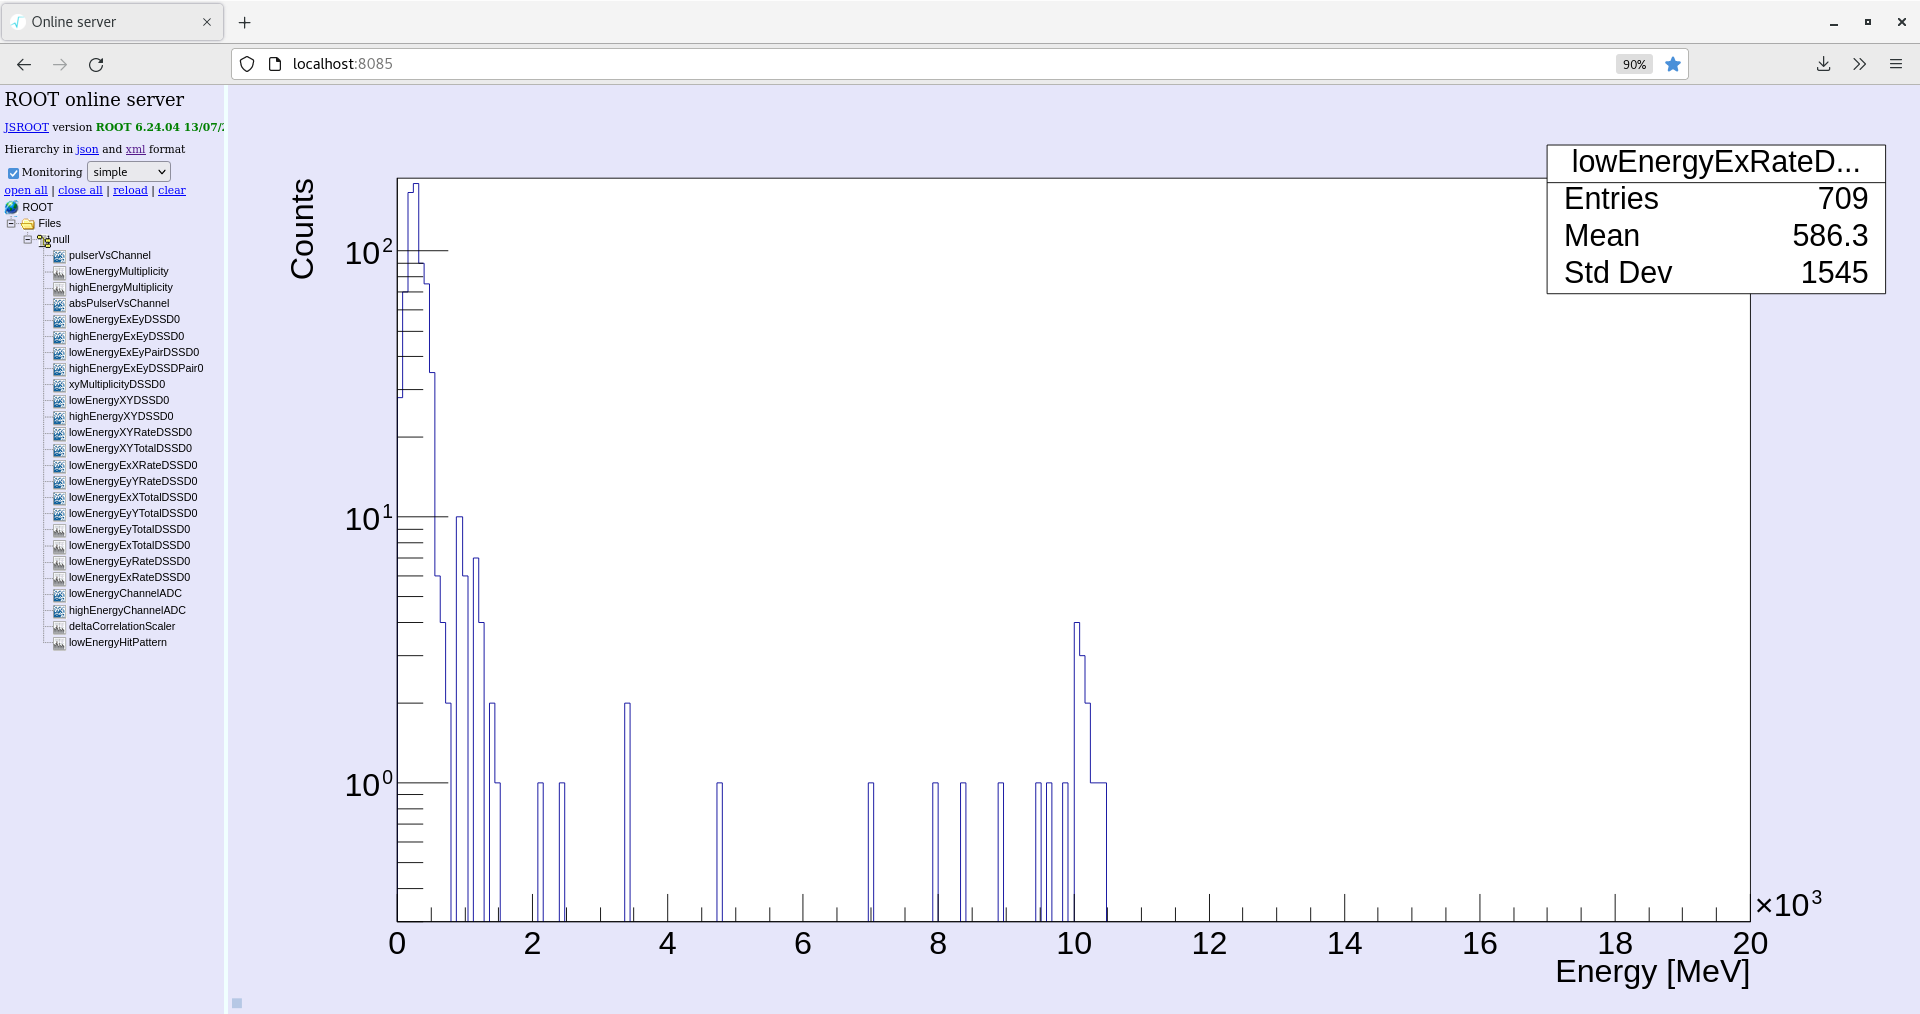
|
|
| Attachment 4: pressures-1hour.jpg
|

|
| Attachment 5: pressure-6hours.jpg
|

|
|
248
|
Wed Feb 23 02:52:09 2022 |
Jordan, George | Current status |
03:52
Temps OK
System Checks OK
White rabbit diff: 90
Data rate: 1.2Mb/s
Leakage Current: 3.474uA
Cryo temp = 129.2K (unchanged)
Pressures stable
AVG Pressures:
YR07: 1.74e-10mbar
YR08: 2.15e-9mbar
YR09: 8.61e-10mbar
YR10: 1.32e-10mbar |
| Attachment 1: 2022-02-23_03-58-03xyTotal.png
|

|
| Attachment 2: 2022-02-23_03-57-34exTotal.png
|

|
| Attachment 3: 2022-02-23_03-56-52exRate.png
|

|
|
247
|
Wed Feb 23 01:56:59 2022 |
Jordan, George | Current status |
02:56
Temps OK
write speed ~1.2Mb/s
System check OK
White rabbit diff - 89
Leakage Current ~3.472uA
Pressures stable
Beam intensity ~3.0e7
cryostat setpoint 129.2K (unchanged)
AVG Pressures:
YR09: 8.48e-10mbar
YR10: 1.28e-10mbar
YR07: 1.71e-10mbar
YR08: 2.1e-9mbar
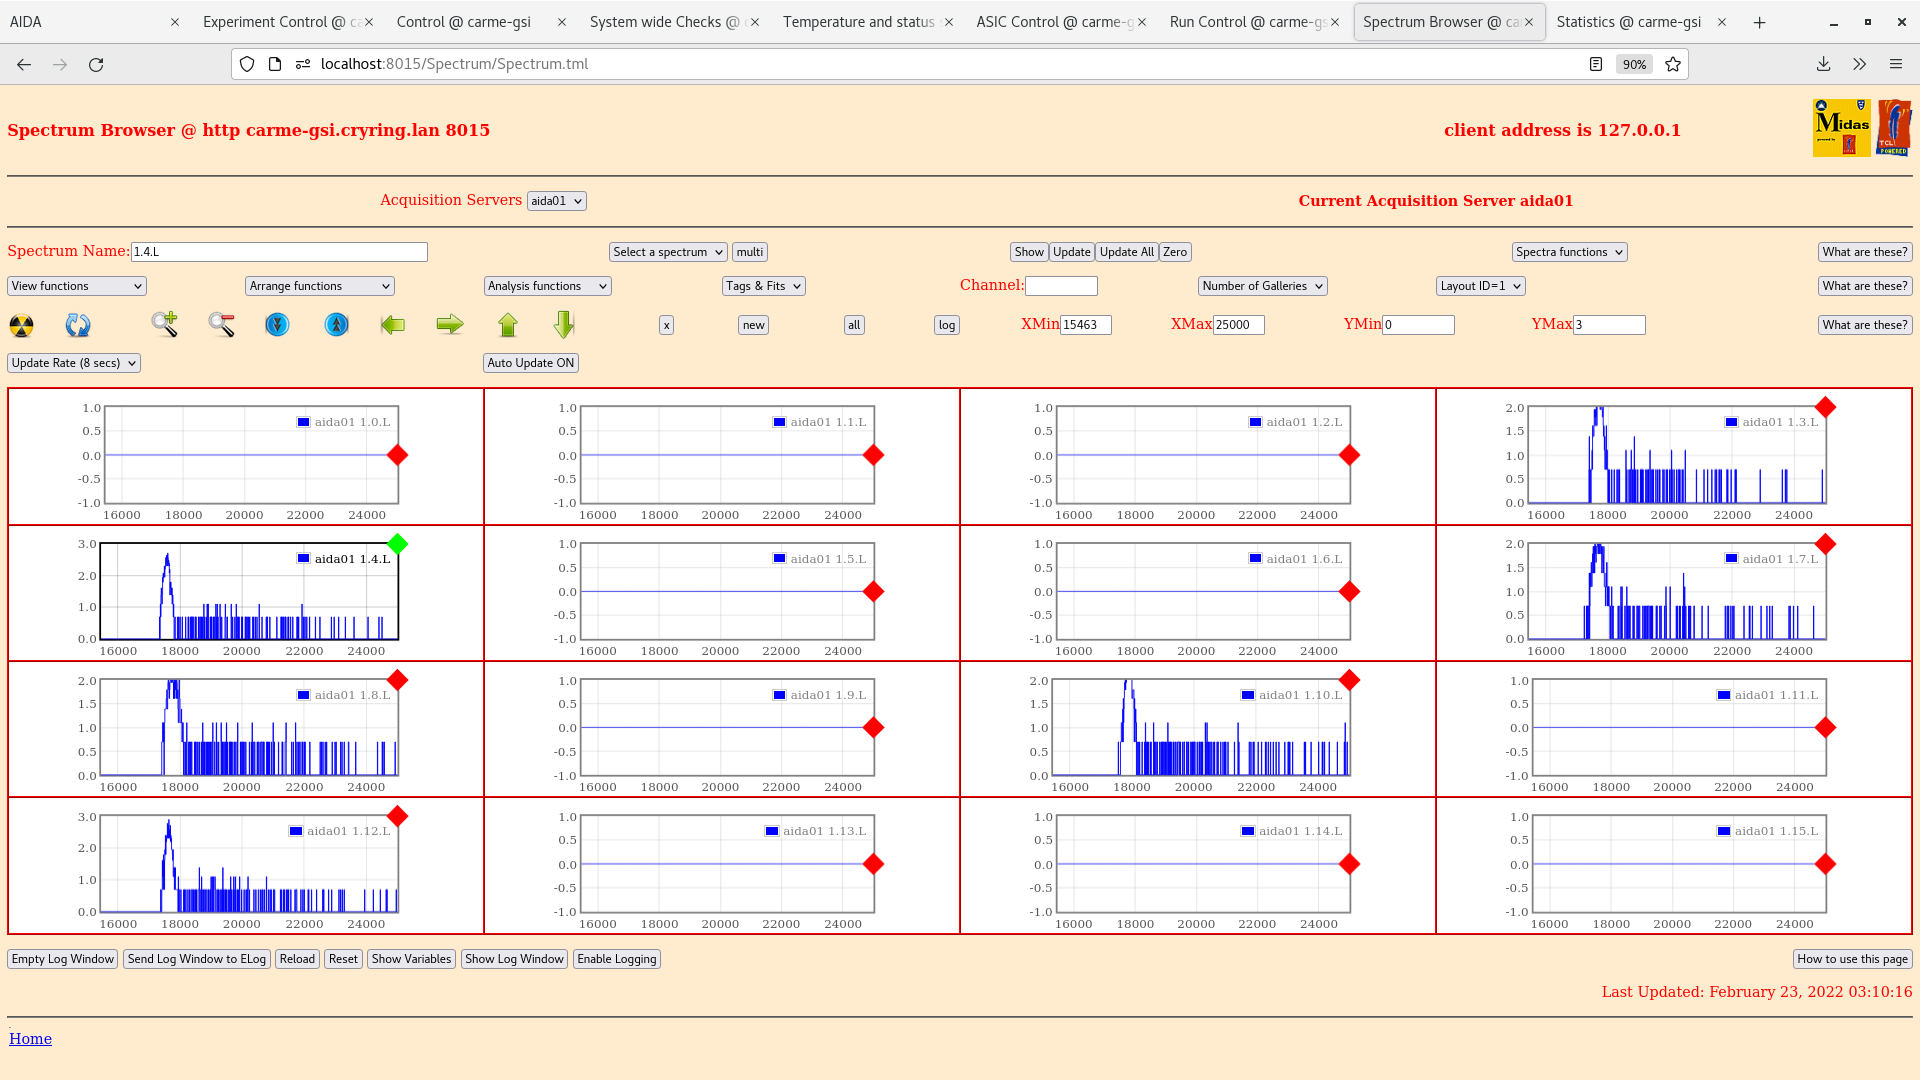
Aida 1 1*L plot attached. Some channels appear missing. Width of rutherford peaks ~280-300 channels. |
| Attachment 1: 2022-02-23_03-01-54xyTotal.png
|

|
| Attachment 2: 2022-02-23_03-00-54exTotal.png
|
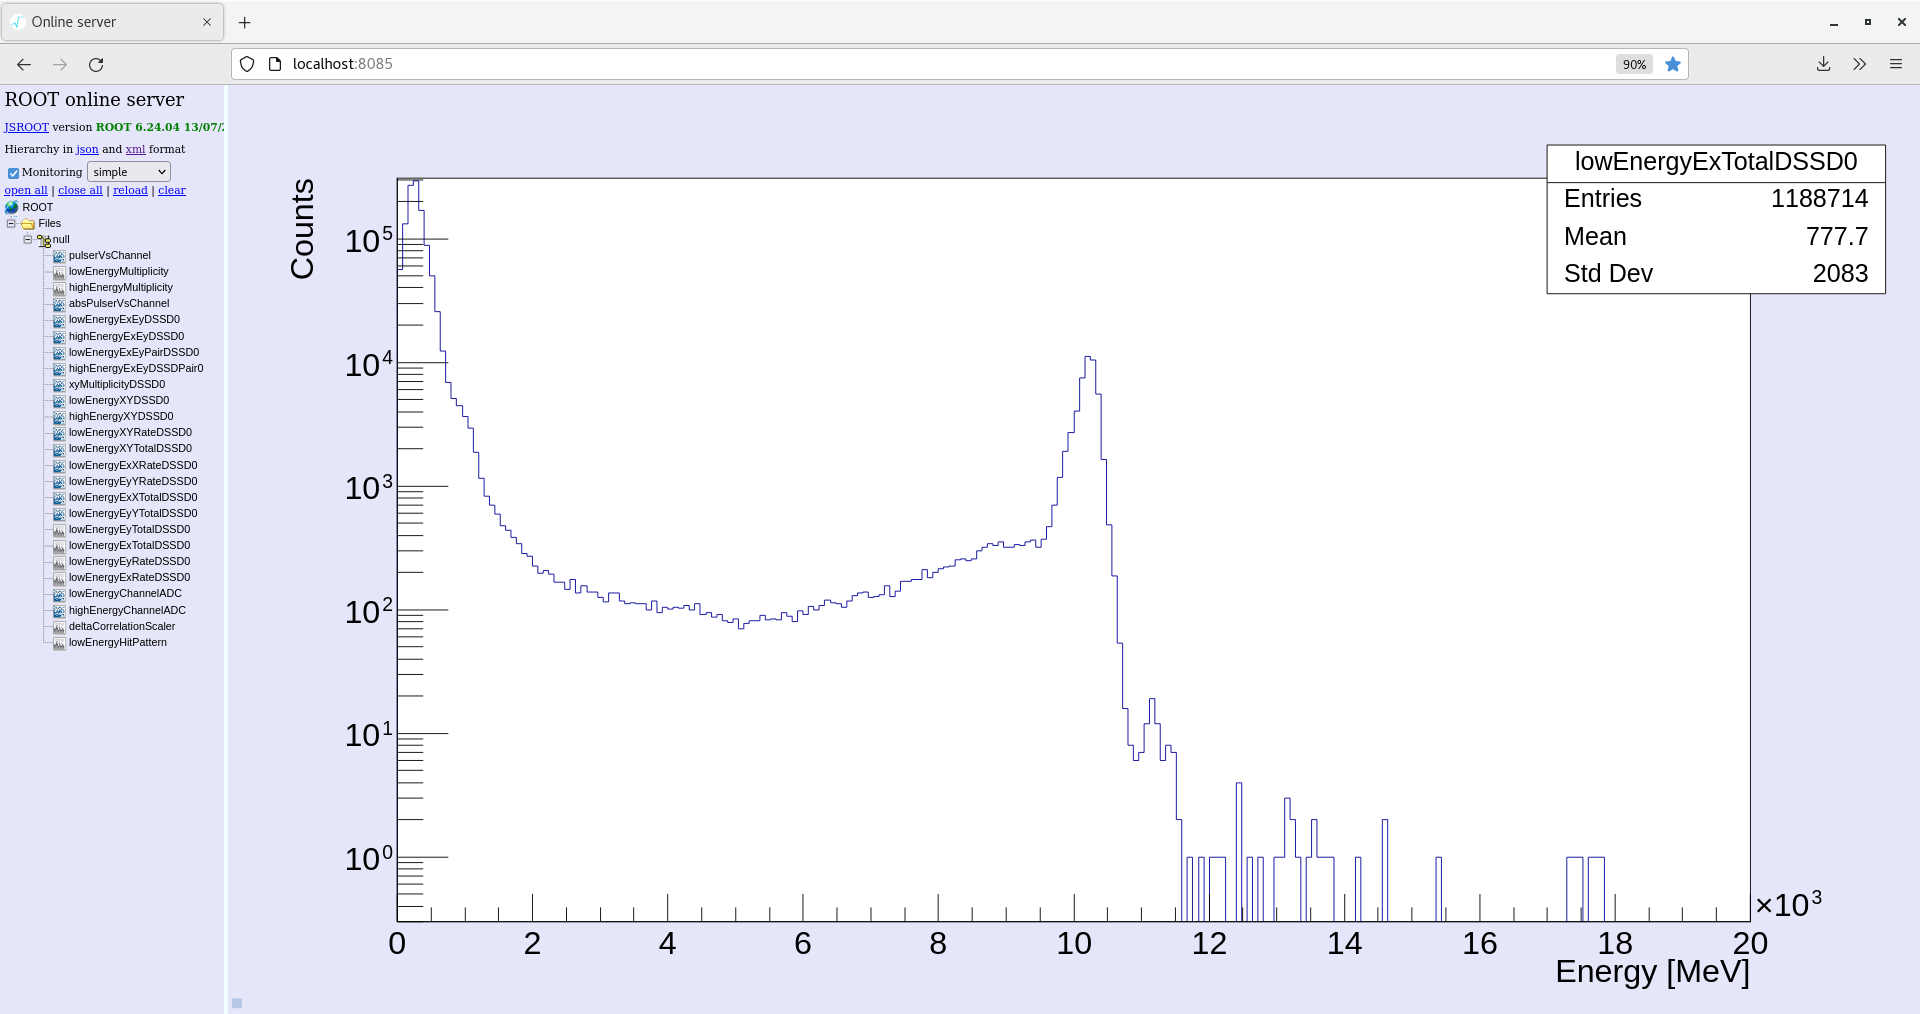
|
| Attachment 3: 2022-02-23_03-00-11exRate.png
|

|
| Attachment 4: 2022-02-23_03-10-45-aida1-1*L.png
|
|
|
246
|
Wed Feb 23 00:54:17 2022 |
Jordan, George | Current status |
02:04
Temps OK
Data Rate - ~1.1Mb/s
System Check OK
White rabbit diff - 83
Leakage Current - ~3.475uA
YR09 AVG: 7.51E-10mbar
YR10AVG: 1.21E-10mbar
YR07AVG: 1.67E-9mbar
YR08AVG: 1.91E-9mbar |
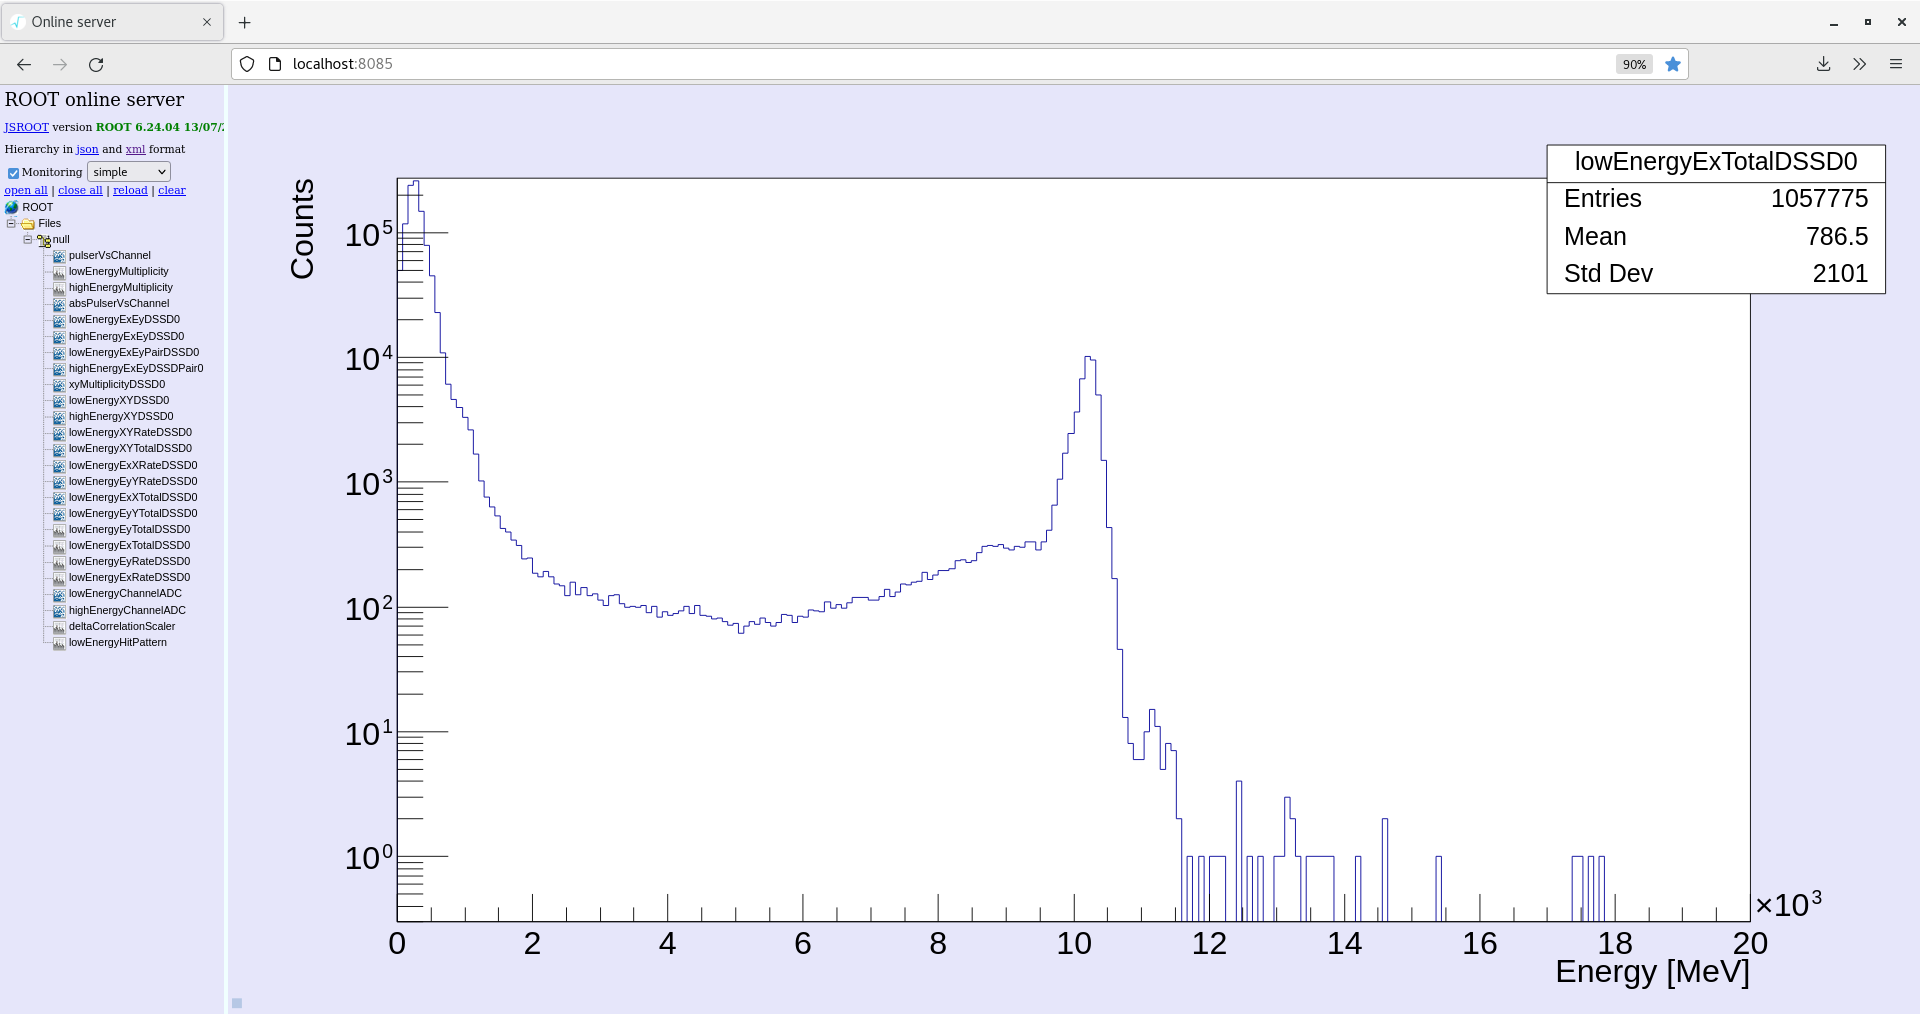
| Attachment 1: 2022-02-23_02-02-53extotal.png
|
|
| Attachment 2: 2022-02-23_02-02-00lowEnergyXYtot.png
|

|
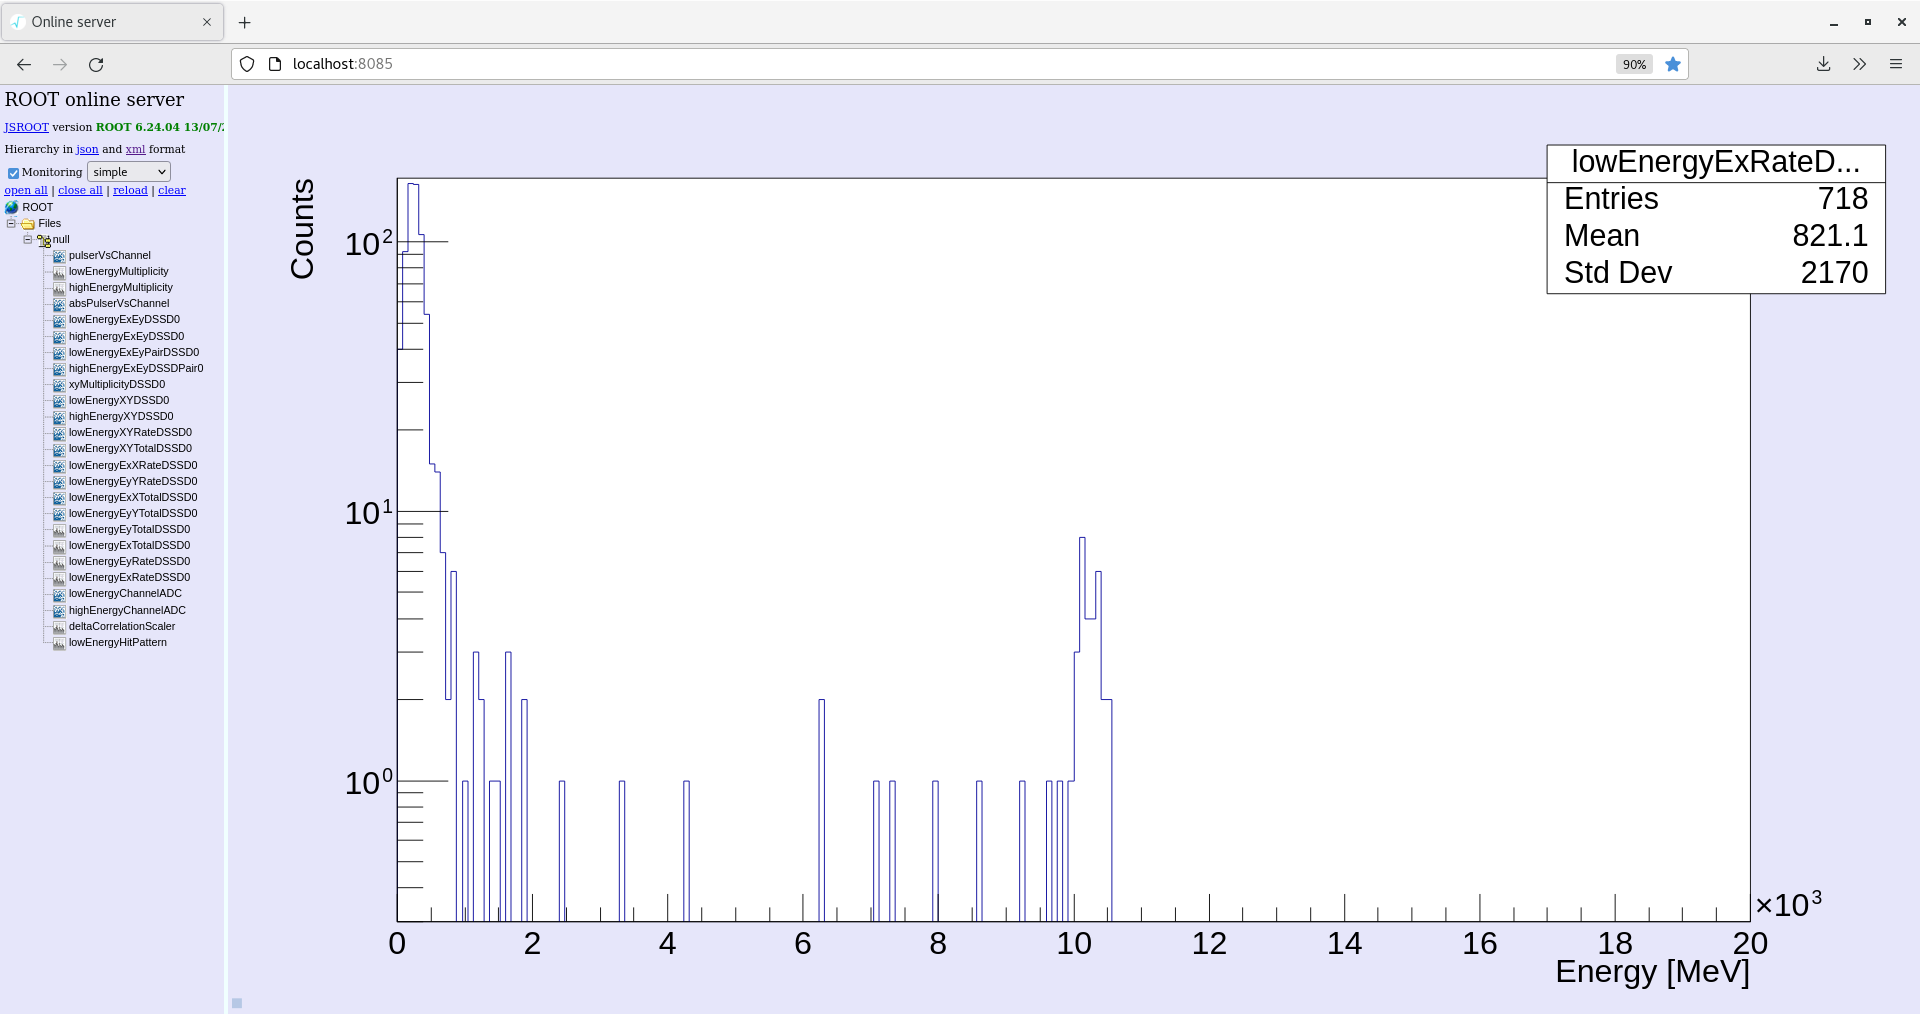
| Attachment 3: 2022-02-23_01-59-14exRate.png
|
|
|
245
|
Tue Feb 22 21:57:13 2022 |
George, Jordan | Current status |
23:53
Temperatures OK
System checks OK - white rabbit fail diff ~ 80
Pressures stable
Cryo temp = 129.2 K setpoint
Data rate ~1.2 MB/s
Leakage current ~ 3.47 uA
00:53
YR10 avg = 1.29E-10 mbar
YR09 avg = 8.7E-10 mbar
YR04 avg = 1.13E-11 mbar
YR07 avg = 1.76E-10 mbar
YR08 avg = 2.18E-9 mbar
Data rate ~ 1.1 Mb/s
Temperatures OK
system checks OK - white rabbit fail diff ~ 80
Pressure stable, cryostat temp setpoint = 129.2k
Leakage current = 3.47 uA
Beam intensity reads ~ 2.6-3E7 |
| Attachment 1: 2022-02-22_23-53-38-lowenergy-xytotal.png
|

|
| Attachment 2: 2022-02-22_23-50-45-Ex-rate-hist.png
|

|
| Attachment 3: 2022-02-22_23-49-20-Ex-total-hist.png
|

|
| Attachment 4: 20220223_002946.jpg
|

|
|
244
|
Tue Feb 22 21:09:39 2022 |
David, Yuri | Current status |
Pressure seems as before 19:10.
Merger, Tape server (WS3) checks: DONE, writing ~1 MB/s, refreshing is fine
Leakage current (WS4): 3.47 uA , stable current
DAQ (WS2): temperature checked, clock status:ok, adc calibration:ok, white rabbit check:ok
DAQ (WS2): everything ok
Online monitoring (WS 5): done |
| Attachment 1: 2022-02-22_22-12-55xytotal.png
|

|
| Attachment 2: 2022-02-22_22-12-21exrate.png
|

|
| Attachment 3: 2022-02-22_22-12-00extotal.png
|

|
|
243
|
Tue Feb 22 20:08:40 2022 |
David, Yuri | Current status |
Recently the pressure started to raise a bit, we have increased the temperature from 129.1 K to 129.2 K. Current pressure at S1 2.10e-7.
Merger, Tape server (WS3) checks: DONE, writing ~1 MB/s, refreshing is fine
Leakage current (WS4): 3.46 uA , stable current
DAQ (WS2): temperature checked, clock status:ok, adc calibration:ok, white rabbit check:ok
DAQ (WS2): everything ok
Online monitoring (WS 5): done |
| Attachment 1: 2022-02-22_21-14-23exrate.png
|

|
| Attachment 2: 2022-02-22_21-14-01xytotal.png
|

|
| Attachment 3: 2022-02-22_21-13-11extotal.png
|

|