| |
ID |
Date |
Author |
Subject |
|
|
246
|
Wed Feb 23 00:54:17 2022 |
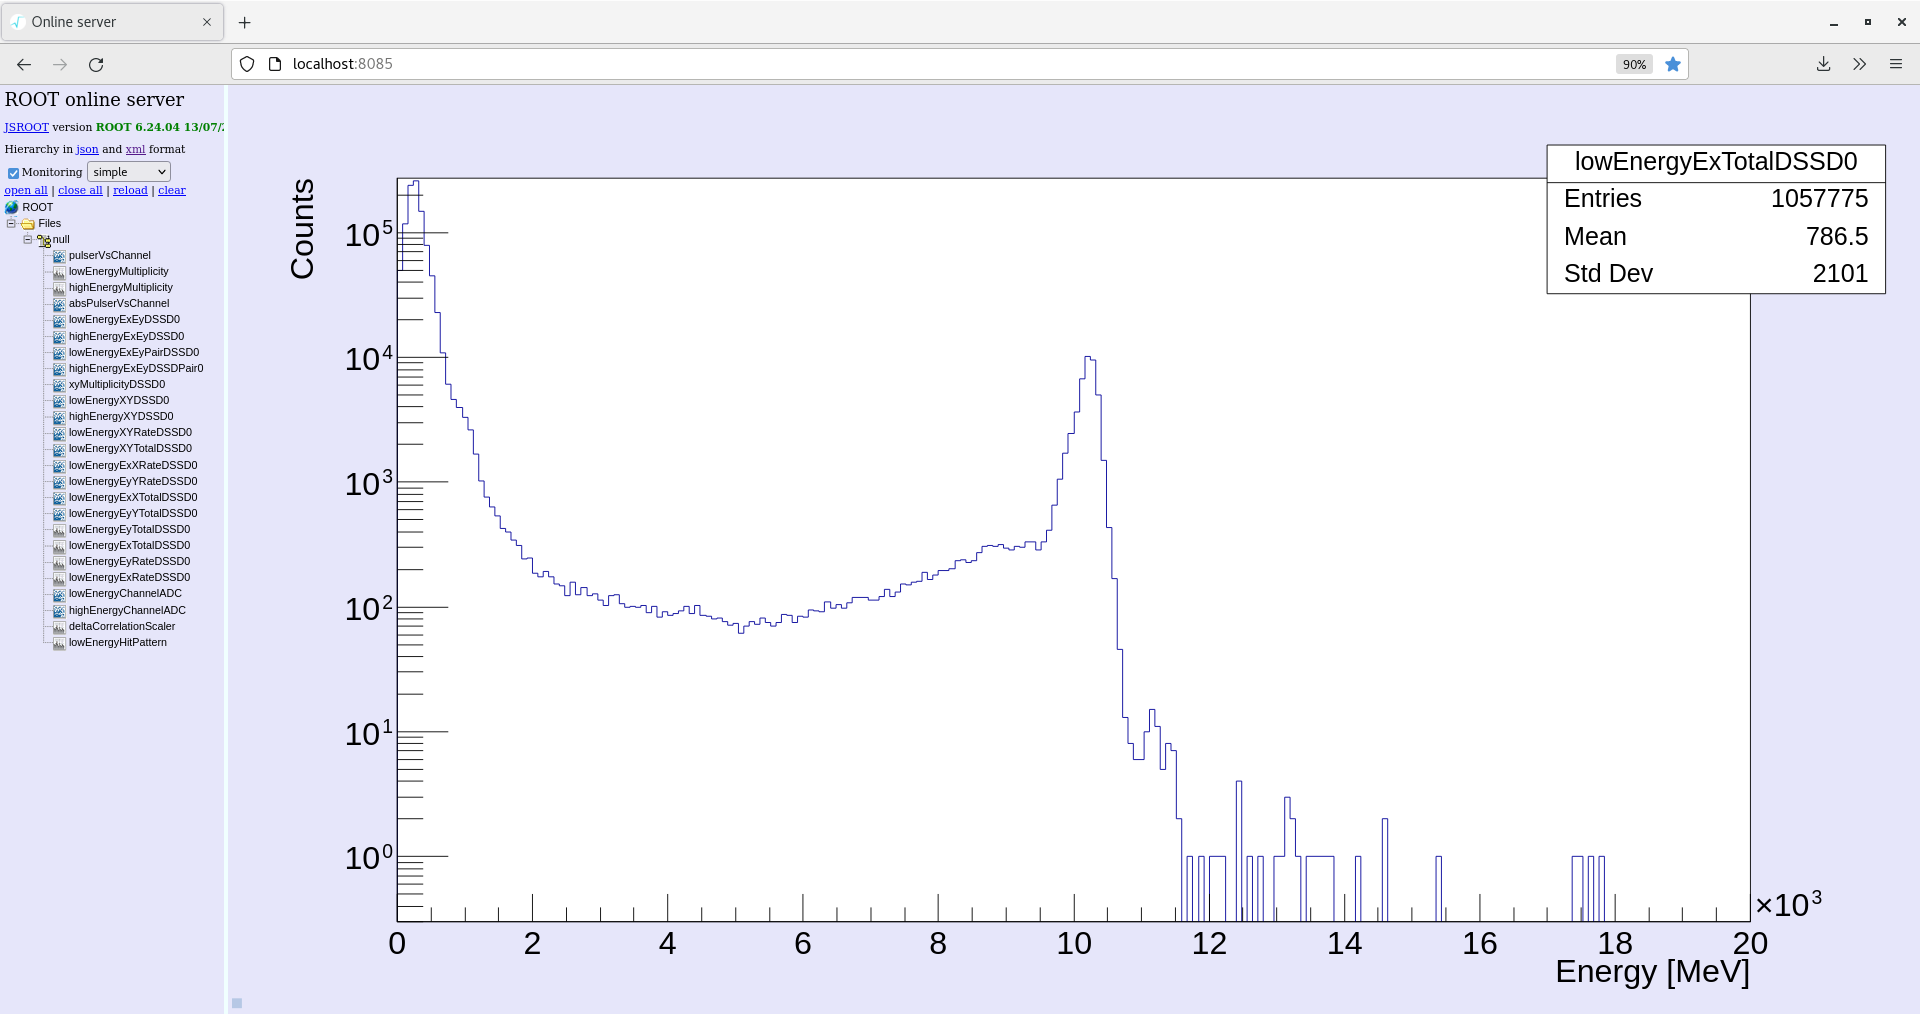
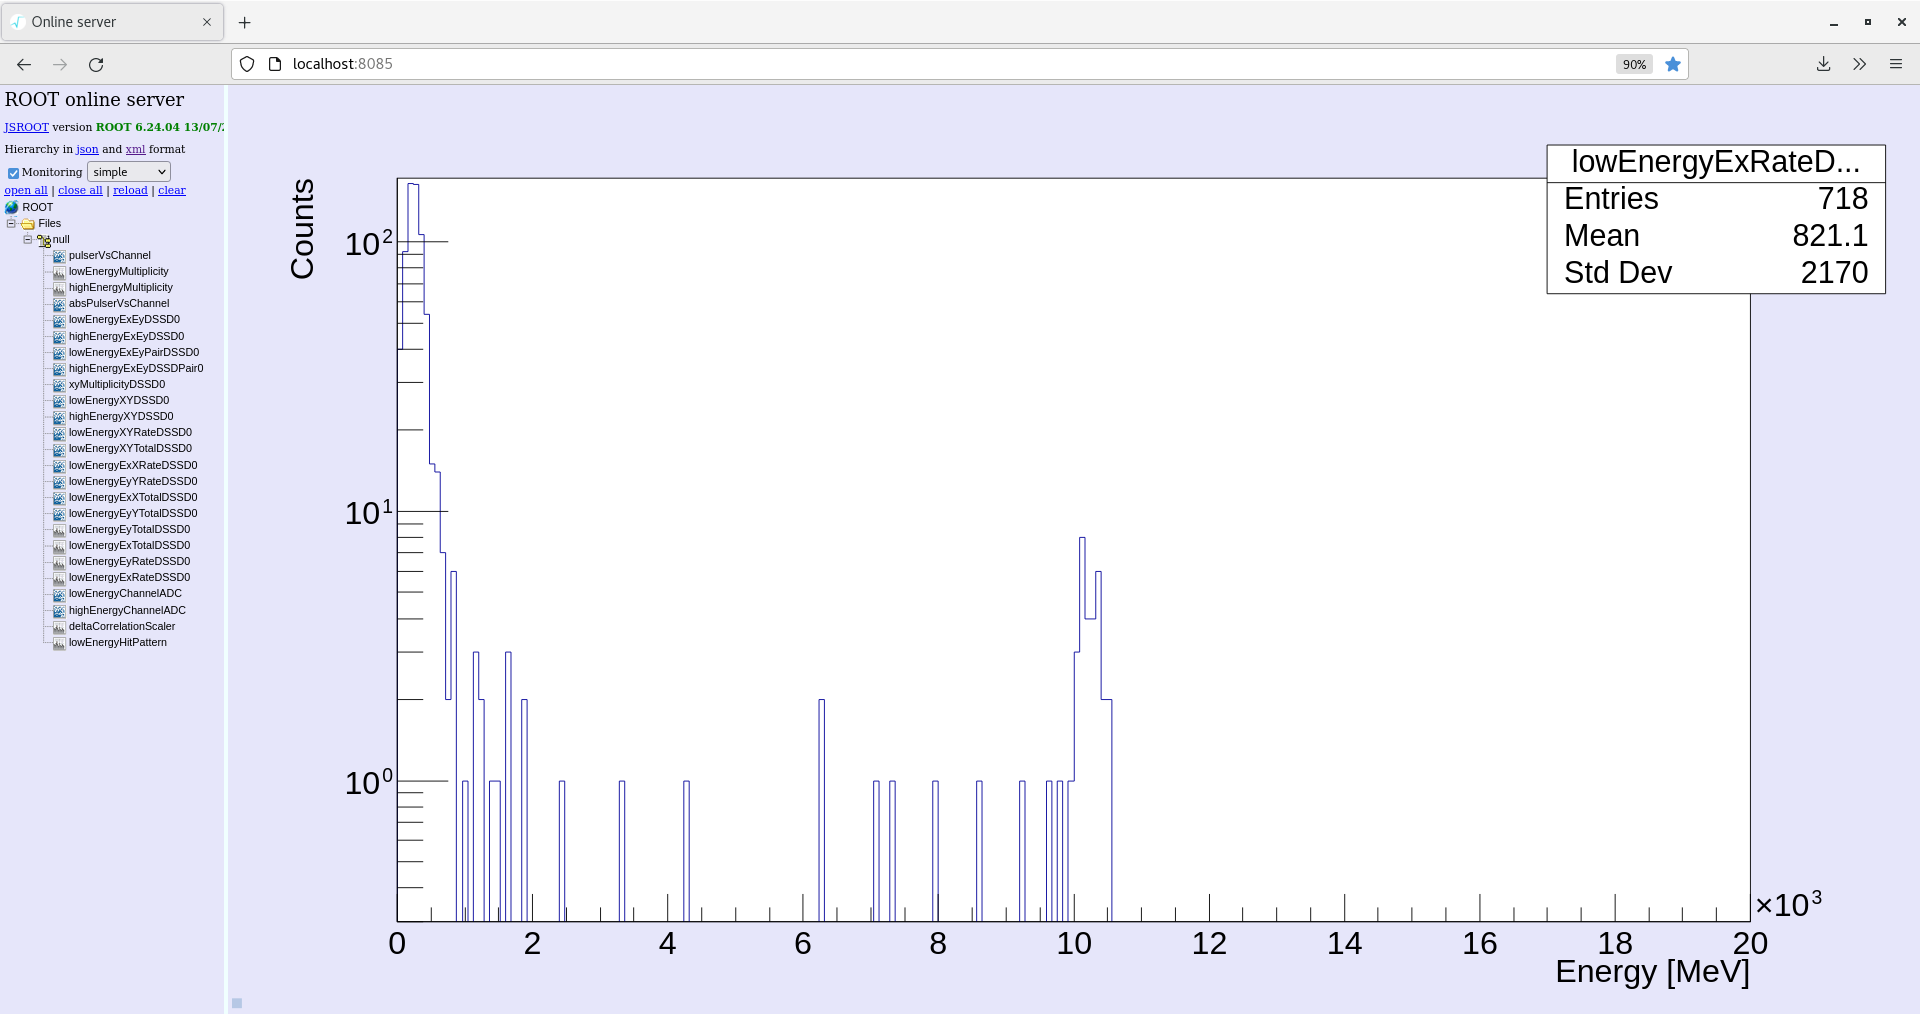
Jordan, George | Current status |
02:04
Temps OK
Data Rate - ~1.1Mb/s
System Check OK
White rabbit diff - 83
Leakage Current - ~3.475uA
YR09 AVG: 7.51E-10mbar
YR10AVG: 1.21E-10mbar
YR07AVG: 1.67E-9mbar
YR08AVG: 1.91E-9mbar |
| Attachment 1: 2022-02-23_02-02-53extotal.png
|
|
| Attachment 2: 2022-02-23_02-02-00lowEnergyXYtot.png
|

|
| Attachment 3: 2022-02-23_01-59-14exRate.png
|
|
|
|
245
|
Tue Feb 22 21:57:13 2022 |
George, Jordan | Current status |
23:53
Temperatures OK
System checks OK - white rabbit fail diff ~ 80
Pressures stable
Cryo temp = 129.2 K setpoint
Data rate ~1.2 MB/s
Leakage current ~ 3.47 uA
00:53
YR10 avg = 1.29E-10 mbar
YR09 avg = 8.7E-10 mbar
YR04 avg = 1.13E-11 mbar
YR07 avg = 1.76E-10 mbar
YR08 avg = 2.18E-9 mbar
Data rate ~ 1.1 Mb/s
Temperatures OK
system checks OK - white rabbit fail diff ~ 80
Pressure stable, cryostat temp setpoint = 129.2k
Leakage current = 3.47 uA
Beam intensity reads ~ 2.6-3E7 |
| Attachment 1: 2022-02-22_23-53-38-lowenergy-xytotal.png
|

|
| Attachment 2: 2022-02-22_23-50-45-Ex-rate-hist.png
|

|
| Attachment 3: 2022-02-22_23-49-20-Ex-total-hist.png
|

|
| Attachment 4: 20220223_002946.jpg
|

|
|
|
244
|
Tue Feb 22 21:09:39 2022 |
David, Yuri | Current status |
Pressure seems as before 19:10.
Merger, Tape server (WS3) checks: DONE, writing ~1 MB/s, refreshing is fine
Leakage current (WS4): 3.47 uA , stable current
DAQ (WS2): temperature checked, clock status:ok, adc calibration:ok, white rabbit check:ok
DAQ (WS2): everything ok
Online monitoring (WS 5): done |
| Attachment 1: 2022-02-22_22-12-55xytotal.png
|

|
| Attachment 2: 2022-02-22_22-12-21exrate.png
|

|
| Attachment 3: 2022-02-22_22-12-00extotal.png
|

|
|
|
243
|
Tue Feb 22 20:08:40 2022 |
David, Yuri | Current status |
Recently the pressure started to raise a bit, we have increased the temperature from 129.1 K to 129.2 K. Current pressure at S1 2.10e-7.
Merger, Tape server (WS3) checks: DONE, writing ~1 MB/s, refreshing is fine
Leakage current (WS4): 3.46 uA , stable current
DAQ (WS2): temperature checked, clock status:ok, adc calibration:ok, white rabbit check:ok
DAQ (WS2): everything ok
Online monitoring (WS 5): done |
| Attachment 1: 2022-02-22_21-14-23exrate.png
|

|
| Attachment 2: 2022-02-22_21-14-01xytotal.png
|

|
| Attachment 3: 2022-02-22_21-13-11extotal.png
|

|
|
|
242
|
Tue Feb 22 19:28:35 2022 |
David, Yuri | vacuum |
At 19:10 Frank called us that vacuum in sections 08 and 10 got worse by about 1.5 times. There is a possible danger that vacuum valves can get closed if rest gas pressure is above the set treshhold.
Nikos warmed the cryostat by 0.5 degrees from 129.0 K to 129.5 K and the pressure became better than before. We cooled the system in steps of 0.1 degress down to 129.1 K and again observed the pressure rise.
We think we can stay with the present conditions. However, the pressure shall be monitored not to hit the treshhold. |
|
|
241
|
Tue Feb 22 19:11:18 2022 |
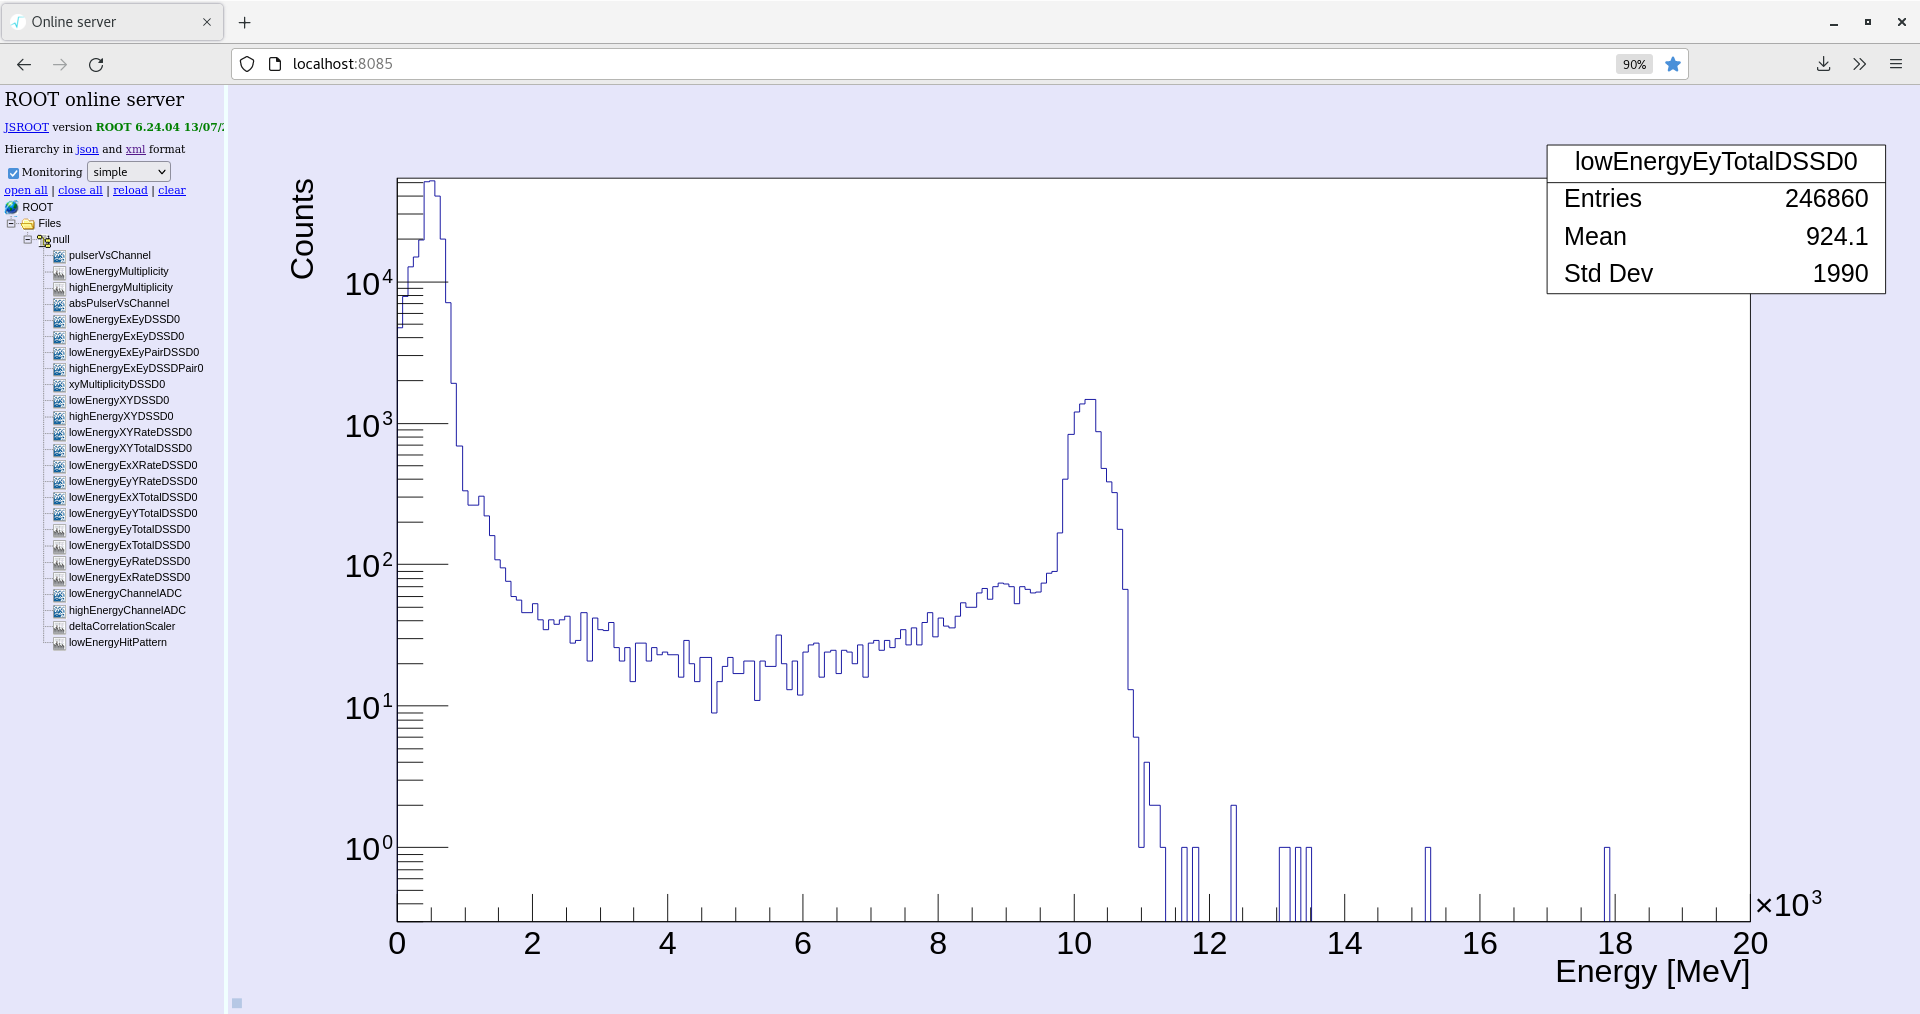
David | Current status |
Still trying to recover previous pressures, more details in the next entry.
Merger, Tape server (WS3) checks: DONE, writing ~1030 kB/s, refreshing is fine
Leakage current (WS4): 3.46 uA , stable current
DAQ (WS2): temperature checked,
DAQ (WS2): everything ok
Online monitoring (WS 5): done; |
| Attachment 1: 2022-02-22_20-16-26eyrate.png
|

|
| Attachment 2: 2022-02-22_20-15-34.eytotal.png
|
|
|
|
240
|
Tue Feb 22 18:23:02 2022 |
David. Yury | Vacuum problem |
At 19:10 the vacuum has increased suddenly everywhere in the ring, roughly a factor 1.5. |
|
|
239
|
Tue Feb 22 17:32:38 2022 |
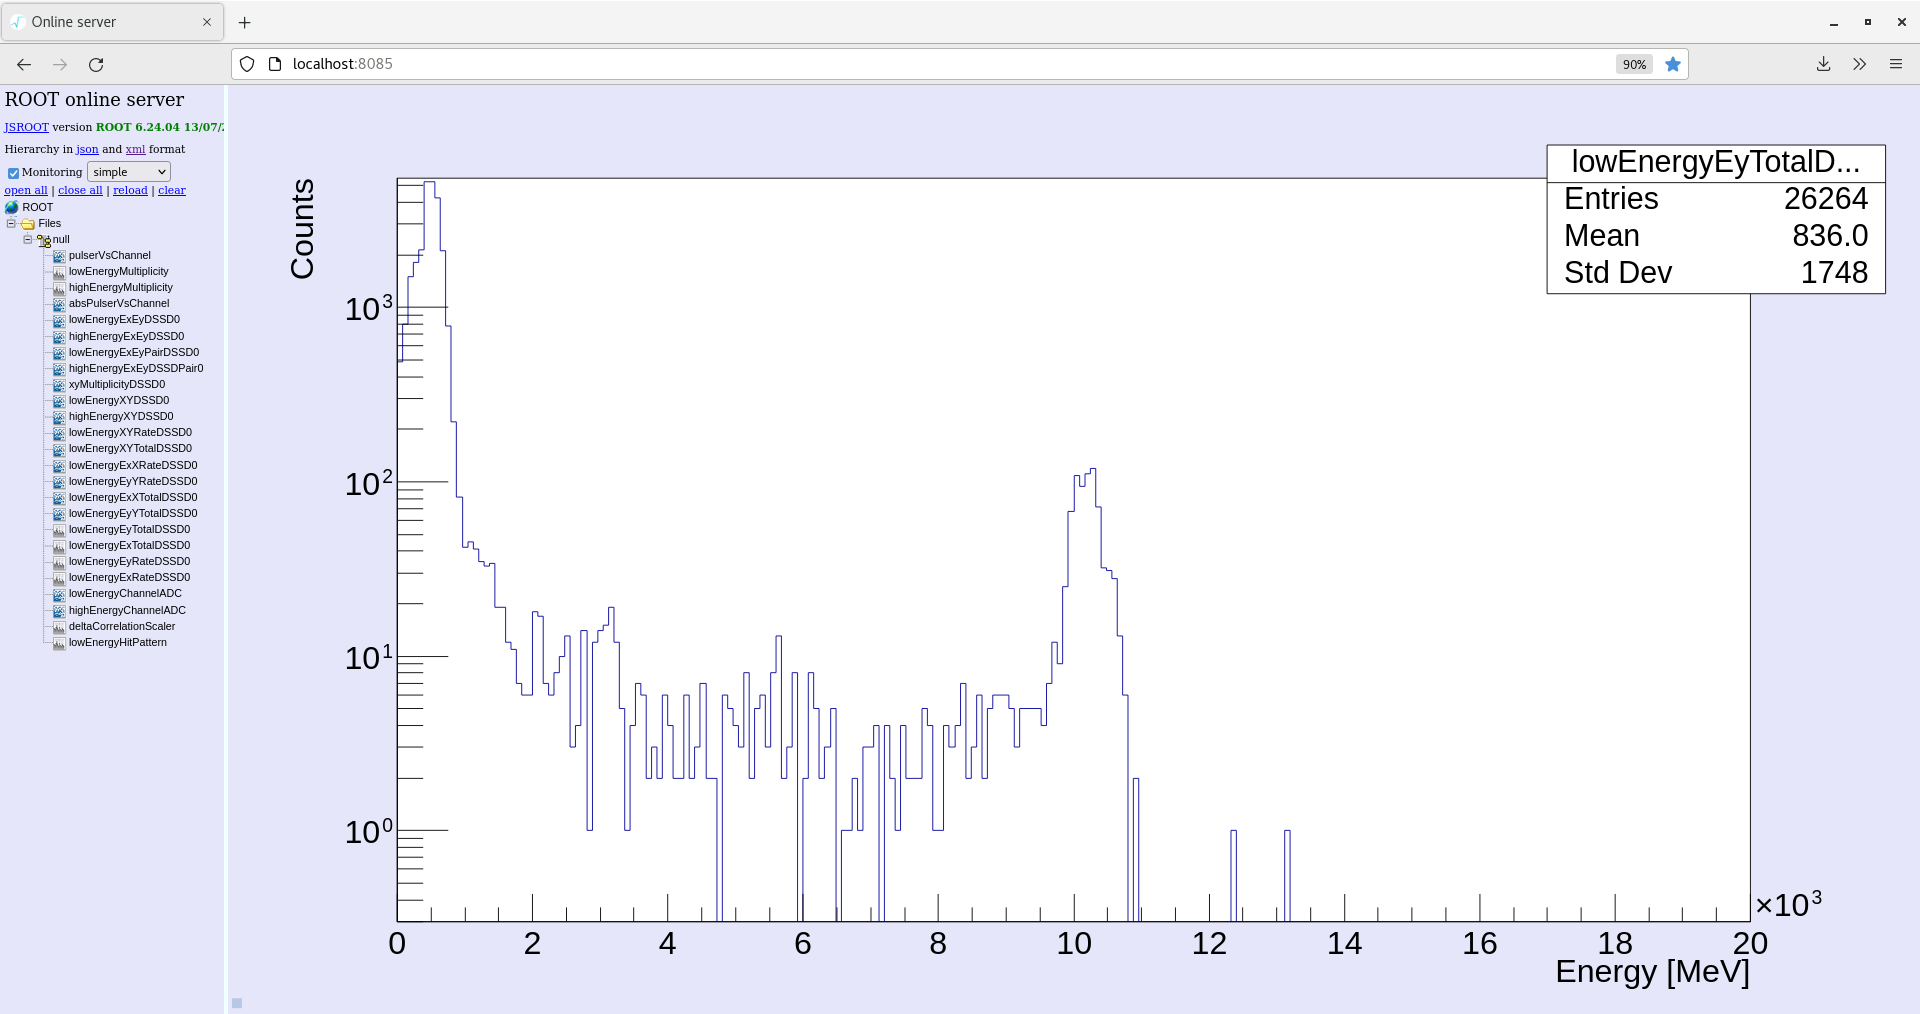
David | Current status |
Michael is modifying the settings of the electron cooler --> changed beam from bunched to coasting
Merger, Tape server (WS3) checks: DONE, writing ~1036 kB/s, refreshing is fine
Leakage current (WS4): 3.46 uA , stable current
DAQ (WS2): temperature checked,
- clock status:
Clock status test result: Passed 5, Failed 0
Understand status as follows
Status bit 3 : firmware PLL that creates clocks from external clock not locked
Status bit 2 : always logic '1'
Status bit 1 : LMK3200(2) PLL and clock distribution chip not locked to external clock
Status bit 0 : LMK3200(1) PLL and clock distribution chip not locked to external clock
If all these bits are not set then the operation of the firmware is unreliable
- adc calibration:
Calibration test result: Passed 5, Failed 0
If any modules fail calibration , check the clock status and open the FADC Align and Control browser page to rerun calibration for that module
- white rabbit check:
Base Current Difference
aida01 fault 0xc228 : 0xc274 : 76
aida02 fault 0x5e98 : 0x5ee0 : 72
aida03 fault 0x92d3 : 0x931f : 76
aida04 fault 0x7a92 : 0x7ade : 76
aida05 fault 0xedc0 : 0xedcc : 12
White Rabbit error counter test result: Passed 0, Failed 5
Understand the status reports as follows:-
Status bit 3 : White Rabbit decoder detected an error in the received data
Status bit 2 : Firmware registered WR error, no reload of Timestamp
Status bit 0 : White Rabbit decoder reports uncertain of Timestamp information from WR
DAQ (WS2): everything ok
Online monitoring (WS 5): done; |
| Attachment 1: 2022-02-22_18-45-21eytotal.png
|
|
| Attachment 2: 2022-02-22_18-44-53extotal.png
|

|
| Attachment 3: 2022-02-22_18-42-59xytotal.png
|

|
| Attachment 4: 2022-02-22_18-42-41xyrate.png
|

|
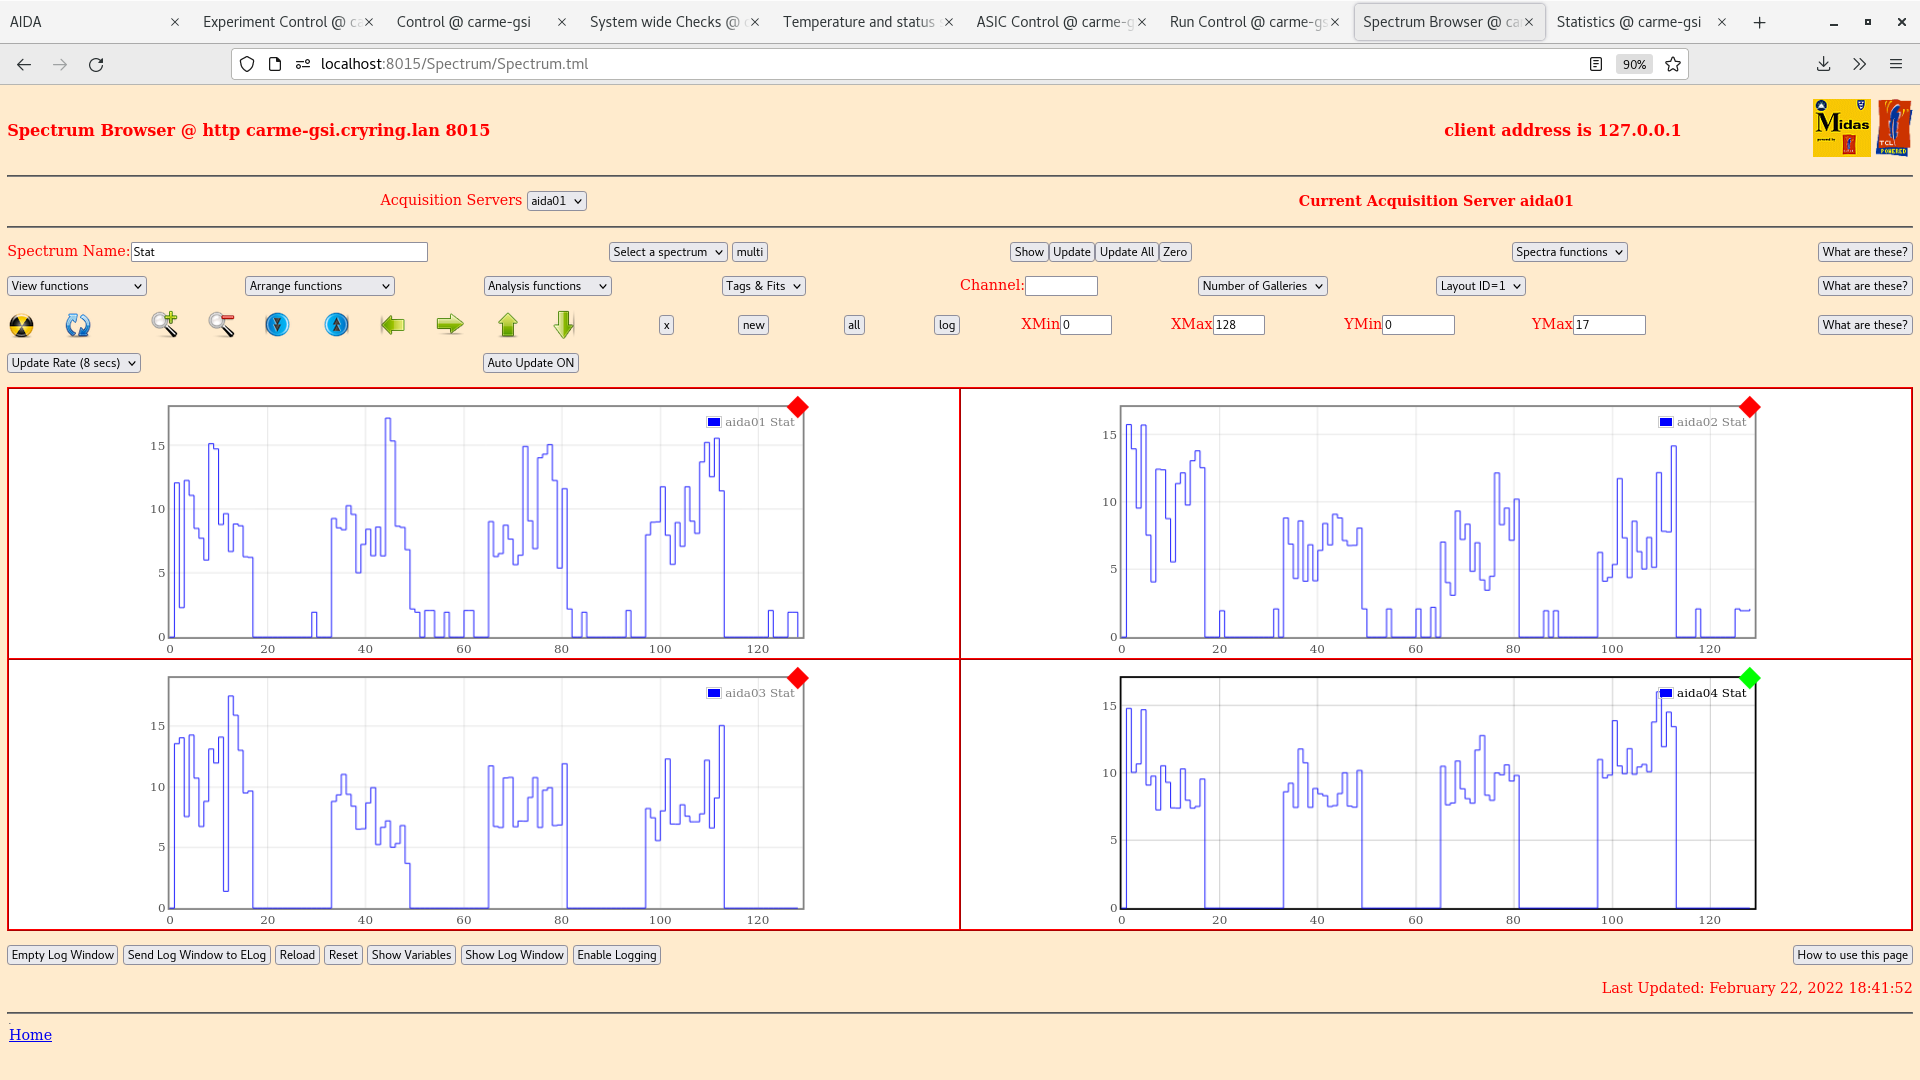
| Attachment 5: 2022-02-22_18-42-00spect.png
|
|
| Attachment 6: 2022-02-22_18-41-22correl.png
|

|
| Attachment 7: 2022-02-22_18-40-55adc.png
|

|
| Attachment 8: 2022-02-22_18-40-23goodeve.png
|

|
| Attachment 9: 2022-02-22_18-38-15moretem.png
|

|
| Attachment 10: 2022-02-22_18-37-35temp.png
|

|
| Attachment 11: 2022-02-22_18-34-55tapservice.png
|

|
| Attachment 12: 2022-02-22_18-34-21merger.png
|

|
|
|
238
|
Tue Feb 22 16:09:08 2022 |
David, Yury | Current status |
Merger, Tape server (WS3) checks: DONE, writing ~1 1273kB/s, refreshing is fine
Leakage current (WS4): 3.46 uA , stable current
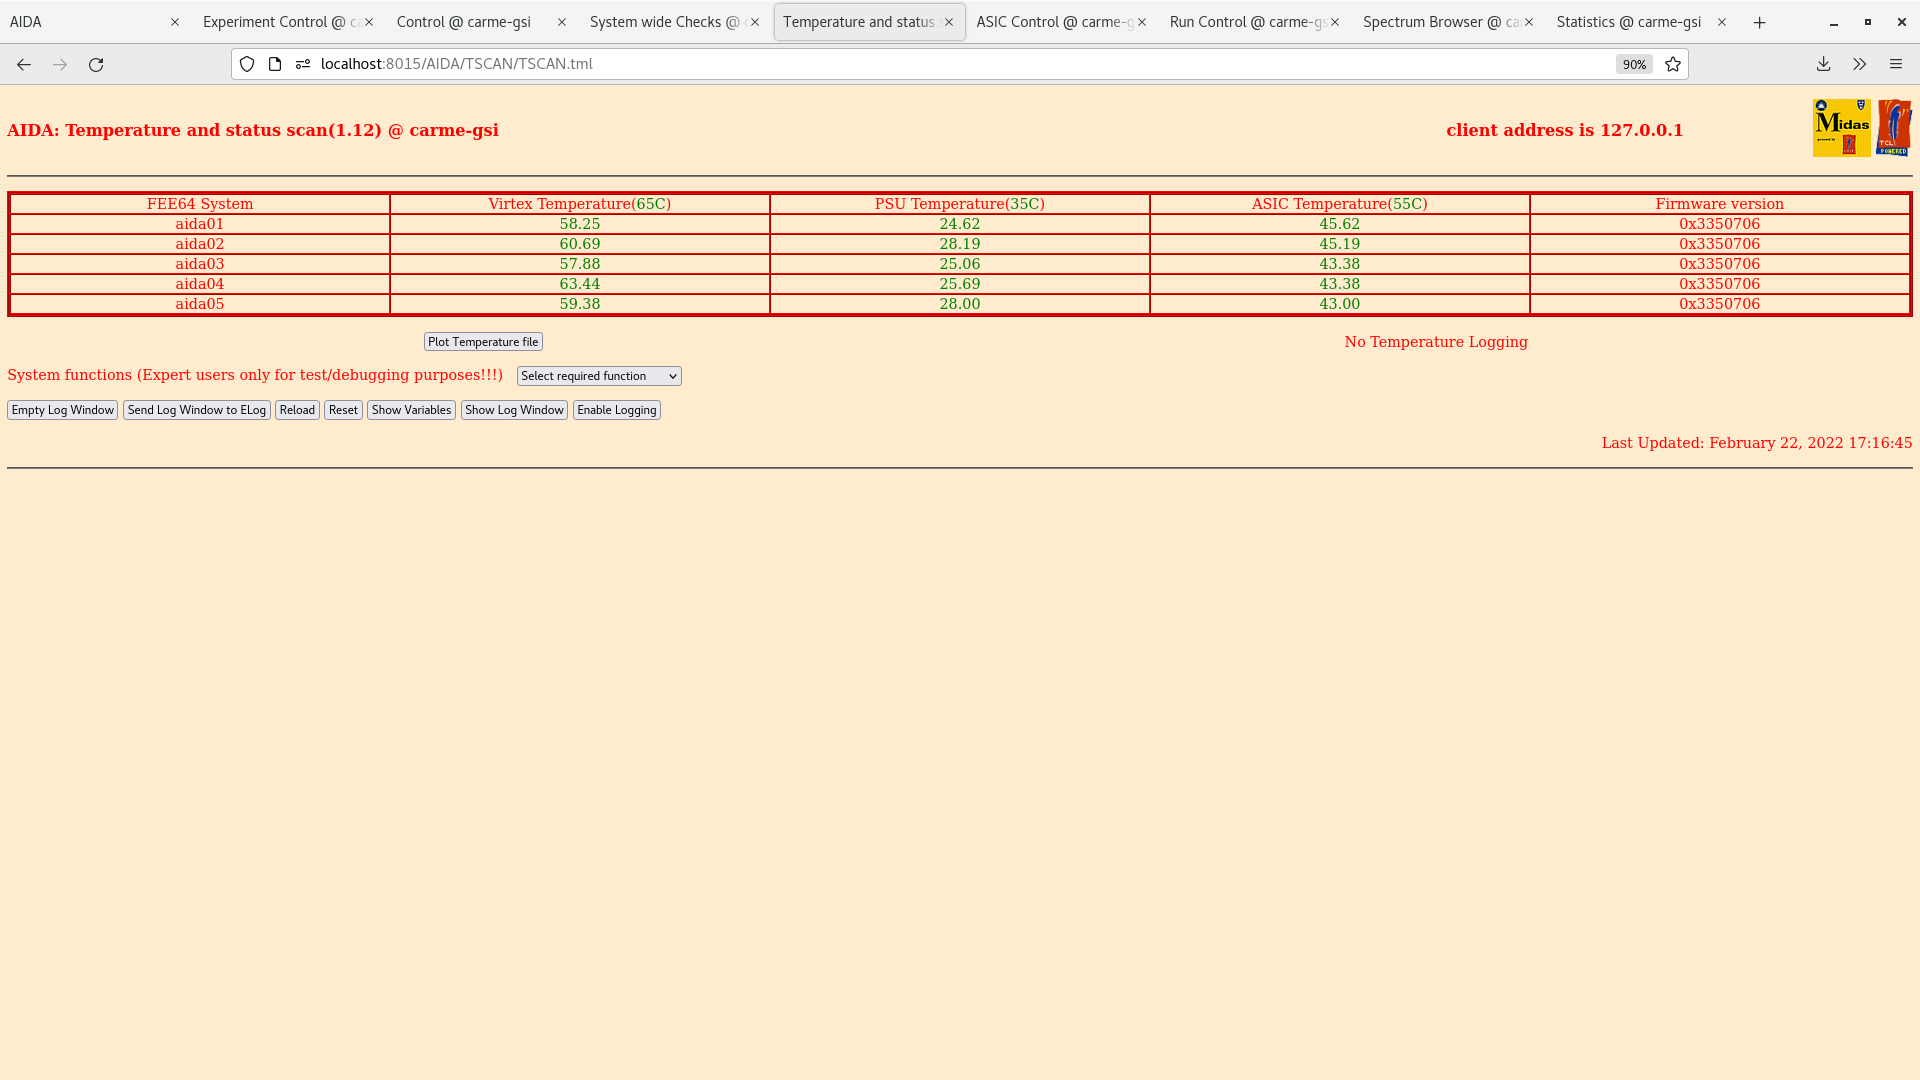
DAQ (WS2): temperature checked,
- clock status:
Clock status test result: Passed 5, Failed 0
Understand status as follows
Status bit 3 : firmware PLL that creates clocks from external clock not locked
Status bit 2 : always logic '1'
Status bit 1 : LMK3200(2) PLL and clock distribution chip not locked to external clock
Status bit 0 : LMK3200(1) PLL and clock distribution chip not locked to external clock
If all these bits are not set then the operation of the firmware is unreliable
- adc calibration:
Calibration test result: Passed 5, Failed 0
If any modules fail calibration , check the clock status and open the FADC Align and Control browser page to rerun calibration for that module
- white rabbit check:
Base Current Difference
aida01 fault 0xc228 : 0xc272 : 74
aida02 fault 0x5e98 : 0x5edf : 71
aida03 fault 0x92d3 : 0x931d : 74
aida04 fault 0x7a92 : 0x7adc : 74
aida05 fault 0xedc0 : 0xedcc : 12
White Rabbit error counter test result: Passed 0, Failed 5
Understand the status reports as follows:-
Status bit 3 : White Rabbit decoder detected an error in the received data
Status bit 2 : Firmware registered WR error, no reload of Timestamp
Status bit 0 : White Rabbit decoder reports uncertain of Timestamp information from WR
DAQ (WS2): everything ok
Online monitoring (WS 5): done |
| Attachment 1: 2022-02-22_17-13-41tape.png
|

|
| Attachment 2: 2022-02-22_17-13-17mantab.png
|

|
| Attachment 3: 2022-02-22_17-11-46temp.png
|

|
| Attachment 4: 2022-02-22_17-21-39xytotal.png
|

|
| Attachment 5: 2022-02-22_17-21-09xyrate.png
|

|
| Attachment 6: 2022-02-22_17-20-33extotl.png
|

|
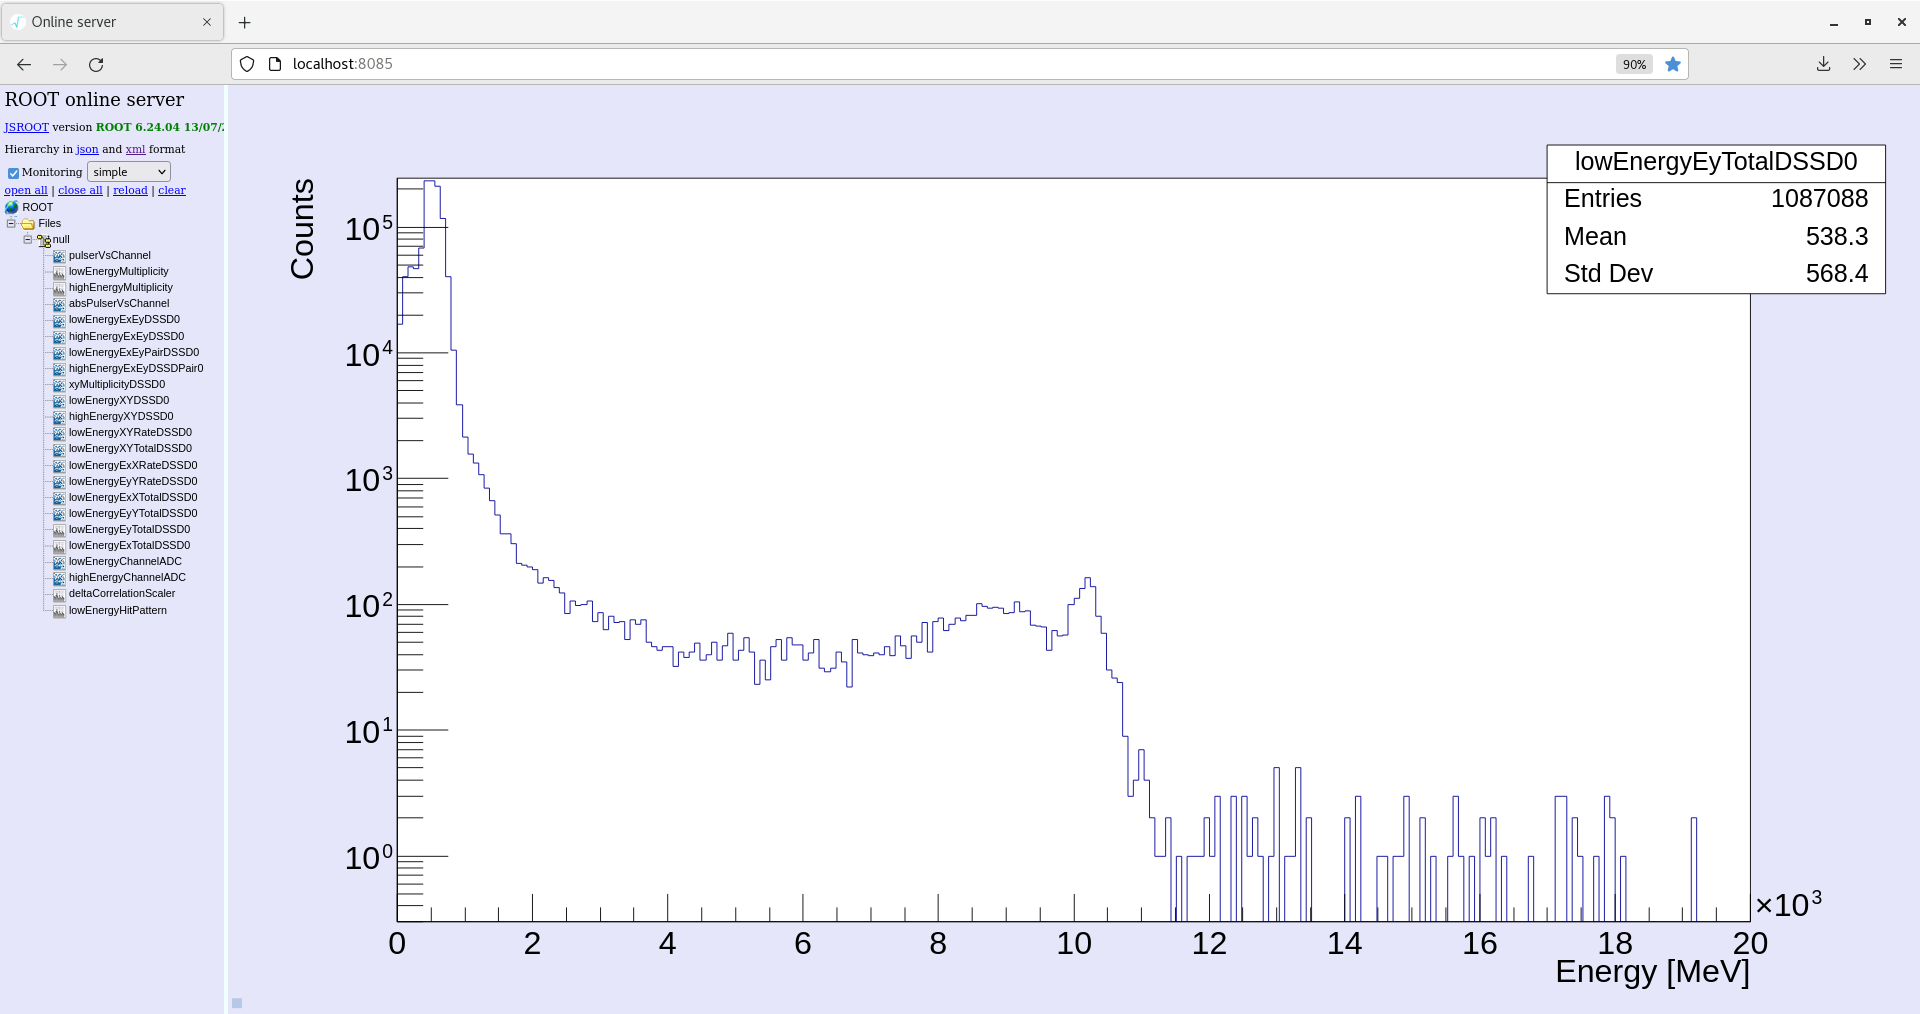
| Attachment 7: 2022-02-22_17-20-10eytotl.png
|
|
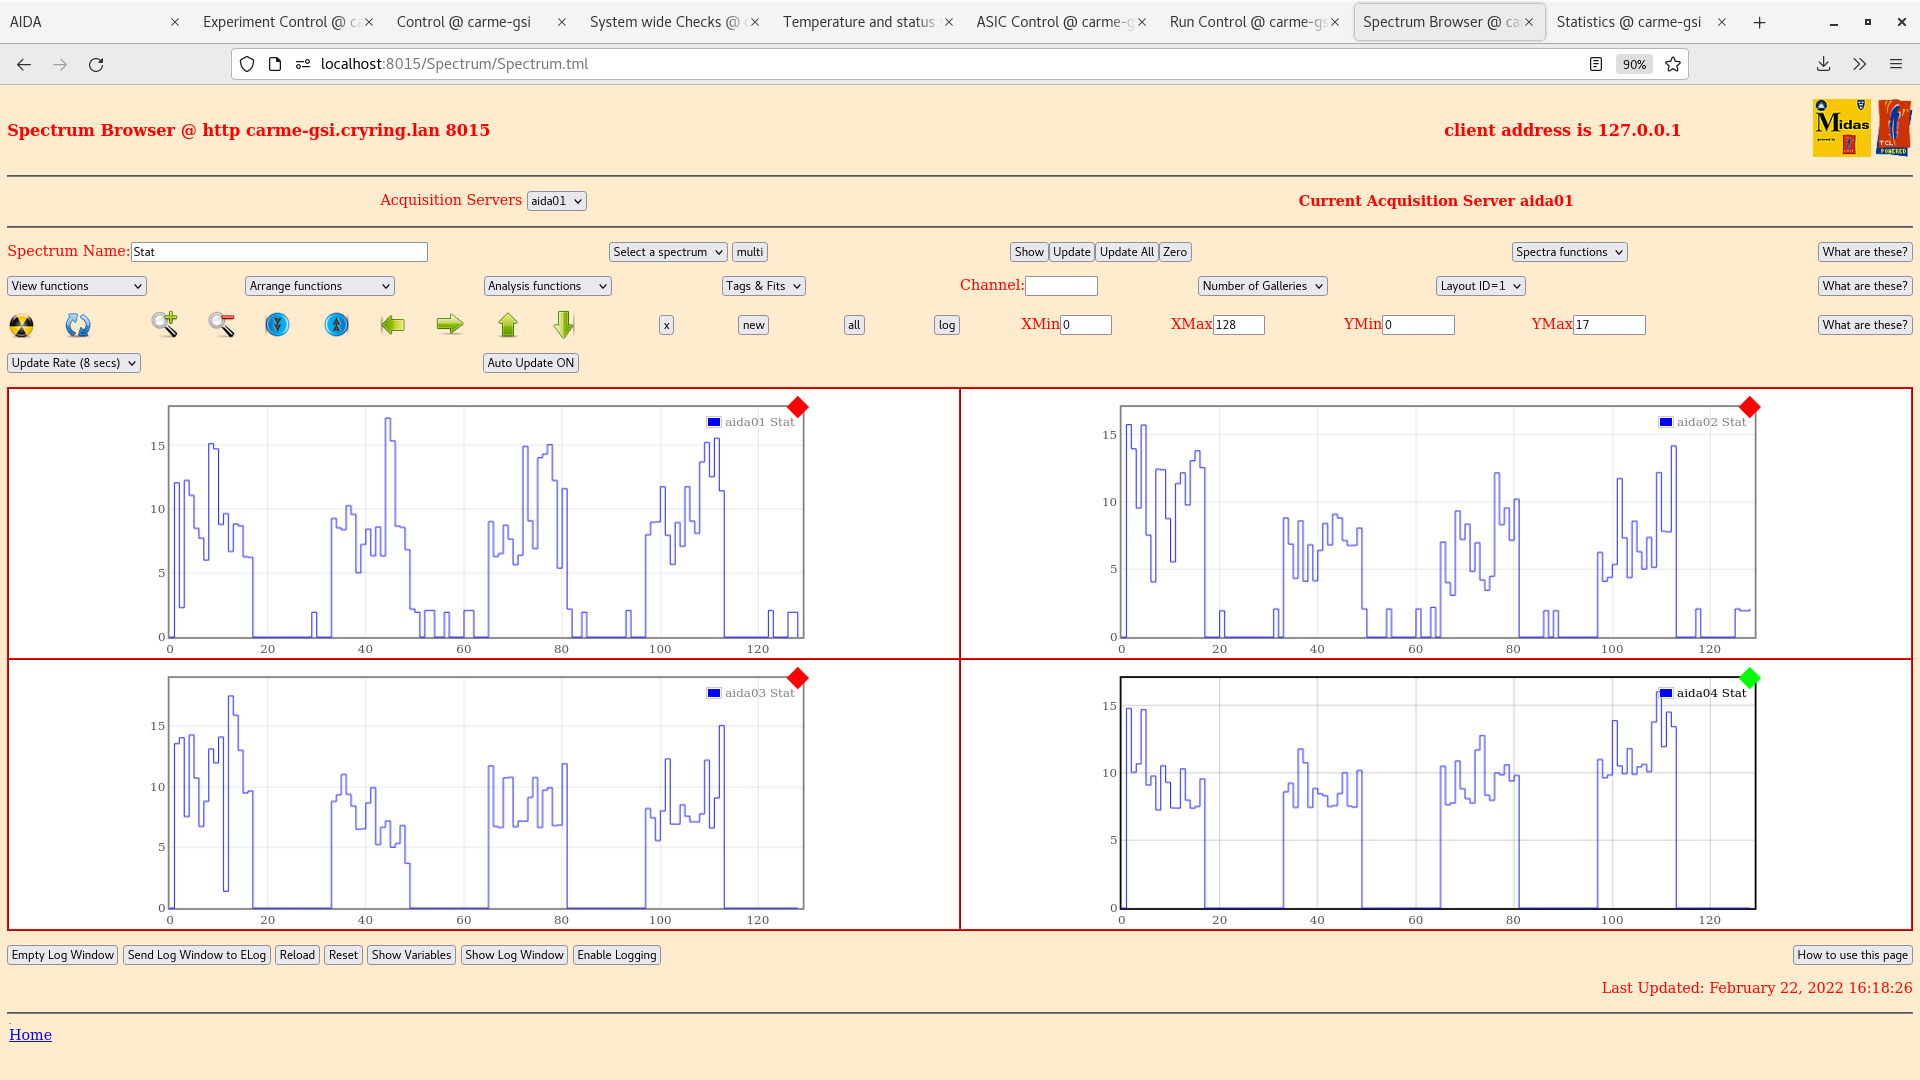
| Attachment 8: 2022-02-22_17-19-29spect.png
|
|
| Attachment 9: 2022-02-22_17-18-46good.png
|

|
| Attachment 10: 2022-02-22_17-18-24adc.png
|
|
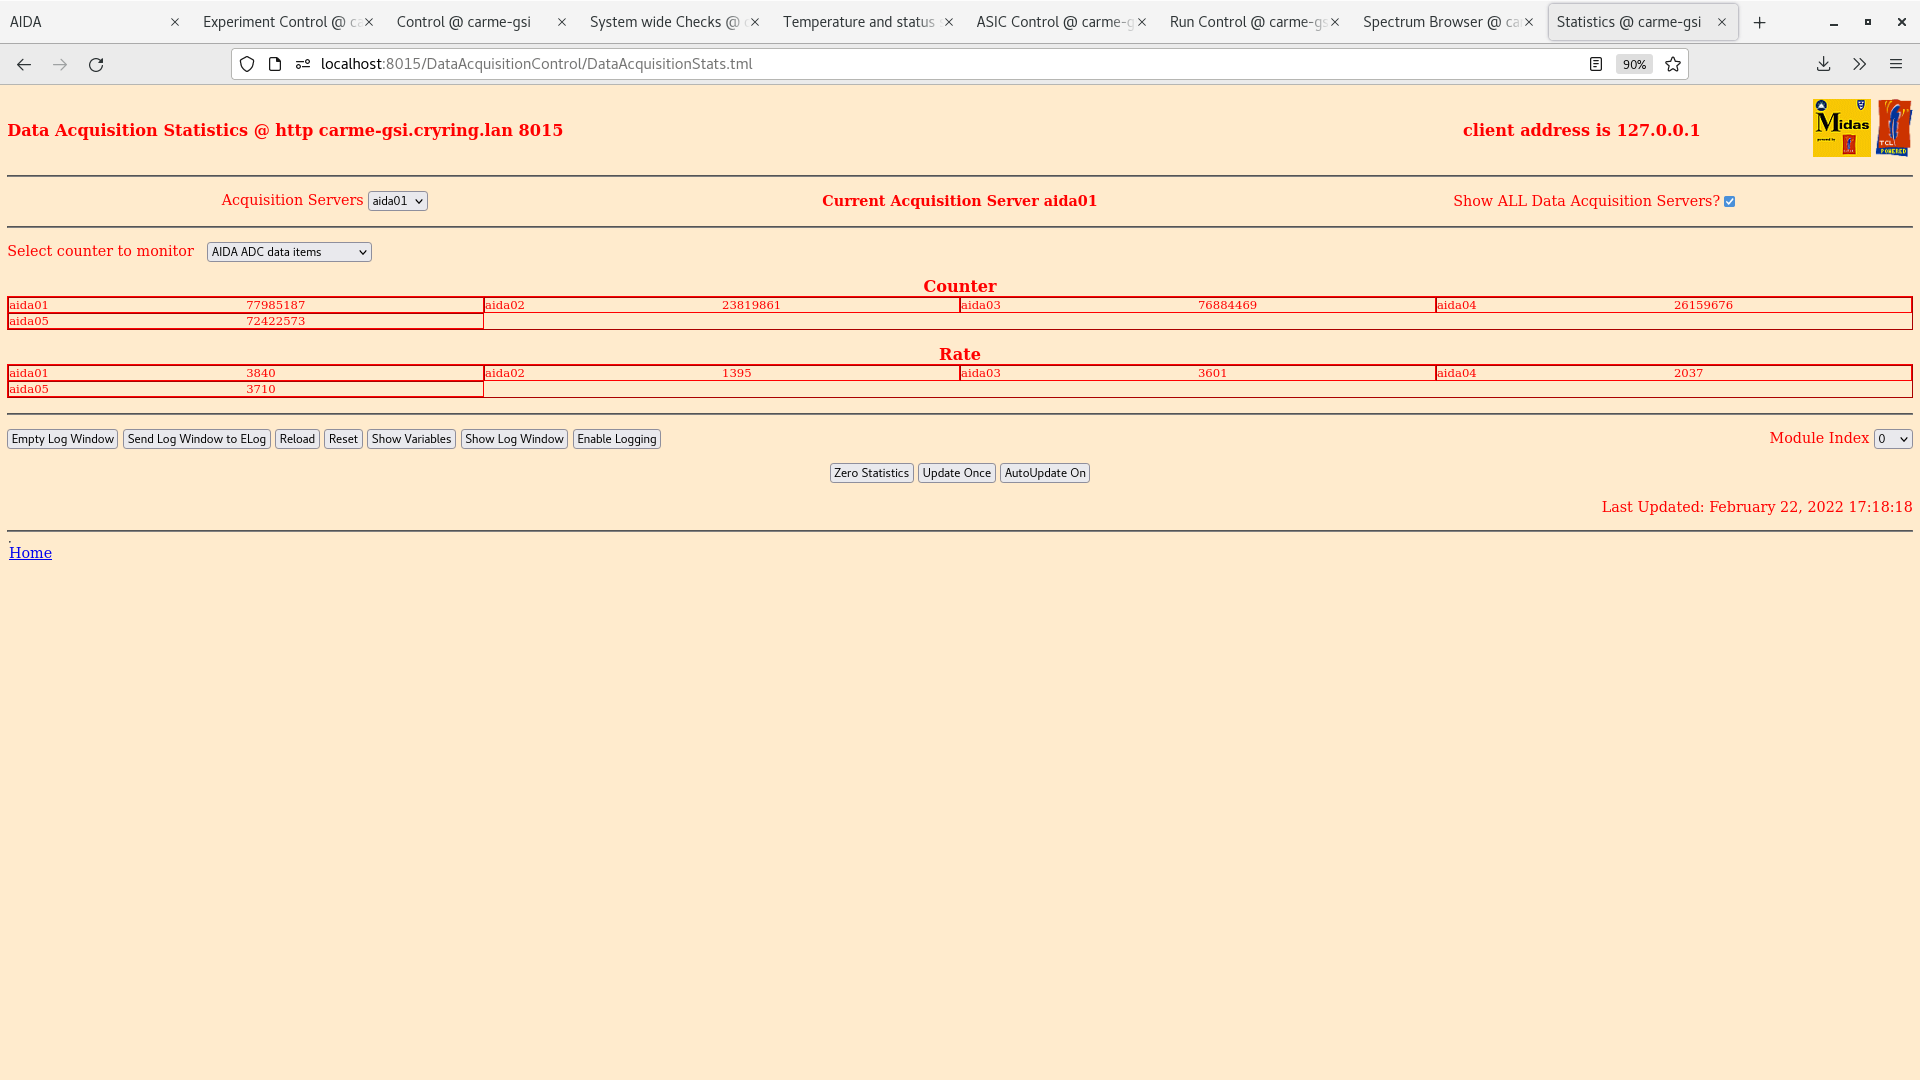
| Attachment 11: 2022-02-22_17-17-53aidacorrel.png
|

|
| Attachment 12: 2022-02-22_17-16-50moretempt.png
|
|
|
|
237
|
Tue Feb 22 14:32:04 2022 |
David, Yury | Current status |
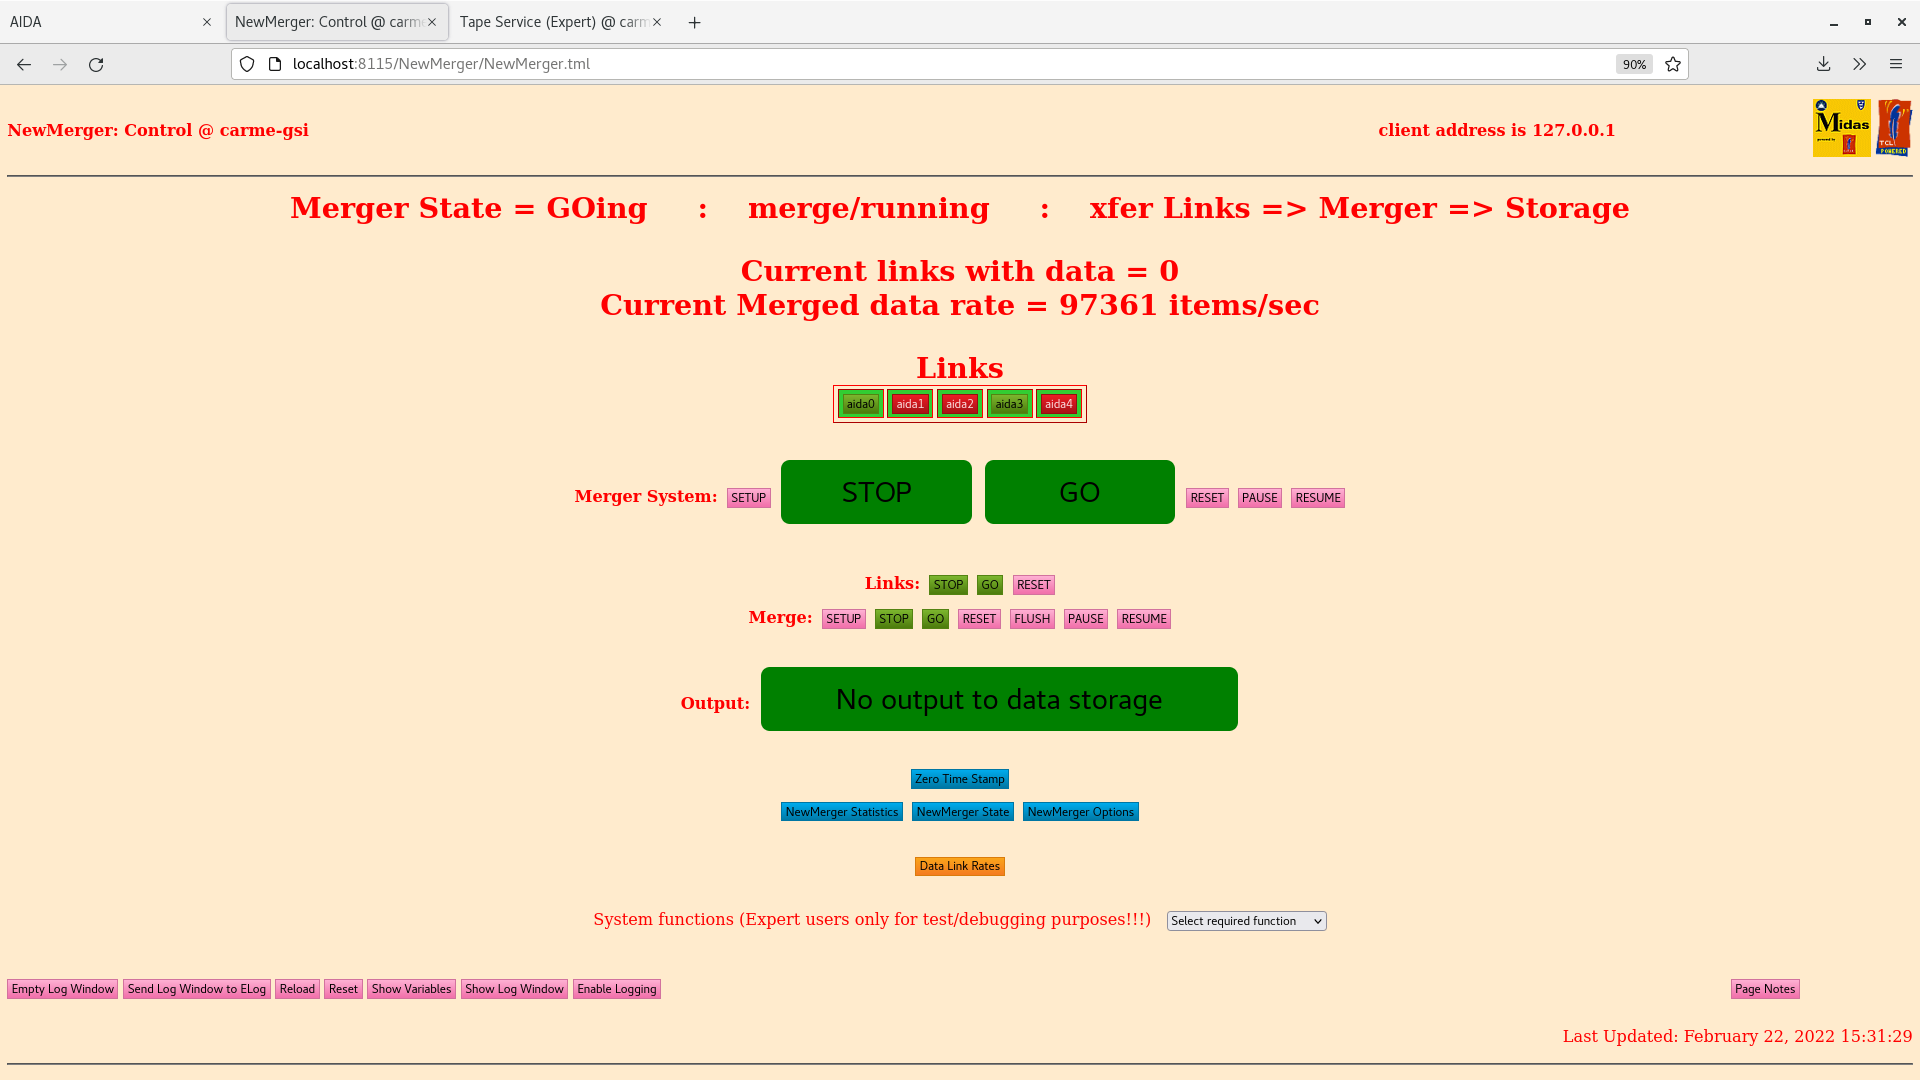
Merger, Tape server (WS3) checks: DONE, writing ~1 MB/s, refreshing is fine
Leakage current (WS4): 3.48 uA , stable current
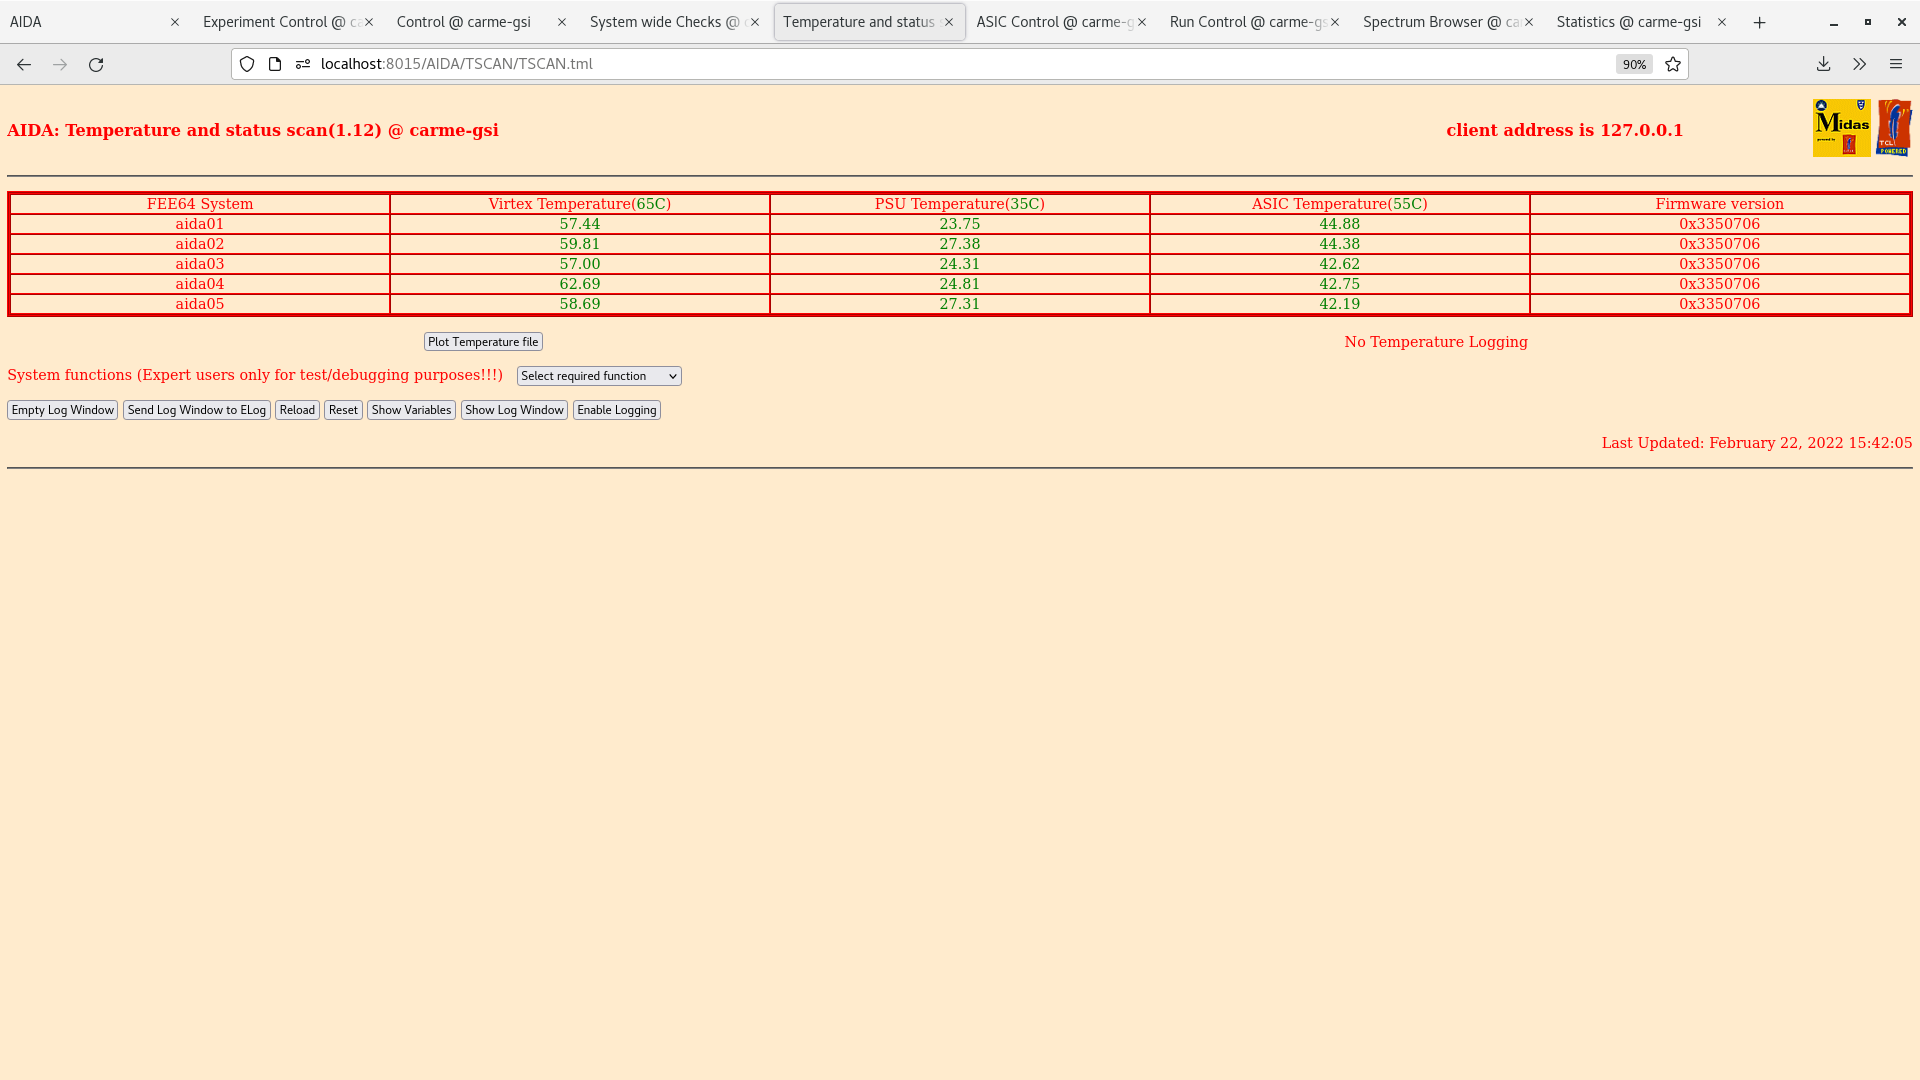
DAQ (WS2): temperature checked,
- clock status:
Clock status test result: Passed 5, Failed 0
Understand status as follows
Status bit 3 : firmware PLL that creates clocks from external clock not locked
Status bit 2 : always logic '1'
Status bit 1 : LMK3200(2) PLL and clock distribution chip not locked to external clock
Status bit 0 : LMK3200(1) PLL and clock distribution chip not locked to external clock
If all these bits are not set then the operation of the firmware is unreliable
- adc calibration:
Calibration test result: Passed 5, Failed 0
If any modules fail calibration , check the clock status and open the FADC Align and Control browser page to rerun calibration for that module
- white rabbit check:
Base Current Difference
aida01 fault 0xc228 : 0xc272 : 74
aida02 fault 0x5e98 : 0x5edf : 71
aida03 fault 0x92d3 : 0x931d : 74
aida04 fault 0x7a92 : 0x7adc : 74
aida05 fault 0xedc0 : 0xedcc : 12
White Rabbit error counter test result: Passed 0, Failed 5
Understand the status reports as follows:-
Status bit 3 : White Rabbit decoder detected an error in the received data
Status bit 2 : Firmware registered WR error, no reload of Timestamp
Status bit 0 : White Rabbit decoder reports uncertain of Timestamp information from WR
DAQ (WS2): everything ok
Online monitoring (WS 5): done; first shots with something?
|
| Attachment 1: merger15.png
|
|
| Attachment 2: 2022-02-22_15-35-14-tape.png
|

|
| Attachment 3: 2022-02-22_15-39-40c.png
|

|
| Attachment 4: 2022-02-22_15-42-27t.png
|
|
| Attachment 5: 2022-02-22_15-52-35-goodevents.png
|

|
| Attachment 6: 2022-02-22_15-57-02adc.png
|

|
| Attachment 7: 2022-02-22_16-11-21correla.png
|

|
| Attachment 8: 2022-02-22_16-17-33spect.png
|

|
| Attachment 9: 2022-02-22_16-26-36xytot.png
|

|
| Attachment 10: 2022-02-22_16-26-12xyrate.png
|

|
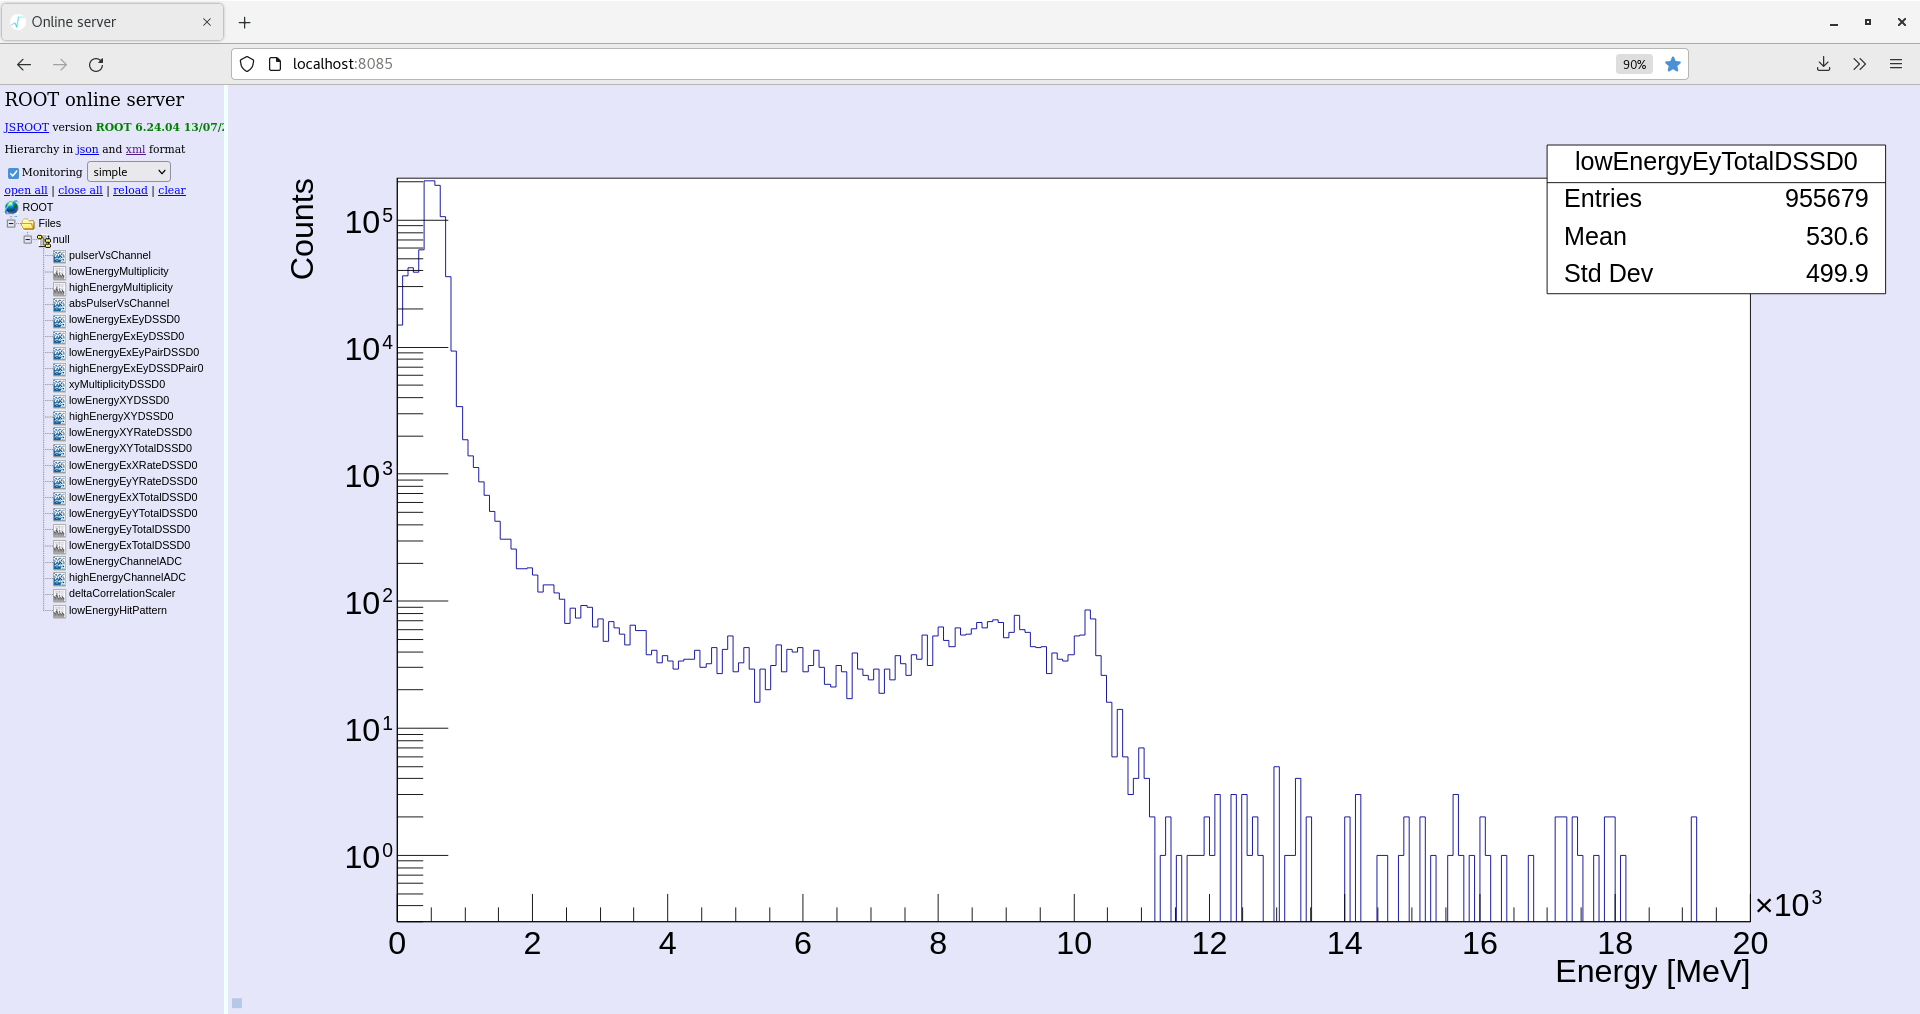
| Attachment 11: 2022-02-22_16-25-03loweeytot.png
|
|
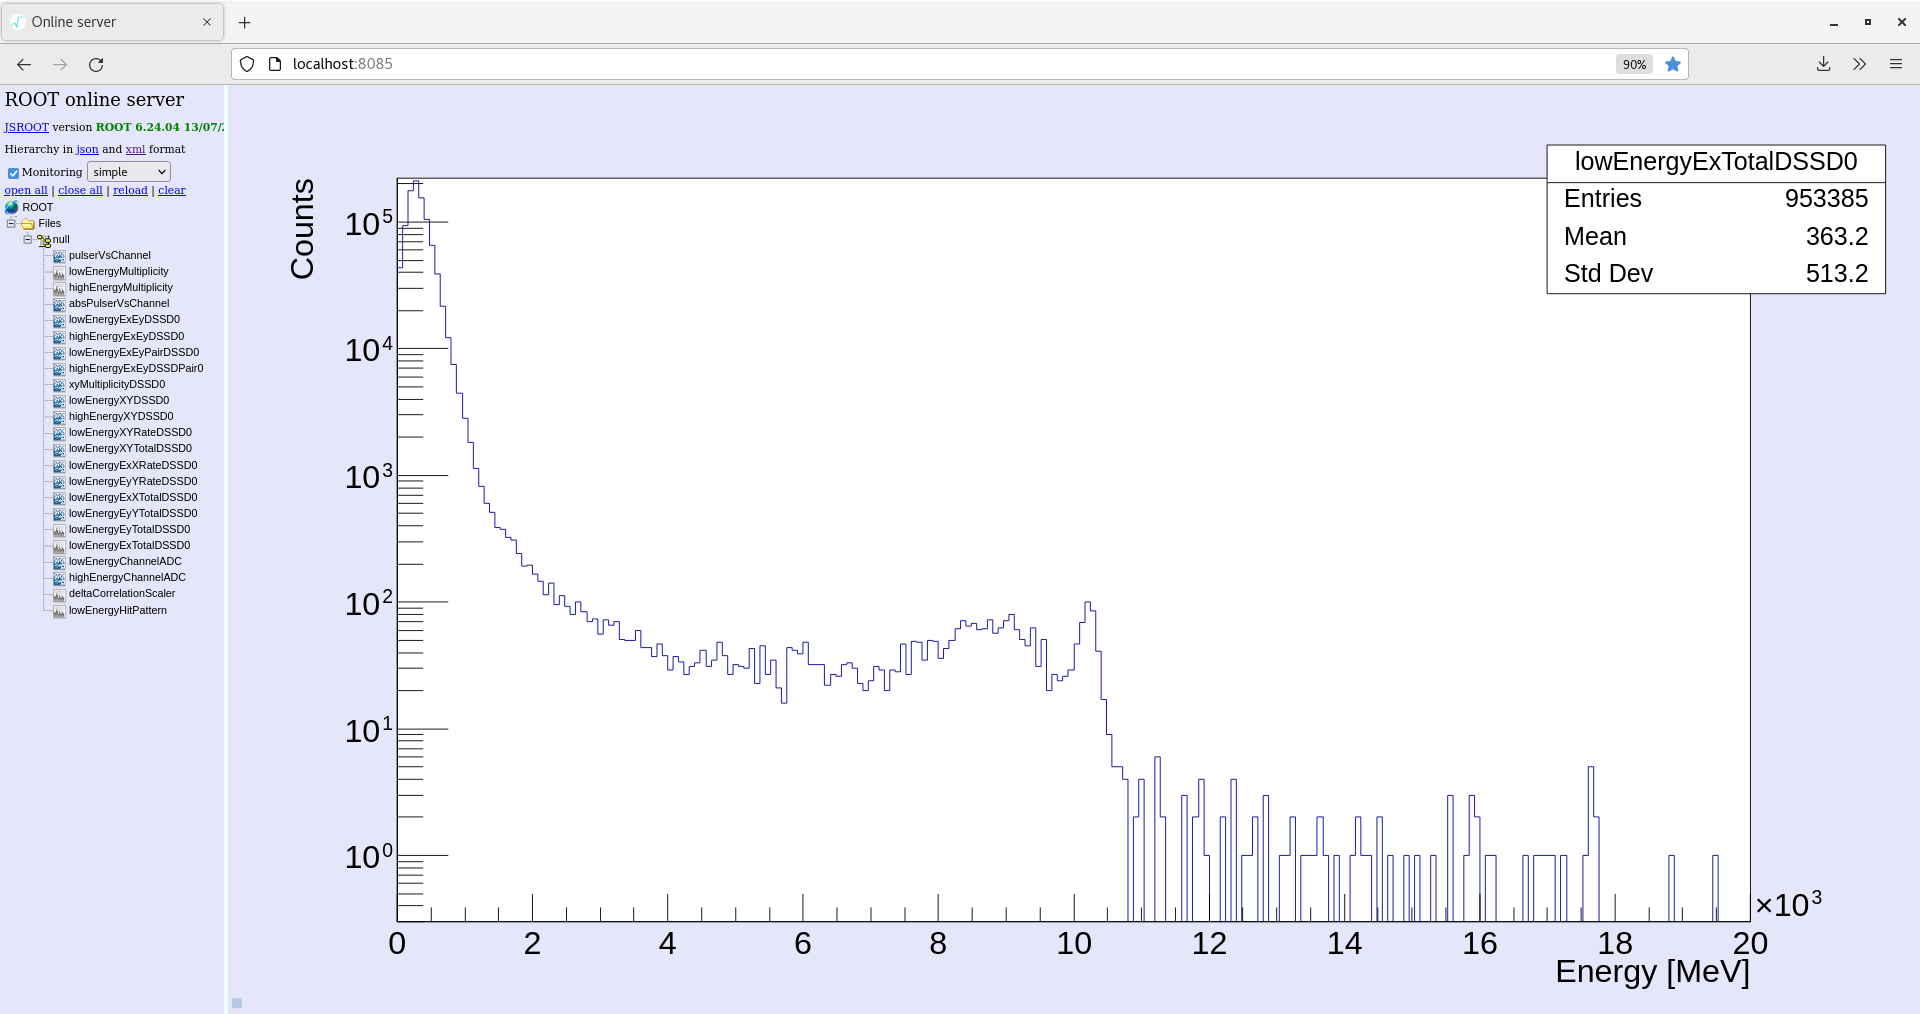
| Attachment 12: 2022-02-22_16-24-17-lowexto.png
|
|
|
|
236
|
Tue Feb 22 12:23:23 2022 |
CB | Slow comparator thresholds lowered - test run |
13:20 Stopped run.
Slow comp thresh 0x64 -> 0x32 on all FEEs
Checkload x2
New run - R55
Restarted Data Spy code
Zerod histograms
Data rate acceptable.
Dead channels seem to come back online
Please check for deadtime/idle time once we collect enough stats. |
|
|
235
|
Tue Feb 22 12:01:46 2022 |
RSS, OF, ML, CB | Beam OFF, Target ON Run 54 |
01:00
Beam optimisation since 09:25.
Target ON and open to the ring
YR09xxx ETarget ~1.9e-10 (saturated)
Target E4 inlet pressure ~8.8E-9 mbar
Dump S3 ~ 6.8E-10 mbar
Nozzle temperature 150 K
Run 54 started, monitoring code restarted.
Beam optimization will be done until 3 pm and will be then give for the experiment. |
| Attachment 1: 12-ex-2022-02-22_13-00-14.png
|

|
| Attachment 2: 12-ey-2022-02-22_13-00-40.png
|

|
| Attachment 3: 12-xy-2022-02-22_13-01-10.png
|

|
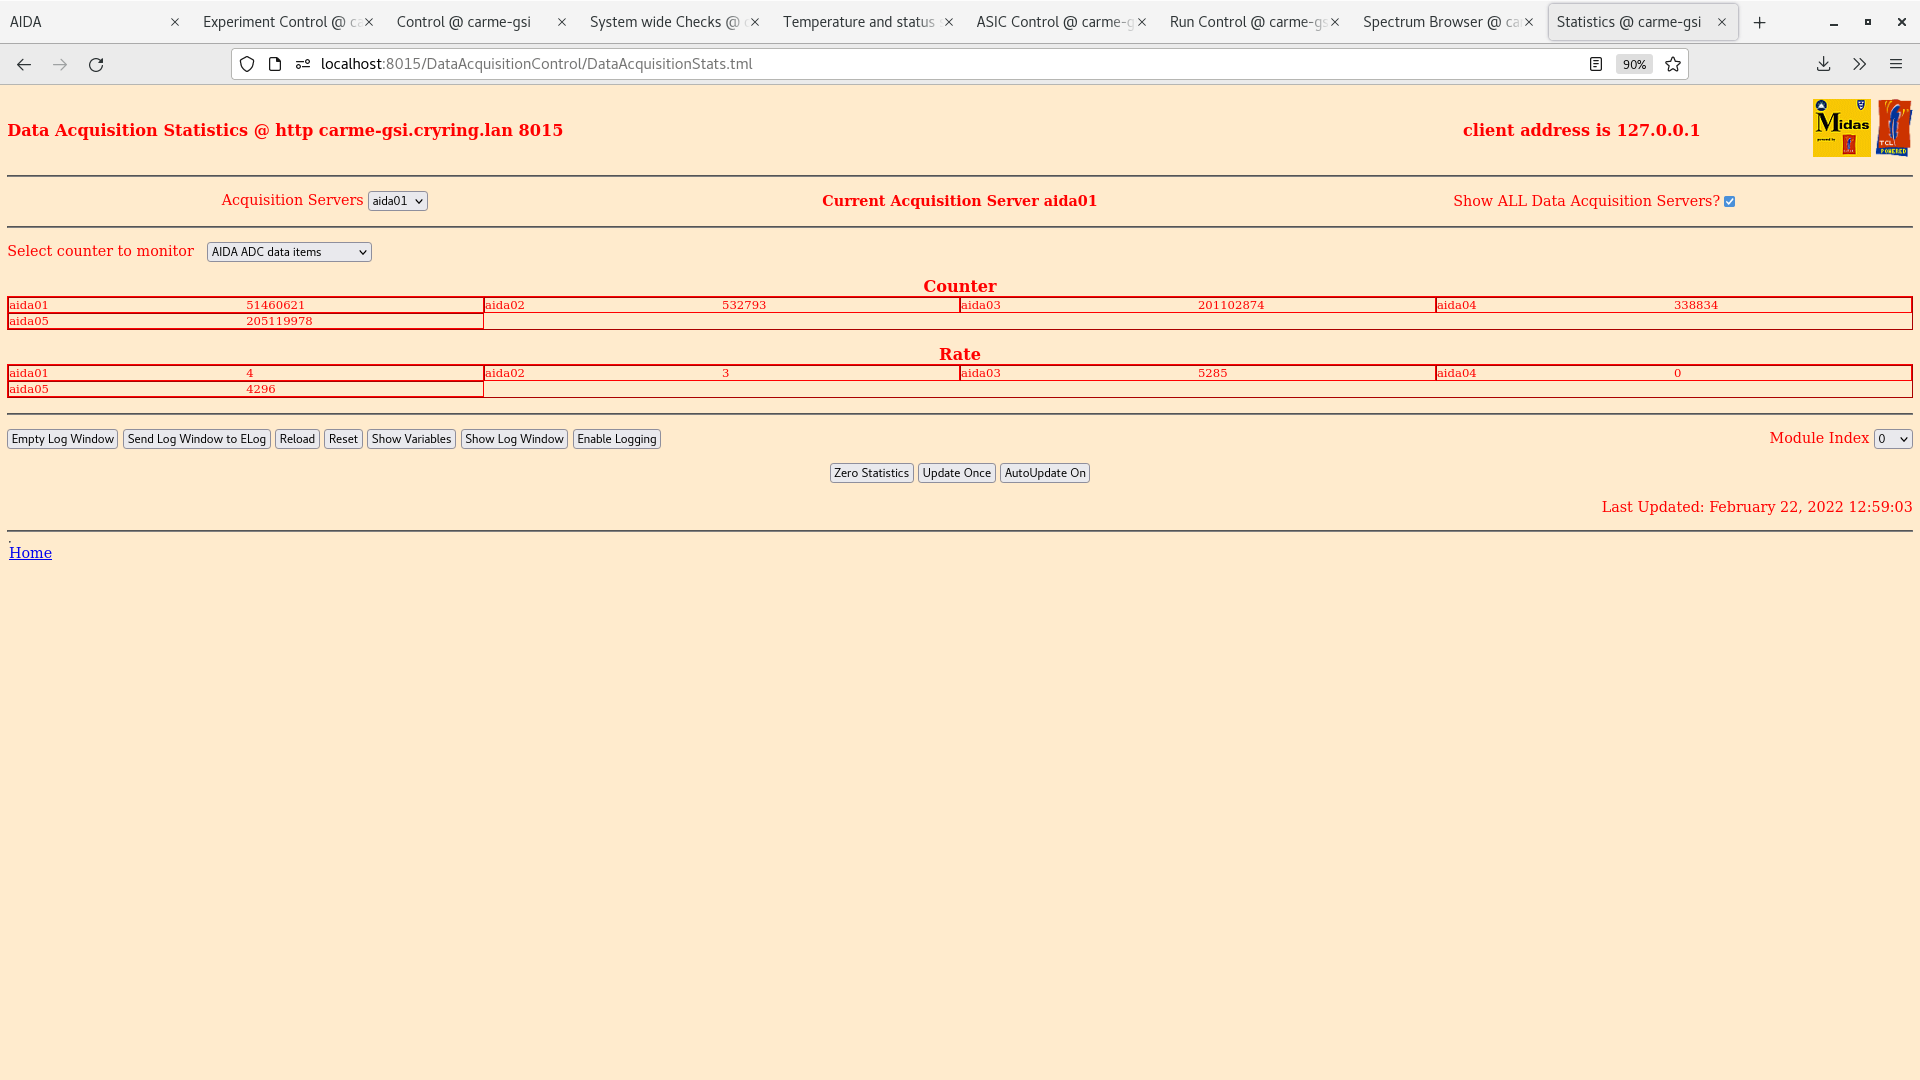
| Attachment 4: 12-adc-2022-02-22_12-59-08.png
|
|
| Attachment 5: 12-good-2022-02-22_12-58-48.png
|

|
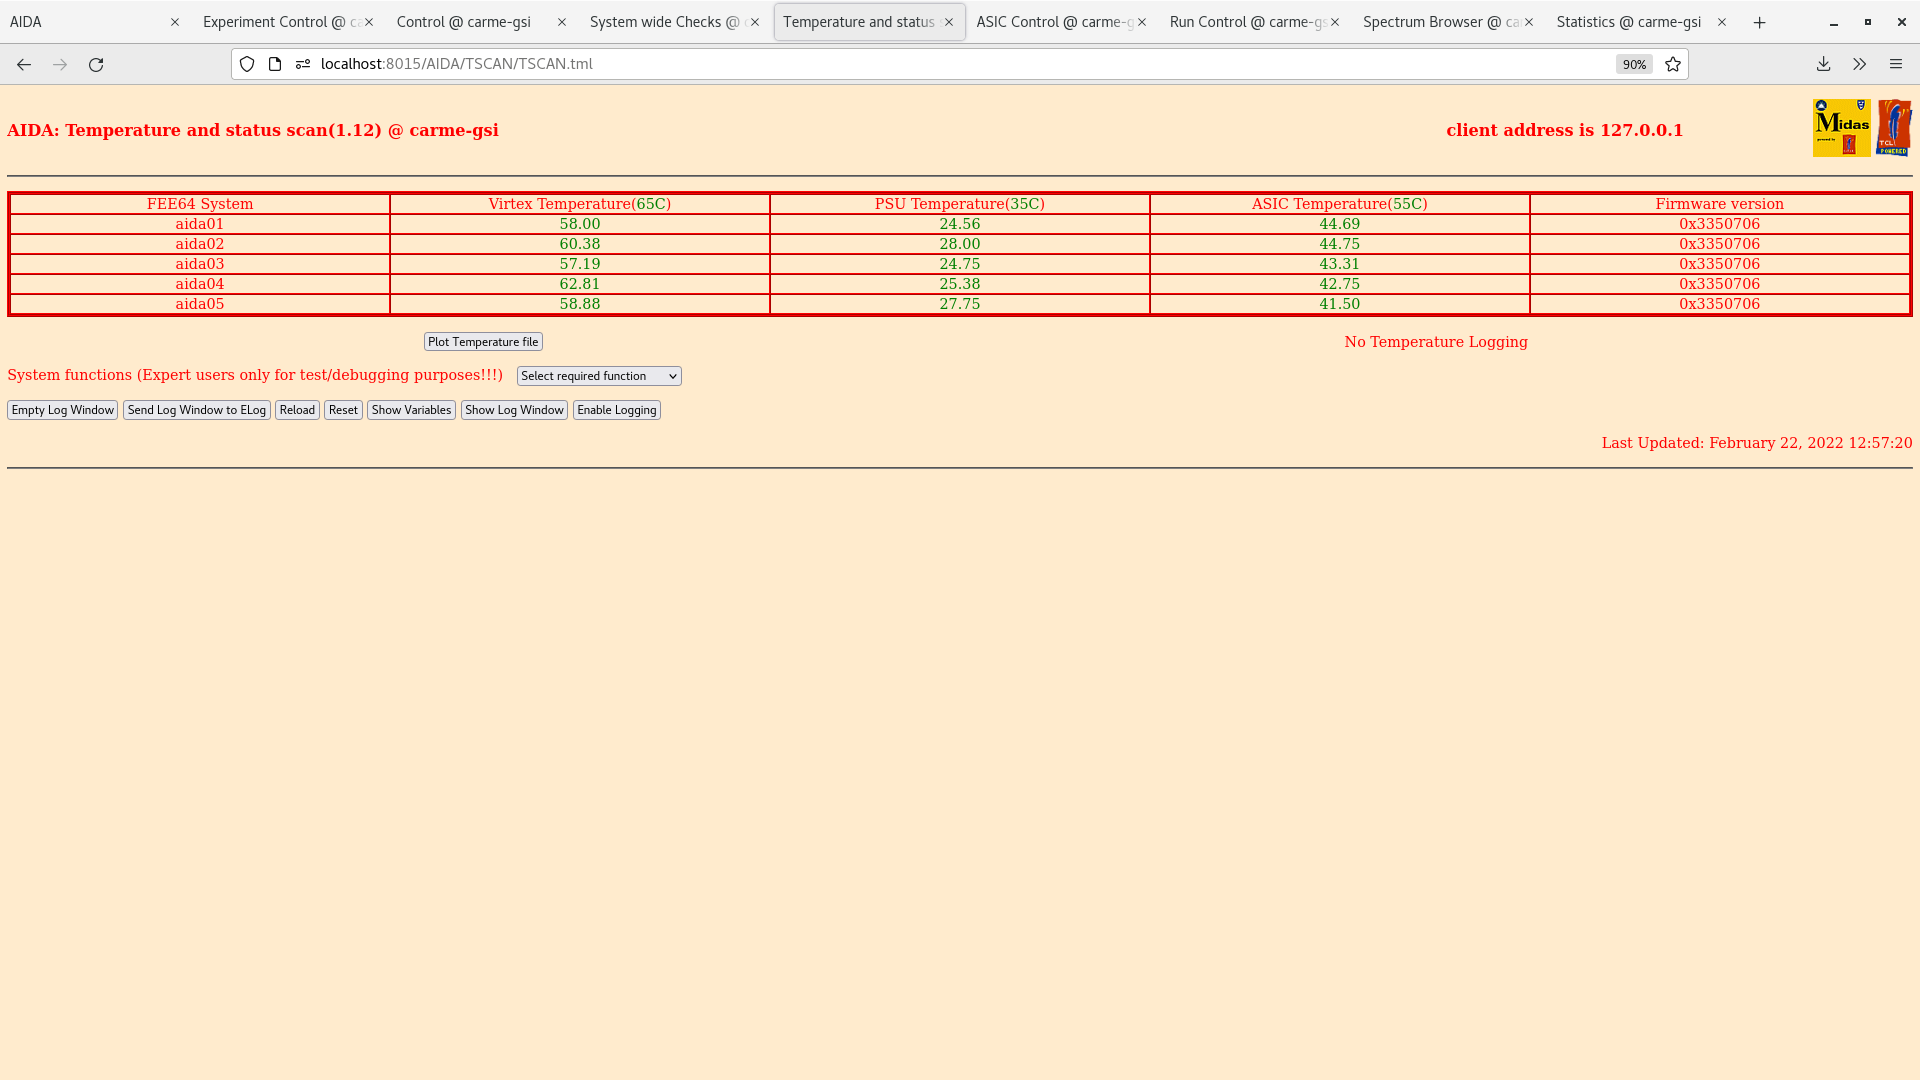
| Attachment 6: 12-temp-2022-02-22_12-57-28.png
|
|
| Attachment 7: 12-leakage-2022-02-22_12-59-32.png
|

|
| Attachment 8: 12-spectrum-2022-02-22_12-58-02.png
|

|
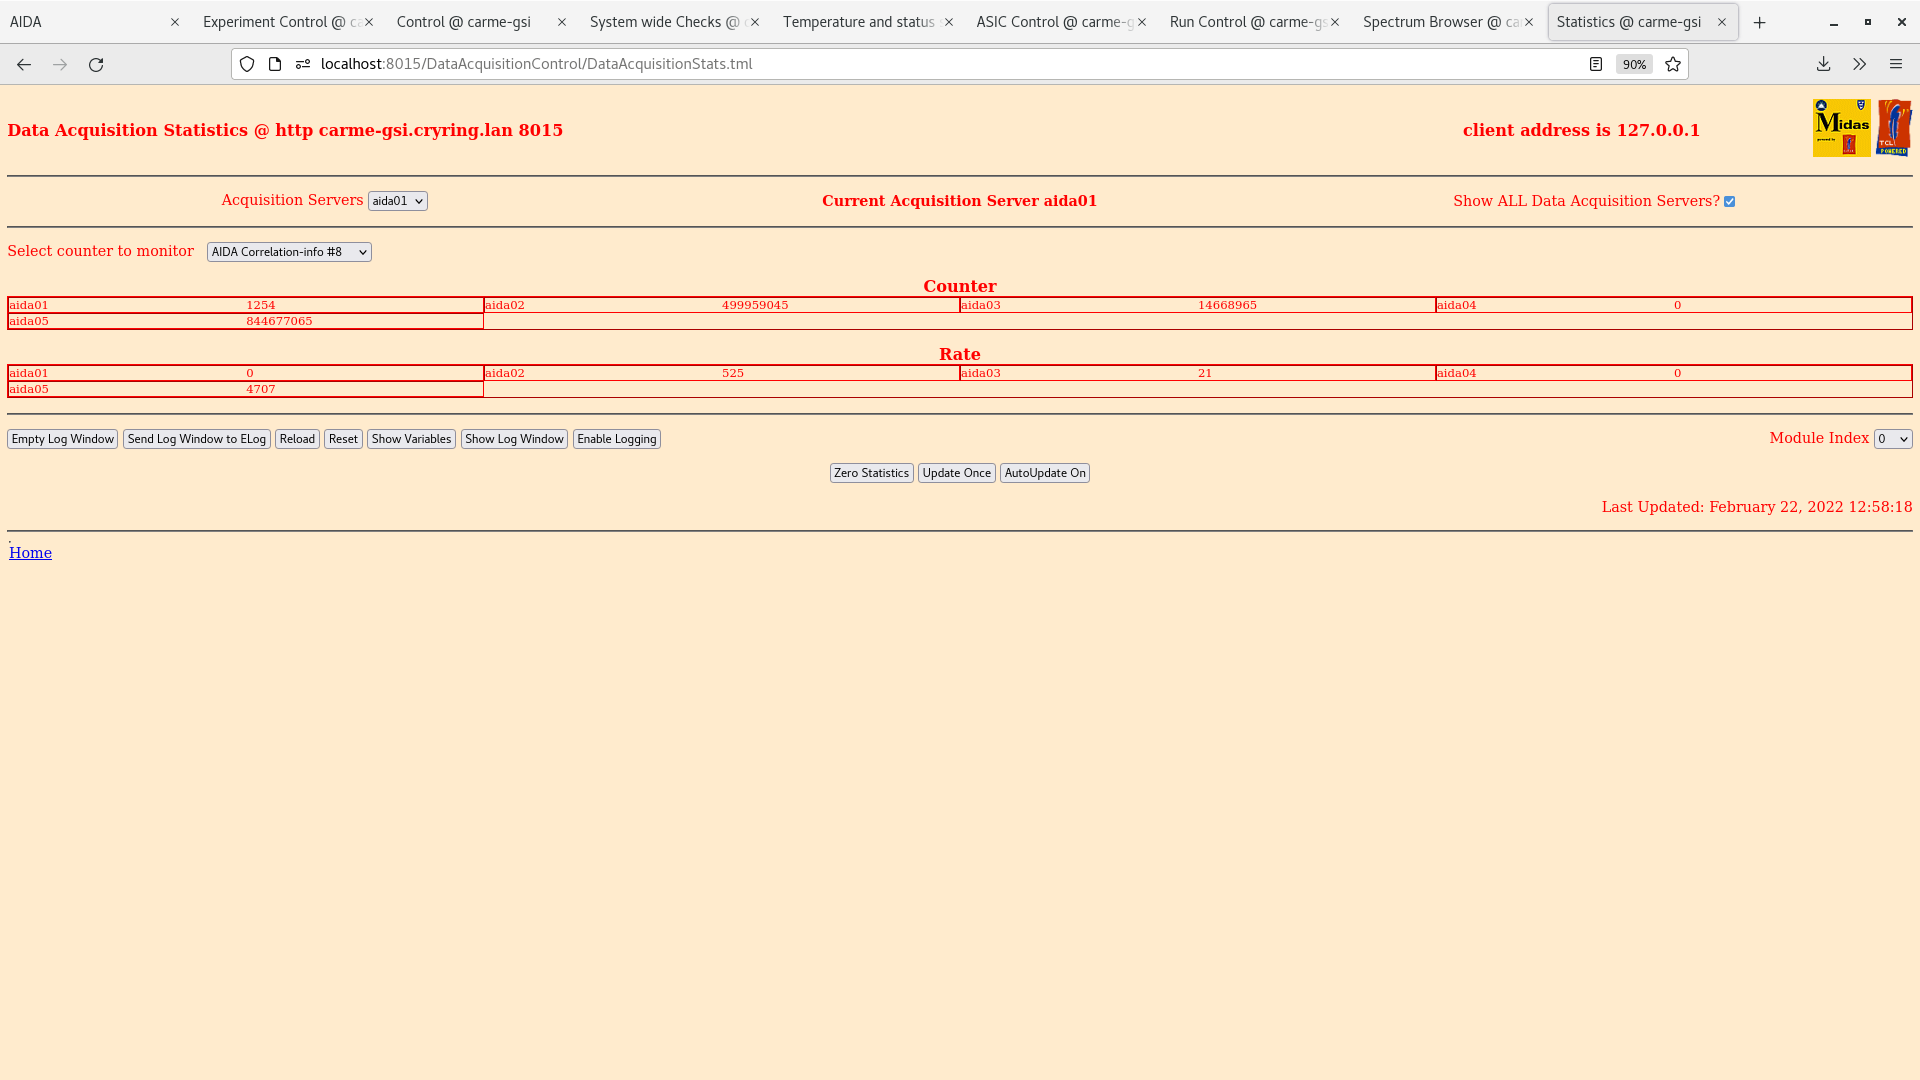
| Attachment 9: 12-correlation-2022-02-22_12-58-25.png
|
|
|
|
234
|
Tue Feb 22 10:30:00 2022 |
RSS, OF, ML | Beam OFF, Target ON Run 54 |
11:30
Beam optimisation. No beam since 09:25.
Target ON and open to the ring
YR09xxx ETarget ~1.9e-10 (saturated)
Target E4 inlet pressure ~8.8E-9 mbar
Dump S3 ~ 6.8E-10 mbar
Nozzle temperature 150 K
Run 54 started, monitoring code restarted.
Beam optimization will be done until 3 pm and will be then give for the experiment. |
| Attachment 1: 11-ex-2022-02-22_11-30-44.png
|

|
| Attachment 2: 11-ey-2022-02-22_11-30-12.png
|

|
| Attachment 3: 11-xy-2022-02-22_11-31-13.png
|

|
| Attachment 4: 11-adc-2022-02-22_11-27-37.png
|

|
| Attachment 5: 11-good-2022-02-22_11-28-00.png
|

|
| Attachment 6: 11-temp-2022-02-22_11-26-26.png
|
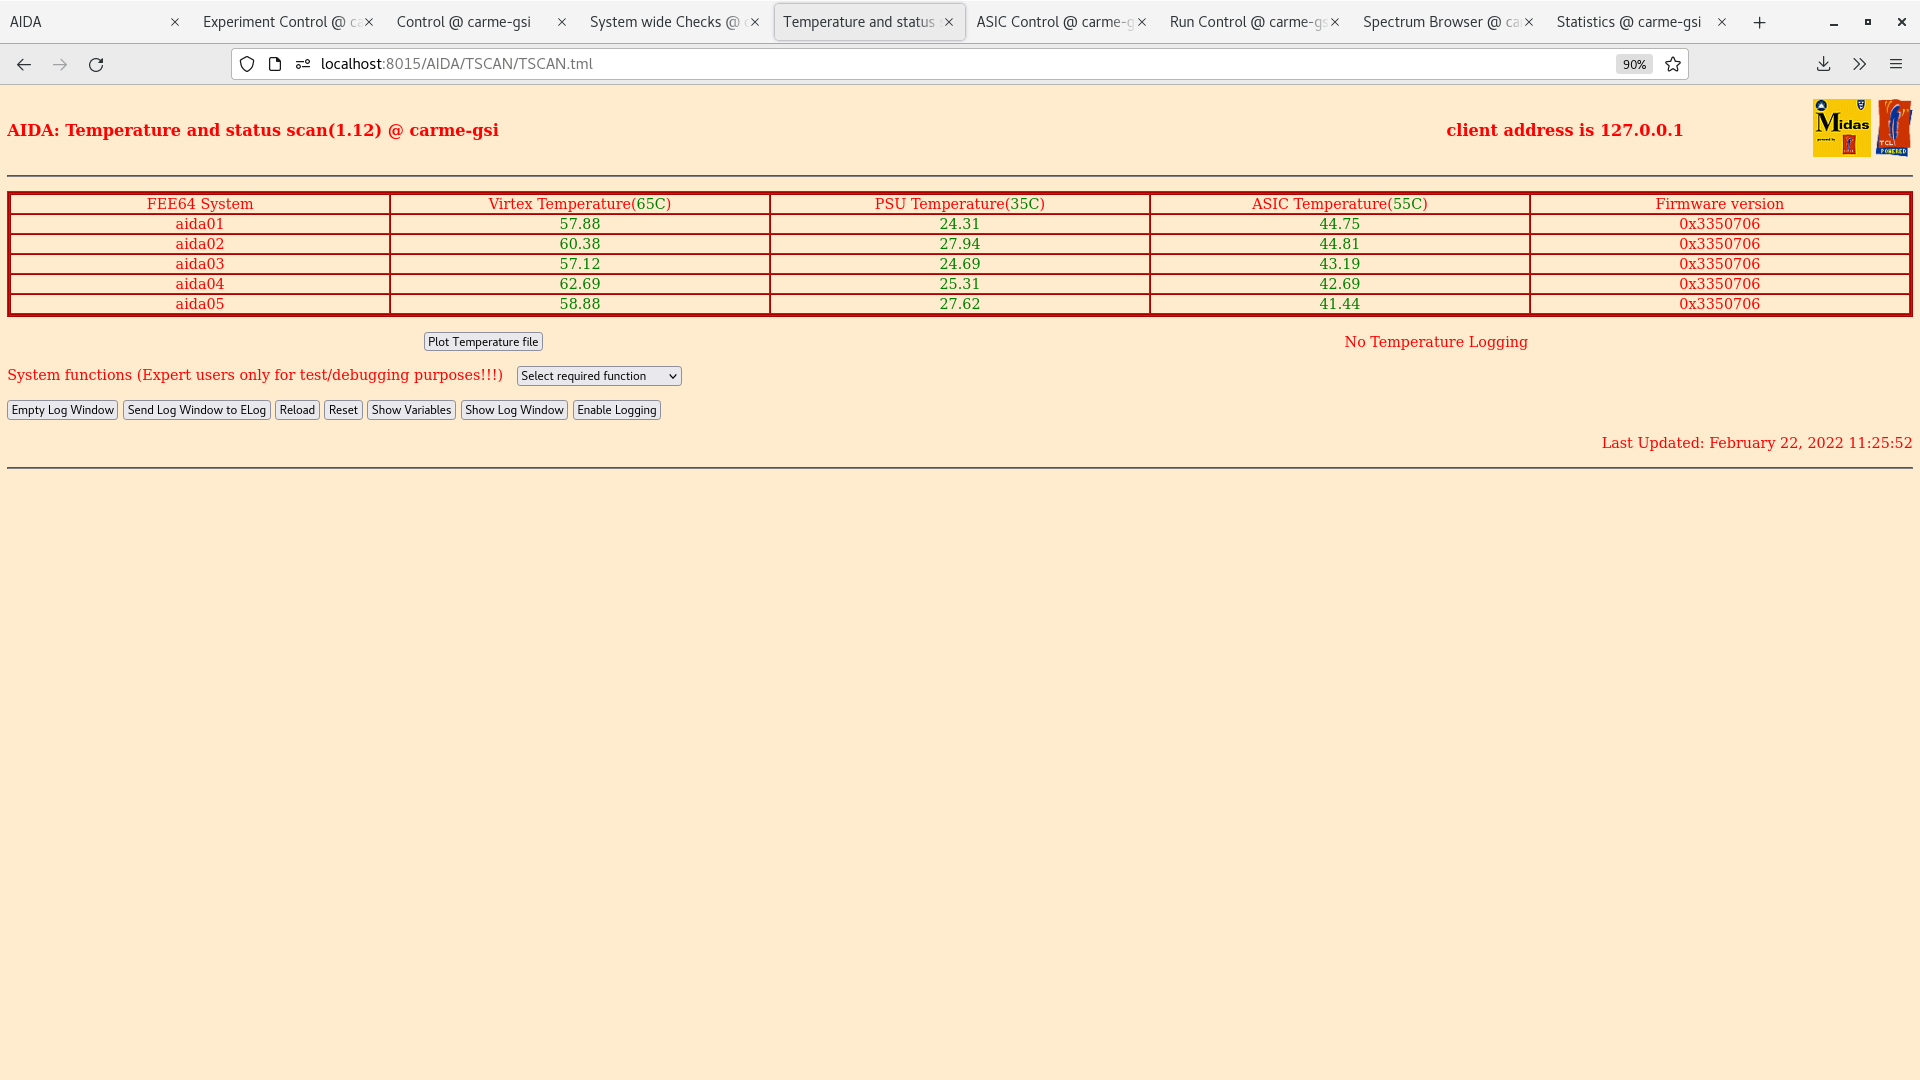
|
| Attachment 7: 11-merger-2022-02-22_11-28-52.png
|
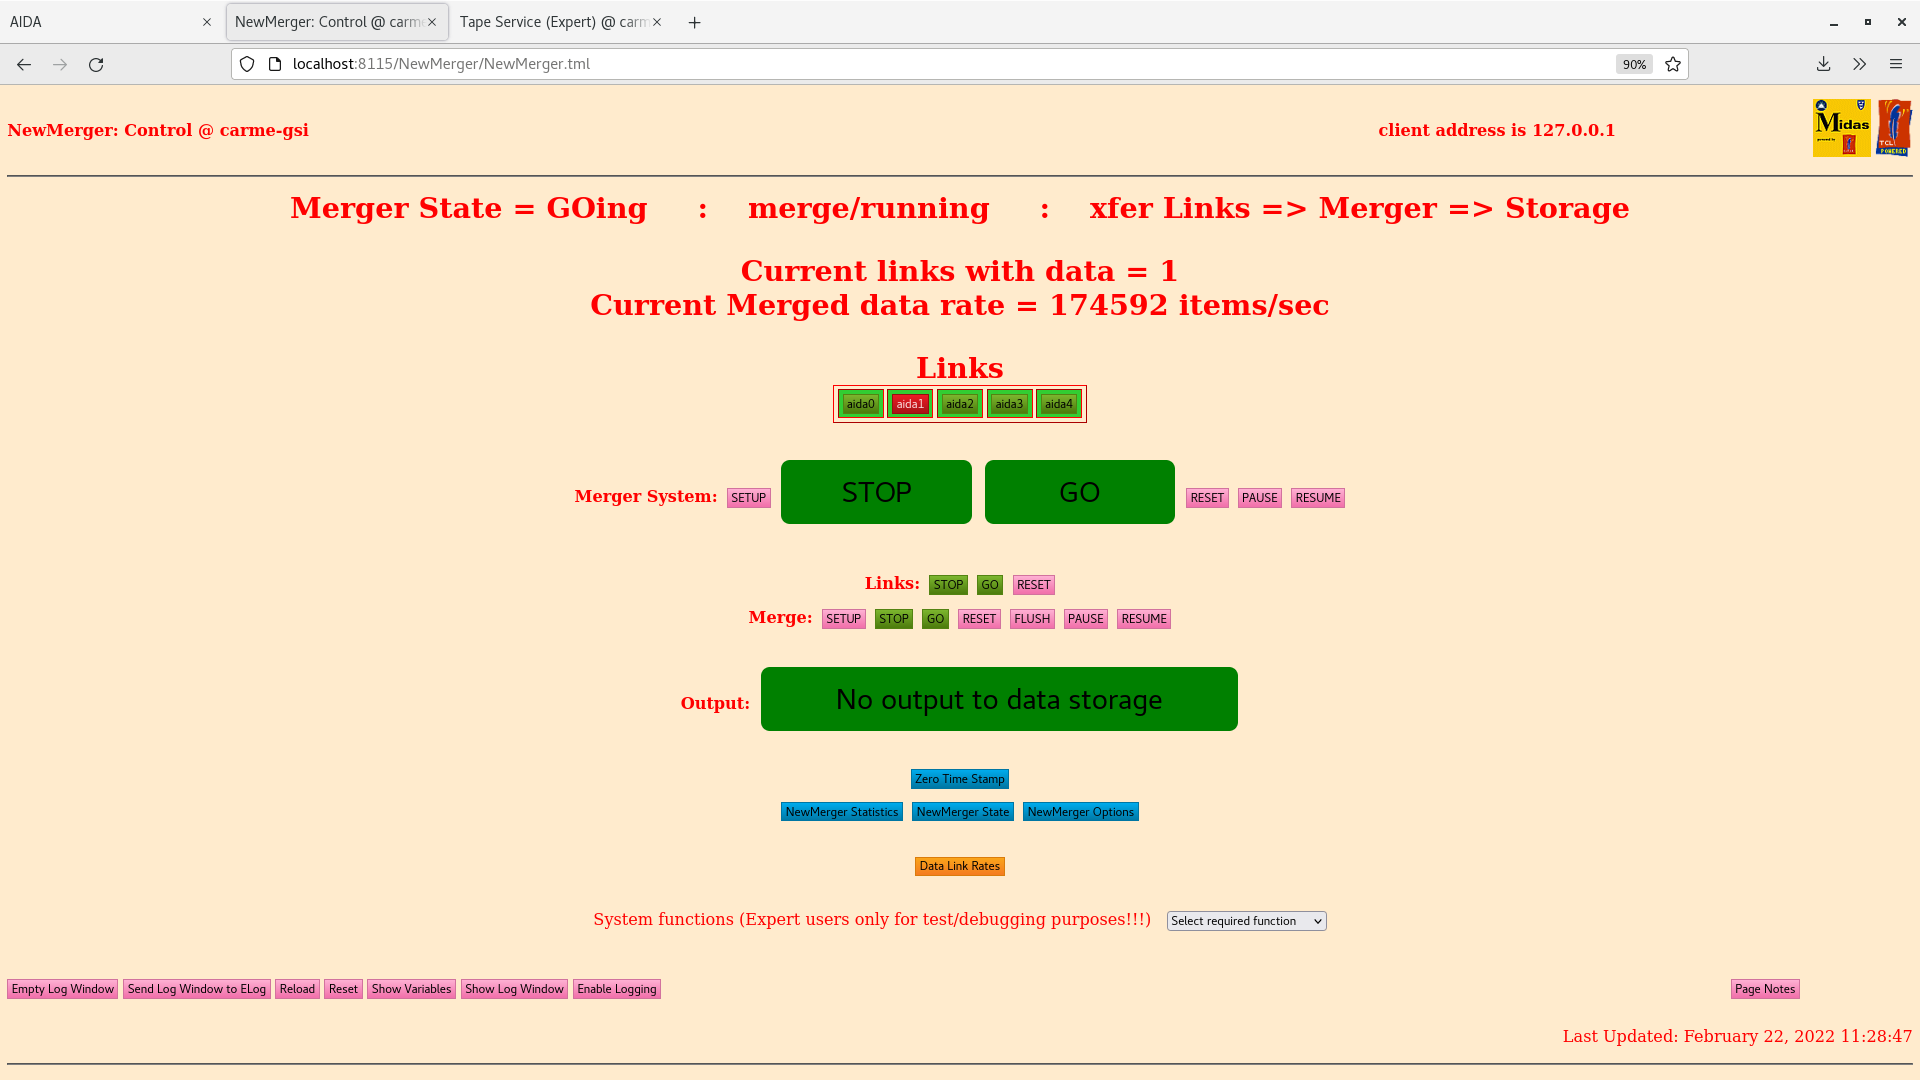
|
| Attachment 8: 11-leakage-2022-02-22_11-29-09.png
|

|
| Attachment 9: 11-spectrum-2022-02-22_11-27-12.png
|
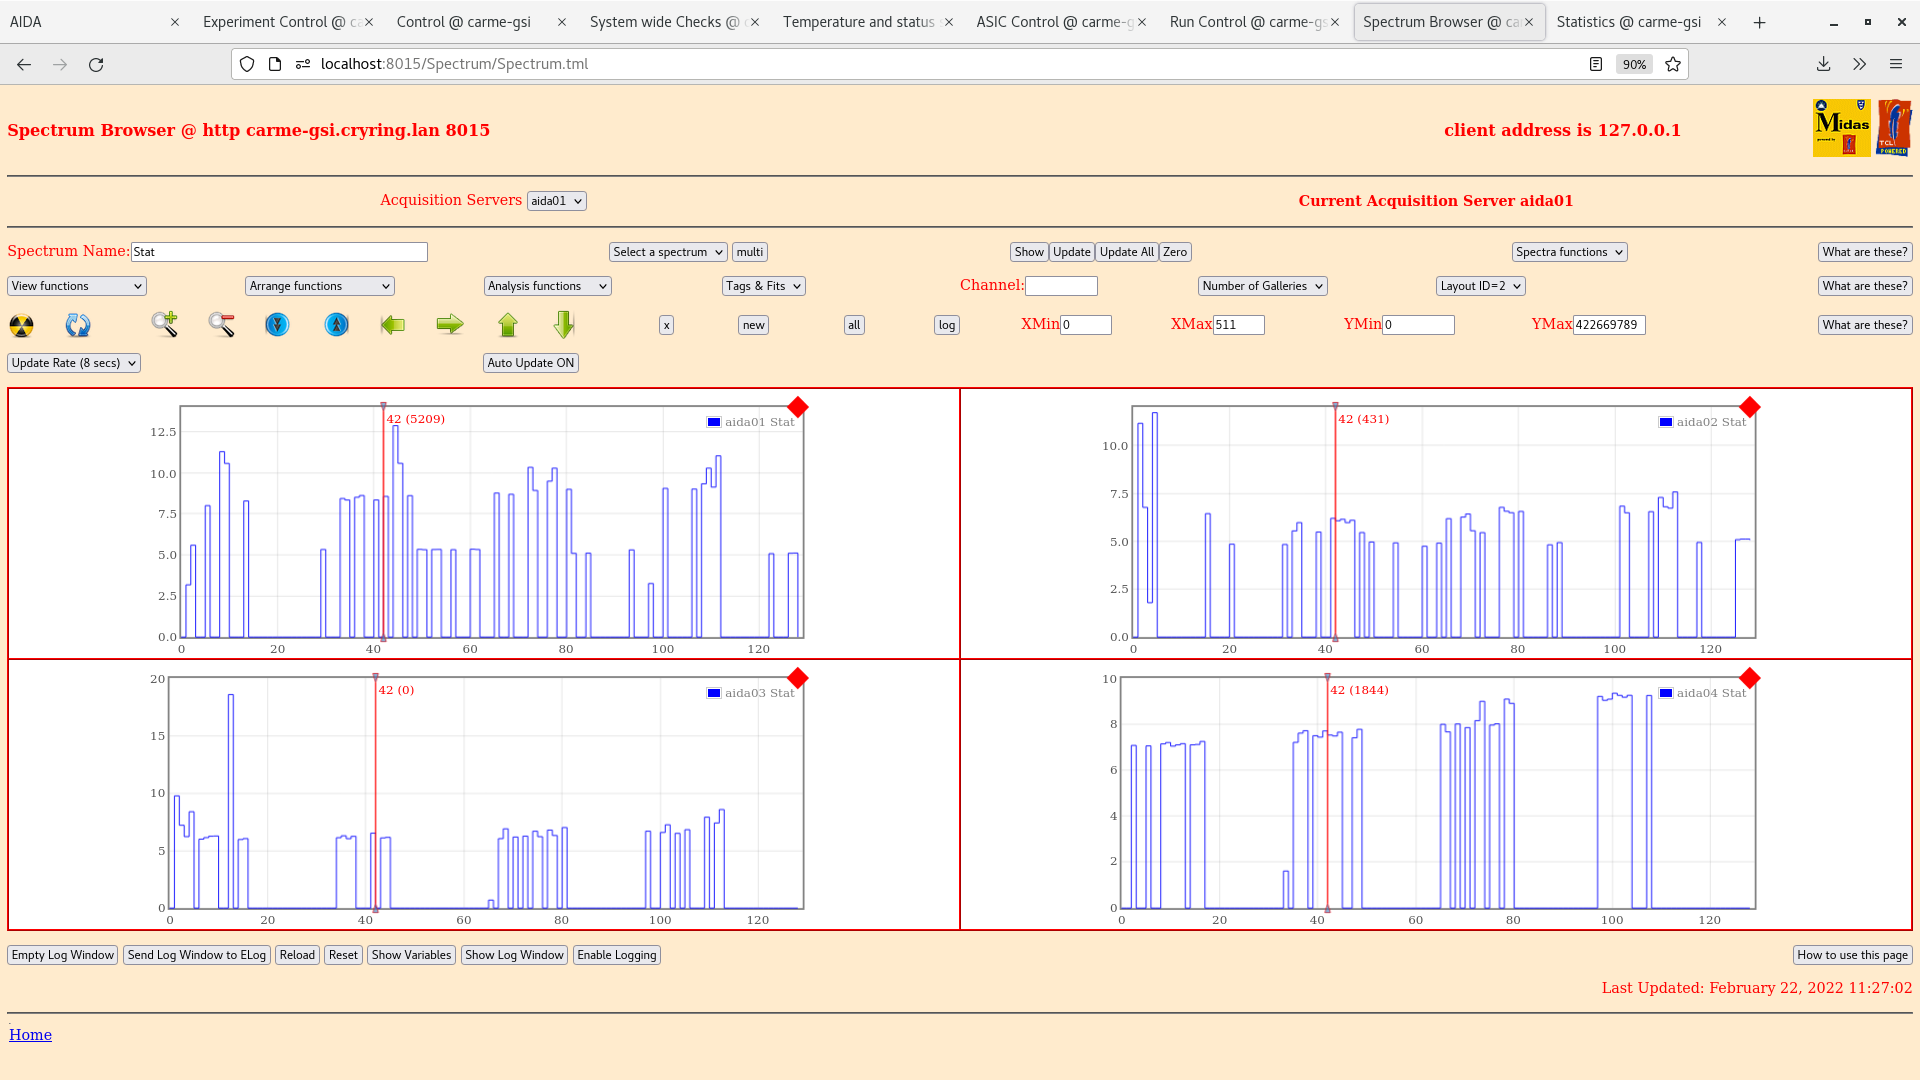
|
| Attachment 10: 11-correlation-2022-02-22_11-28-26.png
|

|
|
|
233
|
Tue Feb 22 10:06:50 2022 |
RSS, OF, ML | PMT channel |
YR00DA1ZB is the channel for PMT rate. |
|
|
232
|
Tue Feb 22 09:10:48 2022 |
OH | Analysis of R54_14 |
Results of the fortran analyser programs for R54_14

No timewarps observed in the data
No dead time observed either.
Lots of idle time but expected with high thresholds and low noise |
| Attachment 1: R54_14_analyser.txt
|
*** TDR format 3.3.0 analyser - TD - May 2021
*** ERROR: READ I/O error: 5002
blocks: 32000
ADC data format: 41363625 ( 7503.5 Hz)
Other data format: 220556385 ( 40009.7 Hz)
Sample trace data format: 0 ( 0.0 Hz)
Undefined format: 0 ( 0.0 Hz)
Other data format type: PAUSE: 42 ( 0.0 Hz)
RESUME: 42 ( 0.0 Hz)
SYNC100: 52536 ( 9.5 Hz)
WR48-63: 52536 ( 9.5 Hz)
FEE64 disc: 12893198 ( 2338.9 Hz)
MBS info: 207558031 ( 37651.8 Hz)
Other info: 0 ( 0.0 Hz)
ADC data range bit set: 226 ( 0.0 Hz)
Timewarps: ADC: 0 ( 0.0 Hz)
PAUSE: 0 ( 0.0 Hz)
RESUME: 0 ( 0.0 Hz)
SYNC100: 0 ( 0.0 Hz)
WR48-63: 0 ( 0.0 Hz)
FEE64 disc: 0 ( 0.0 Hz)
MBS info: 0 ( 0.0 Hz)
Undefined: 0 ( 0.0 Hz)
Sample trace: 0 ( 0.0 Hz)
*** Timestamp elapsed time: 5512.571 s
FEE elapsed dead time(s) elapsed idle time(s)
0 0.000 5402.413
1 0.056 314.107
2 0.000 657.608
3 0.000 2532.514
4 0.320 0.000
5 0.000 0.000
6 0.000 0.000
7 0.000 0.000
8 0.000 0.000
9 0.000 0.000
10 0.000 0.000
11 0.000 0.000
12 0.000 0.000
13 0.000 0.000
14 0.000 0.000
15 0.000 0.000
16 0.000 0.000
17 0.000 0.000
18 0.000 0.000
19 0.000 0.000
20 0.000 0.000
21 0.000 0.000
22 0.000 0.000
23 0.000 0.000
24 0.000 0.000
25 0.000 0.000
26 0.000 0.000
27 0.000 0.000
28 0.000 0.000
29 0.000 0.000
30 0.000 0.000
31 0.000 0.000
32 0.000 0.000
*** Statistics
FEE ADC Data Other Data Sample Undefined Pause Resume SYNC100 WR48-63 Disc MBS Other HEC Data
0 162443 555 0 0 0 0 37 37 481 0 0 98
1 38970 87977556 0 0 8 8 15077 15077 328 87947058 0 67
2 18930381 14268602 0 0 0 0 8127 8127 12891950 1360398 0 0
3 31507 254 0 0 0 0 4 4 246 0 0 0
4 22200324 118309418 0 0 34 34 29291 29291 193 118250575 0 61
5 0 0 0 0 0 0 0 0 0 0 0 0
6 0 0 0 0 0 0 0 0 0 0 0 0
7 0 0 0 0 0 0 0 0 0 0 0 0
8 0 0 0 0 0 0 0 0 0 0 0 0
9 0 0 0 0 0 0 0 0 0 0 0 0
10 0 0 0 0 0 0 0 0 0 0 0 0
11 0 0 0 0 0 0 0 0 0 0 0 0
12 0 0 0 0 0 0 0 0 0 0 0 0
13 0 0 0 0 0 0 0 0 0 0 0 0
14 0 0 0 0 0 0 0 0 0 0 0 0
15 0 0 0 0 0 0 0 0 0 0 0 0
16 0 0 0 0 0 0 0 0 0 0 0 0
17 0 0 0 0 0 0 0 0 0 0 0 0
18 0 0 0 0 0 0 0 0 0 0 0 0
19 0 0 0 0 0 0 0 0 0 0 0 0
20 0 0 0 0 0 0 0 0 0 0 0 0
21 0 0 0 0 0 0 0 0 0 0 0 0
22 0 0 0 0 0 0 0 0 0 0 0 0
23 0 0 0 0 0 0 0 0 0 0 0 0
24 0 0 0 0 0 0 0 0 0 0 0 0
25 0 0 0 0 0 0 0 0 0 0 0 0
26 0 0 0 0 0 0 0 0 0 0 0 0
27 0 0 0 0 0 0 0 0 0 0 0 0
28 0 0 0 0 0 0 0 0 0 0 0 0
29 0 0 0 0 0 0 0 0 0 0 0 0
30 0 0 0 0 0 0 0 0 0 0 0 0
31 0 0 0 0 0 0 0 0 0 0 0 0
32 0 0 0 0 0 0 0 0 0 0 0 0
*** Timewarps
FEE ADC Pause Resume SYNC100 WR48-63 Disc MBS Undefined Samples
0 0 0 0 0 0 0 0 0 0
1 0 0 0 0 0 0 0 0 0
2 0 0 0 0 0 0 0 0 0
3 0 0 0 0 0 0 0 0 0
4 0 0 0 0 0 0 0 0 0
5 0 0 0 0 0 0 0 0 0
6 0 0 0 0 0 0 0 0 0
7 0 0 0 0 0 0 0 0 0
8 0 0 0 0 0 0 0 0 0
9 0 0 0 0 0 0 0 0 0
10 0 0 0 0 0 0 0 0 0
11 0 0 0 0 0 0 0 0 0
12 0 0 0 0 0 0 0 0 0
13 0 0 0 0 0 0 0 0 0
14 0 0 0 0 0 0 0 0 0
15 0 0 0 0 0 0 0 0 0
16 0 0 0 0 0 0 0 0 0
17 0 0 0 0 0 0 0 0 0
18 0 0 0 0 0 0 0 0 0
19 0 0 0 0 0 0 0 0 0
20 0 0 0 0 0 0 0 0 0
21 0 0 0 0 0 0 0 0 0
22 0 0 0 0 0 0 0 0 0
23 0 0 0 0 0 0 0 0 0
24 0 0 0 0 0 0 0 0 0
25 0 0 0 0 0 0 0 0 0
26 0 0 0 0 0 0 0 0 0
27 0 0 0 0 0 0 0 0 0
28 0 0 0 0 0 0 0 0 0
29 0 0 0 0 0 0 0 0 0
30 0 0 0 0 0 0 0 0 0
31 0 0 0 0 0 0 0 0 0
32 0 0 0 0 0 0 0 0 0
*** Program elapsed time: 24.984s ( 1280.801 blocks/s, 80.050 Mb/s)
|
|
|
231
|
Tue Feb 22 08:31:25 2022 |
RSS, OF, ML | Beam OFF, Target ON Run 54 |
09:30
Beam optimisation. No beam since 09:25.
Target ON and open to the ring
YR09xxx ETarget ~1.9e-10 (saturated)
Target E4 inlet pressure ~8.8E-9 mbar
Dump S3 ~ 6.8E-10 mbar
Nozzle temperature 150 K
Run 54 started, monitoring code restarted.
FH and ML are optimising the beam. |
| Attachment 1: 9-ex-2022-02-22_09-29-46.png
|
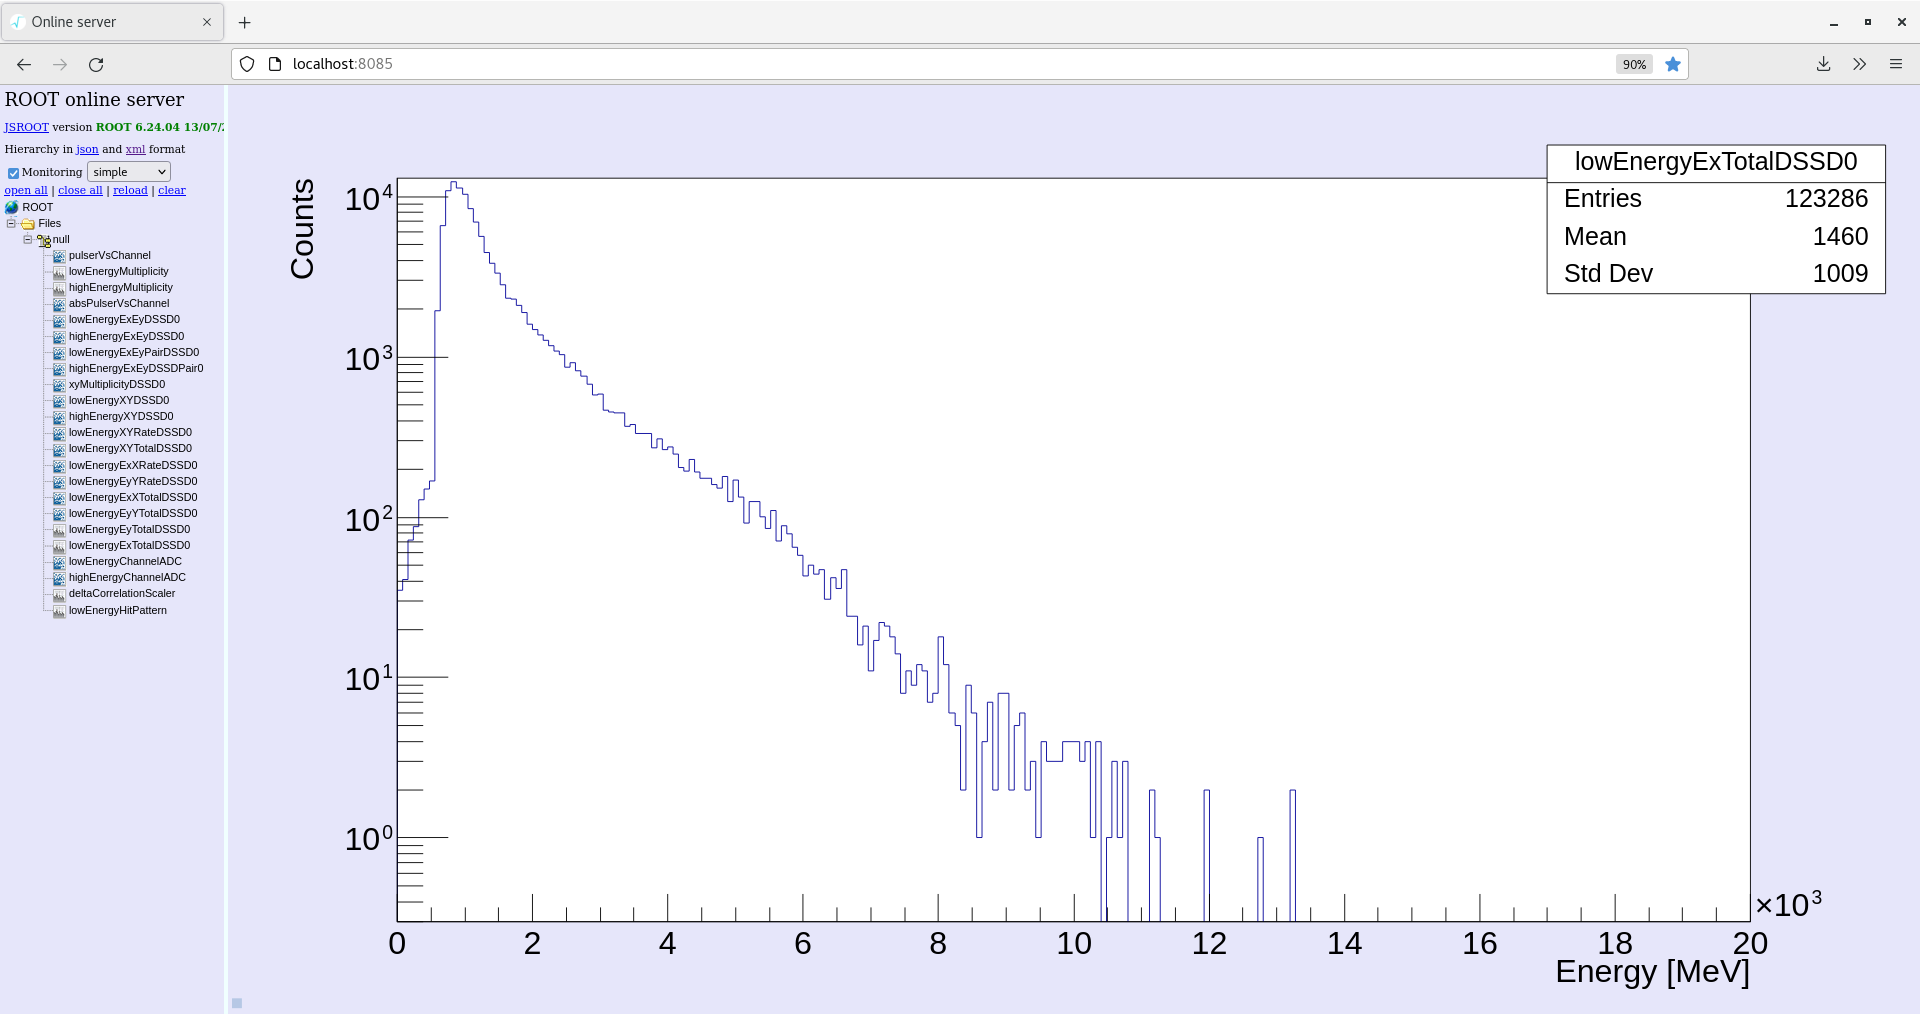
|
| Attachment 2: 9-ey-2022-02-22_09-30-12.png
|

|
| Attachment 3: 9-xy-2022-02-22_09-31-36.png
|

|
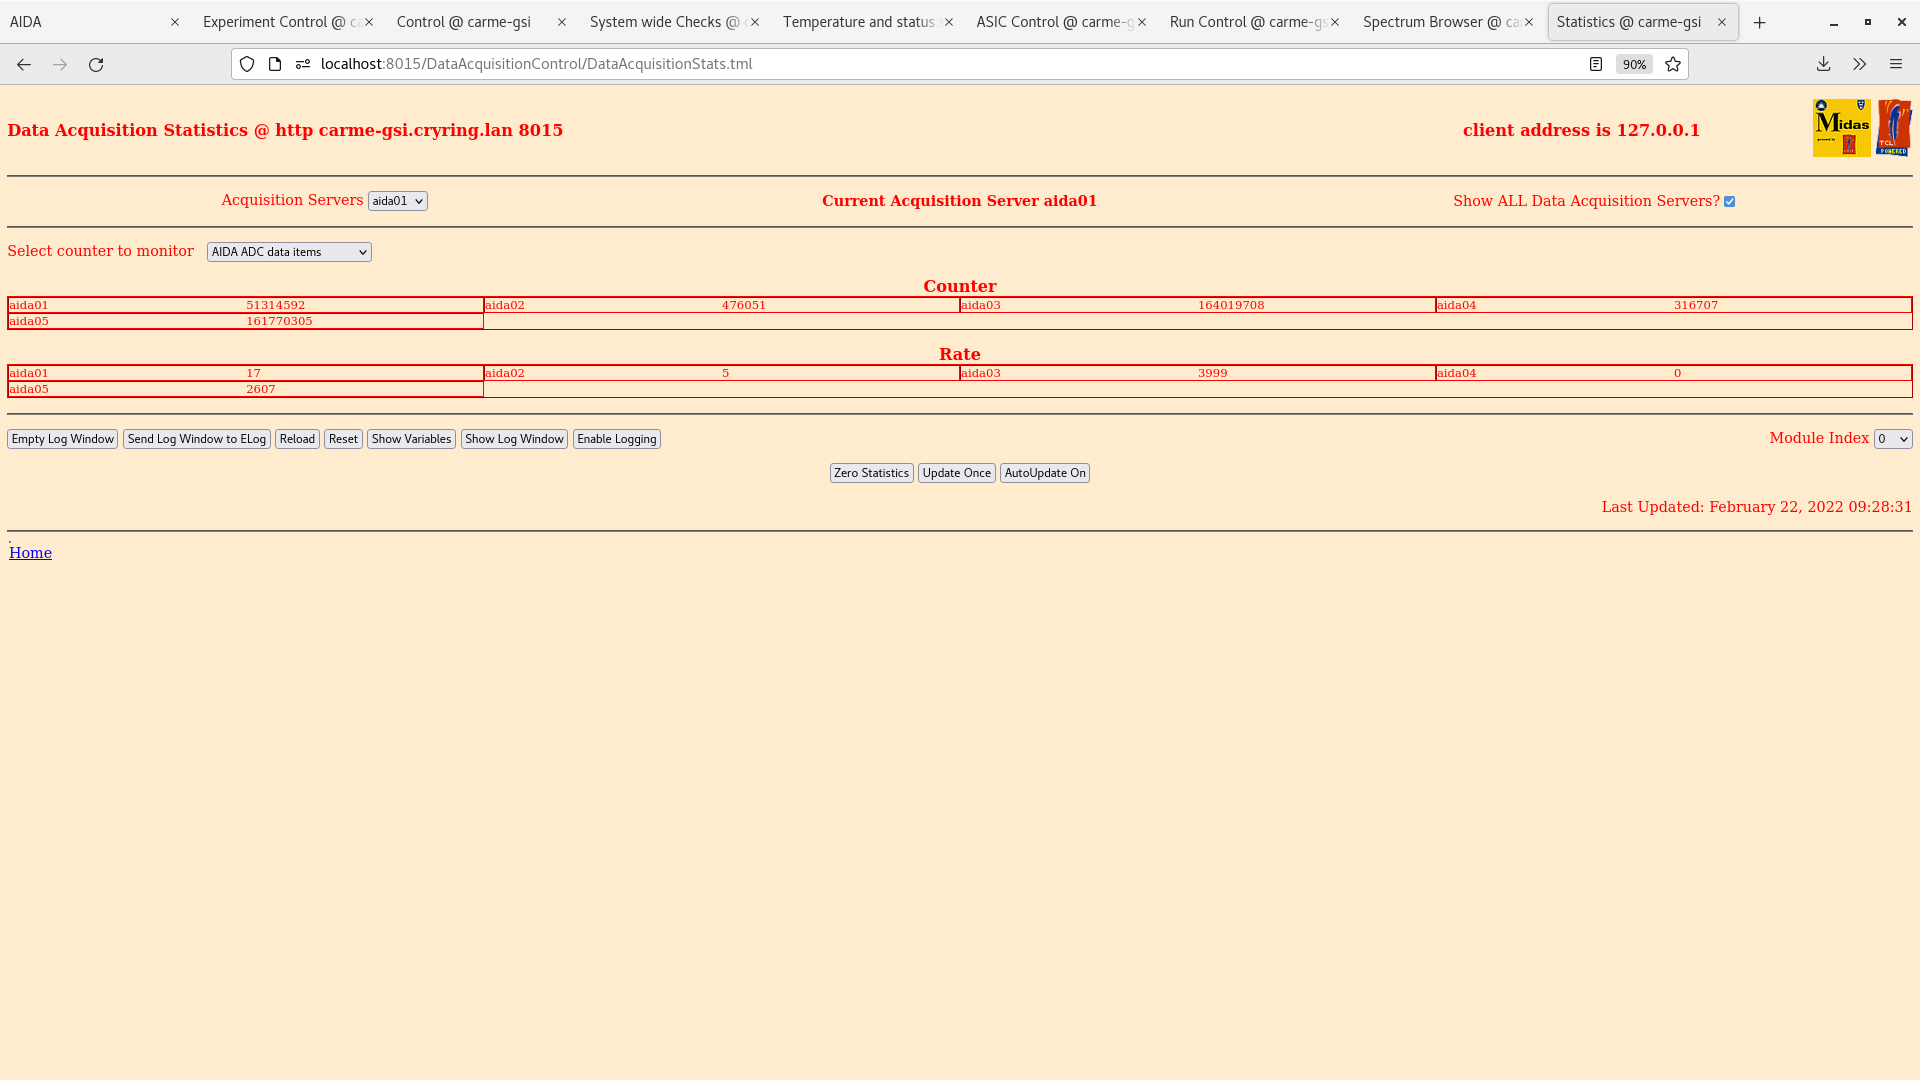
| Attachment 4: 9-adc-2022-02-22_09-28-36.png
|
|
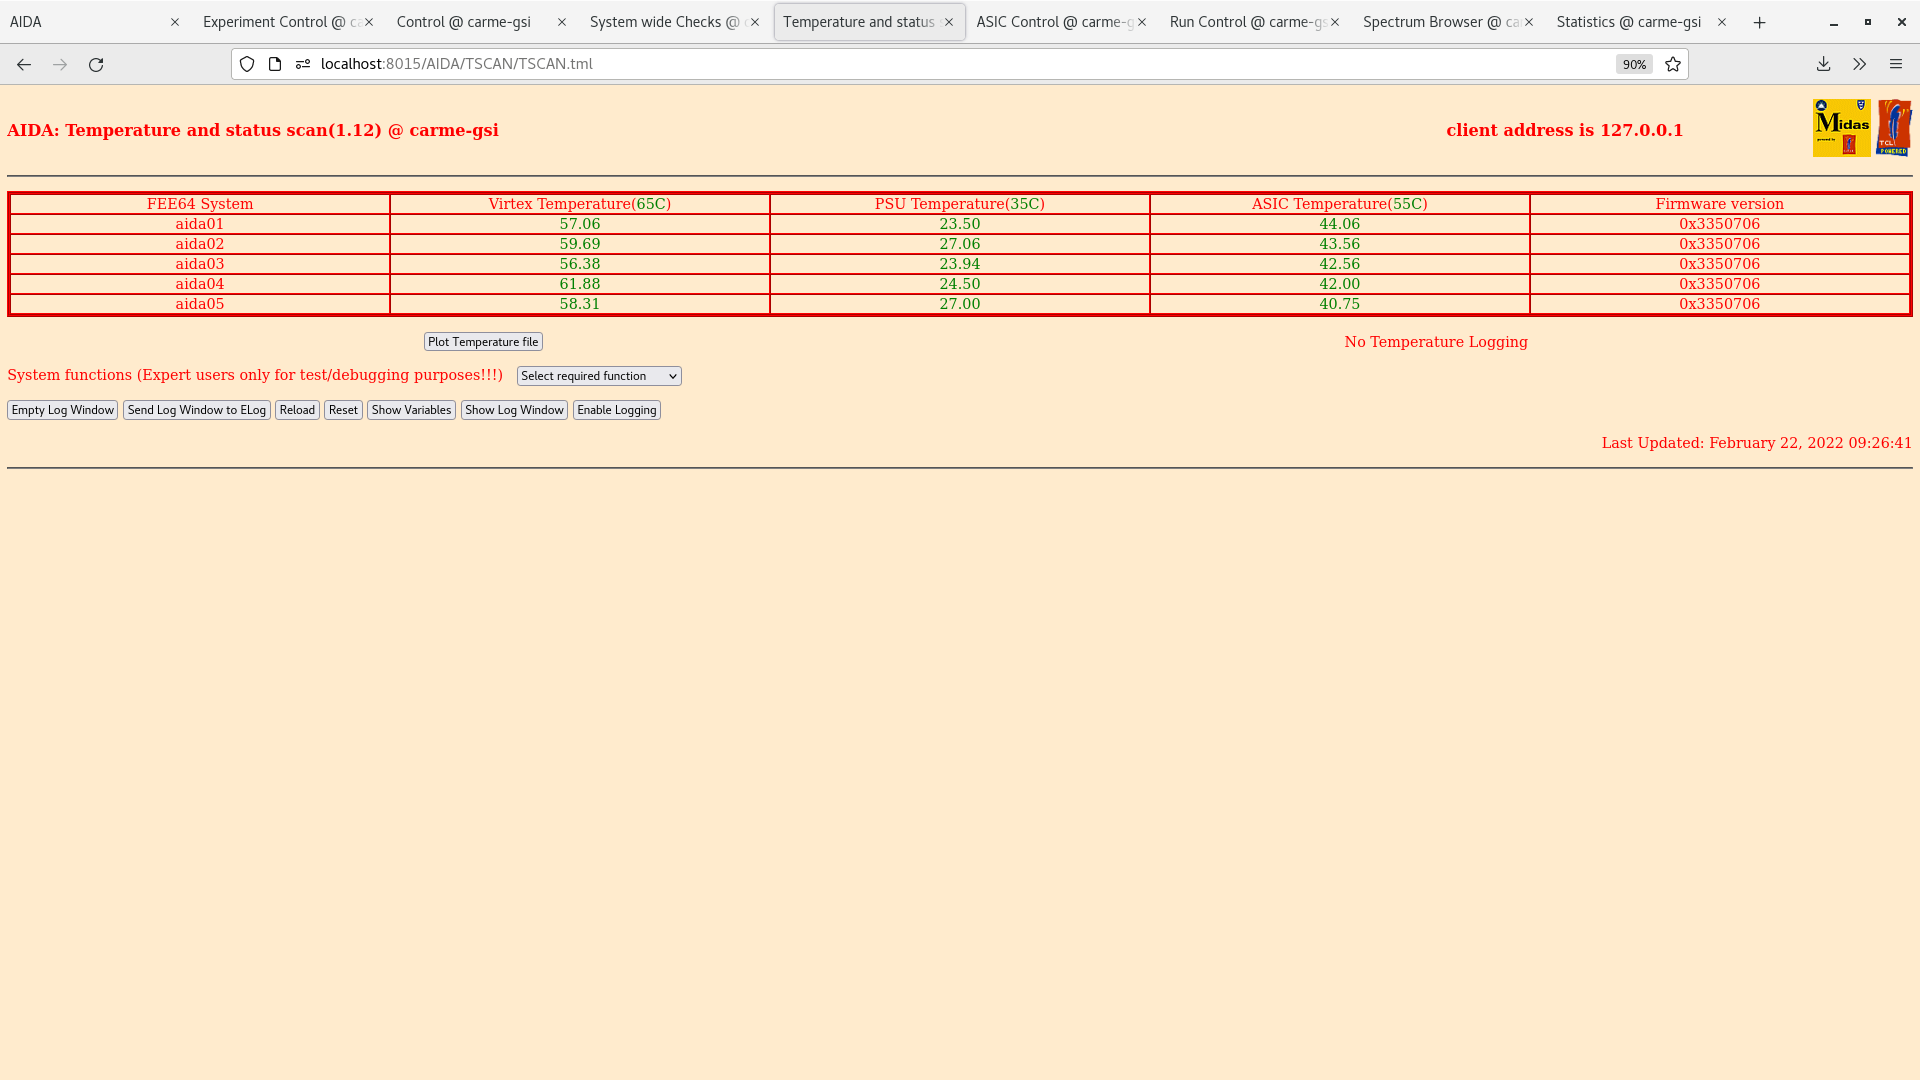
| Attachment 5: 9-temp-2022-02-22_09-26-47.png
|
|
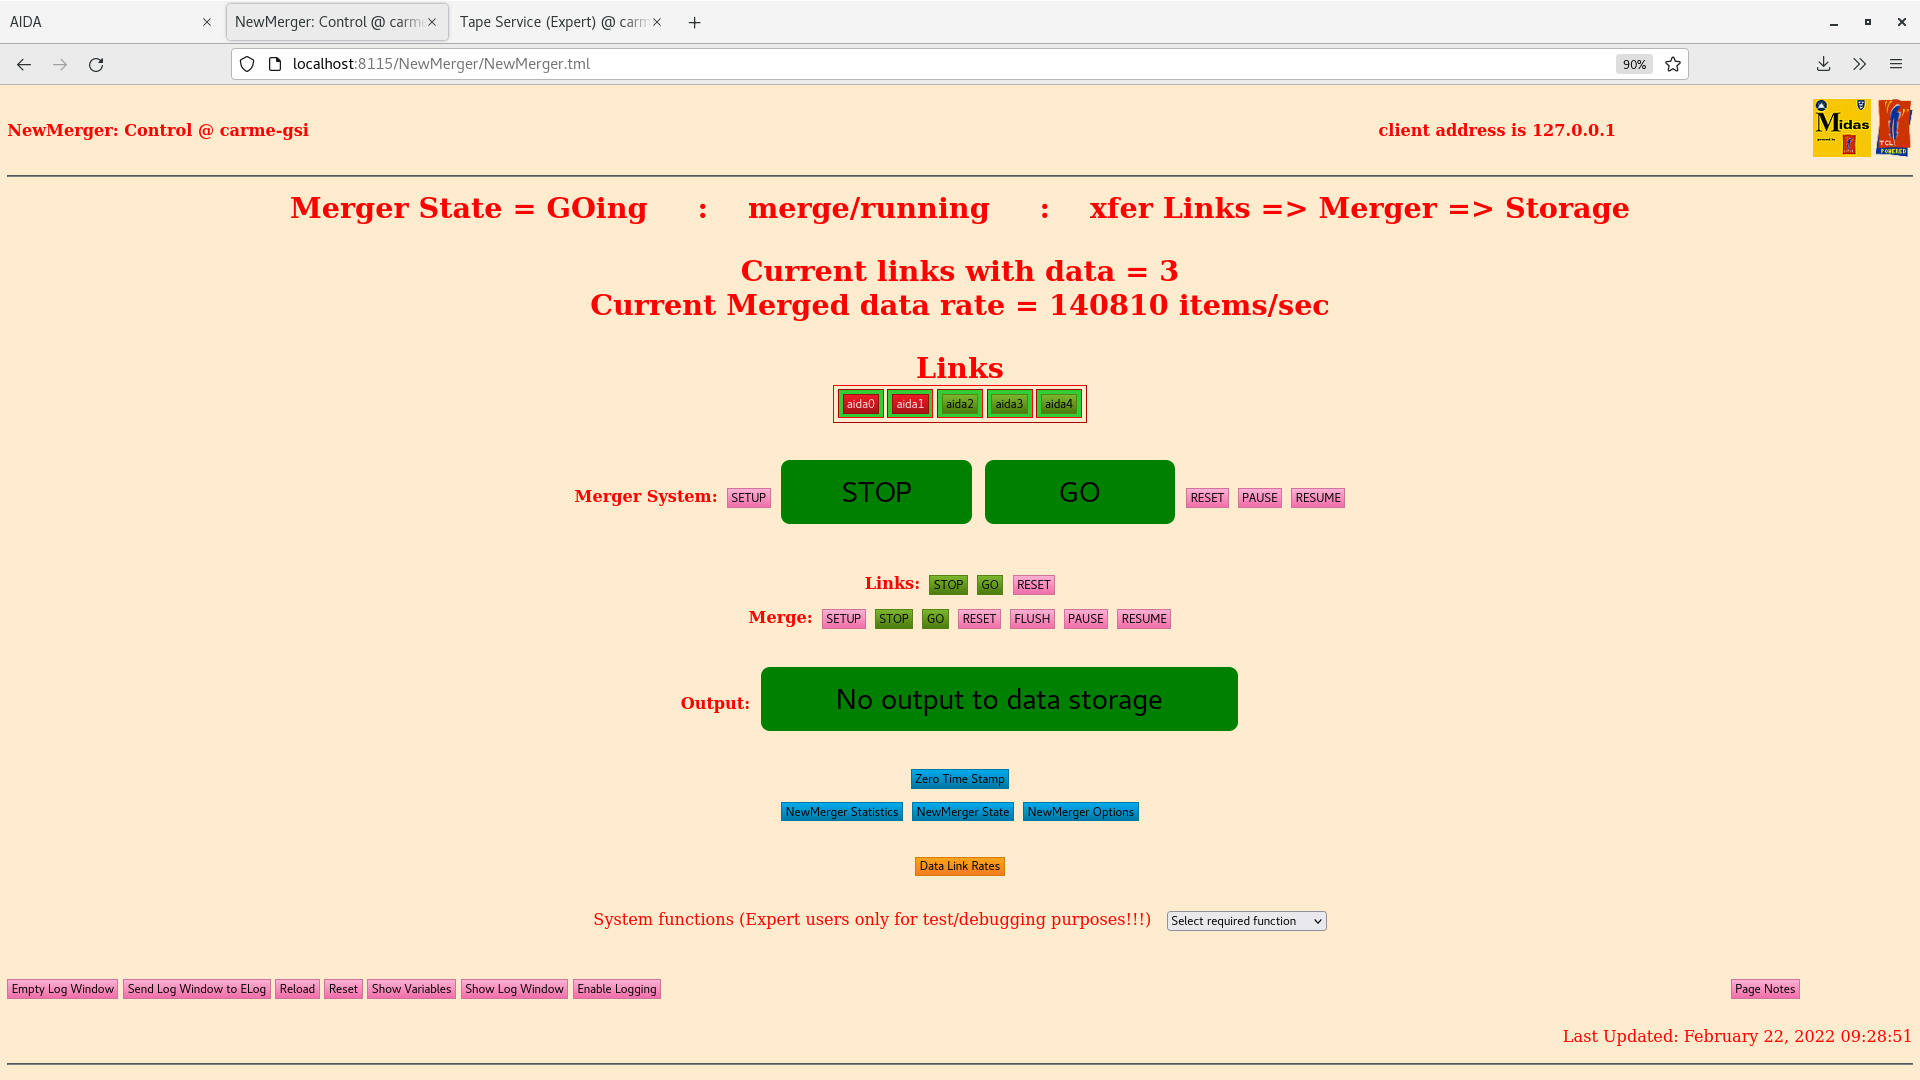
| Attachment 6: 9-merger-2022-02-22_09-28-56.png
|
|
| Attachment 7: 9-leakage-2022-02-22_09-29-14.png
|

|
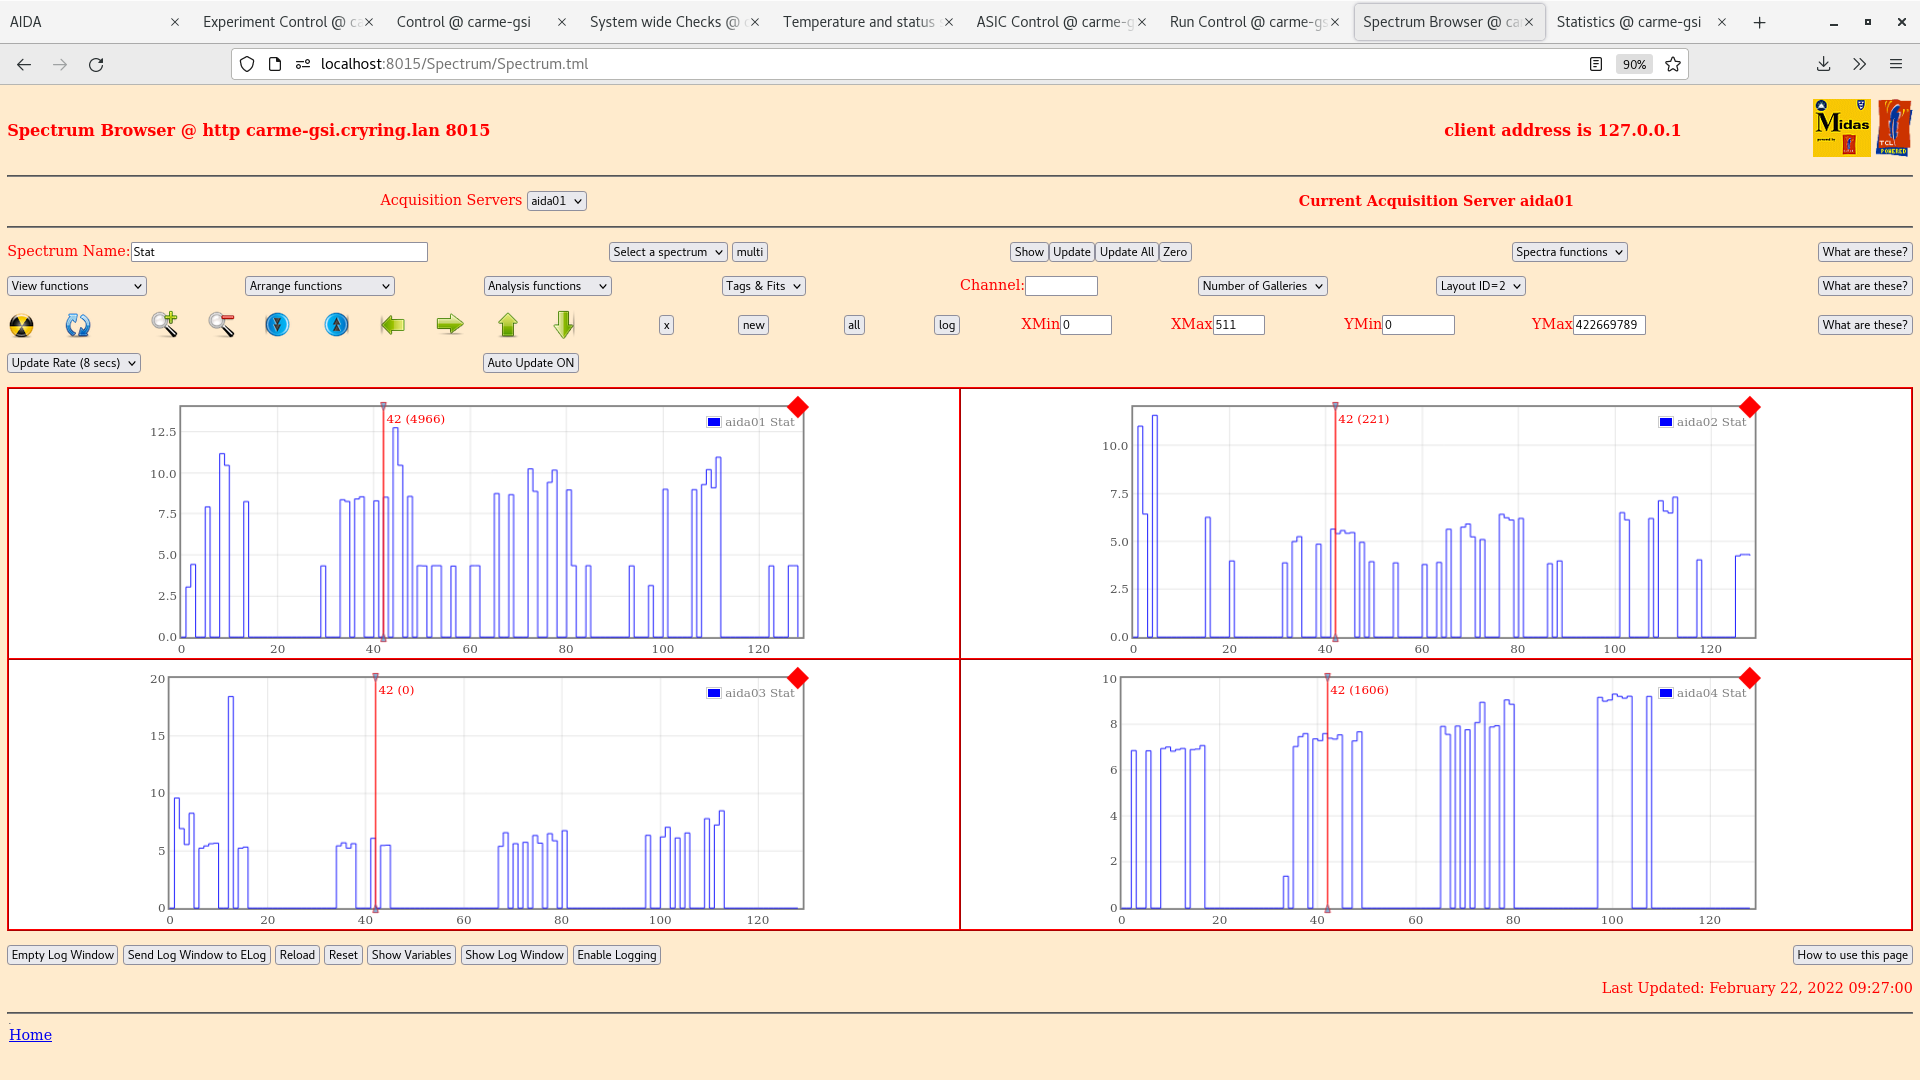
| Attachment 8: 9-spectrum-2022-02-22_09-27-11.png
|
|
| Attachment 9: 9-correlation-2022-02-22_09-27-37.png
|

|
| Attachment 10: 9-good-events-2022-02-22_09-28-07.png
|

|
|
|
230
|
Tue Feb 22 07:27:28 2022 |
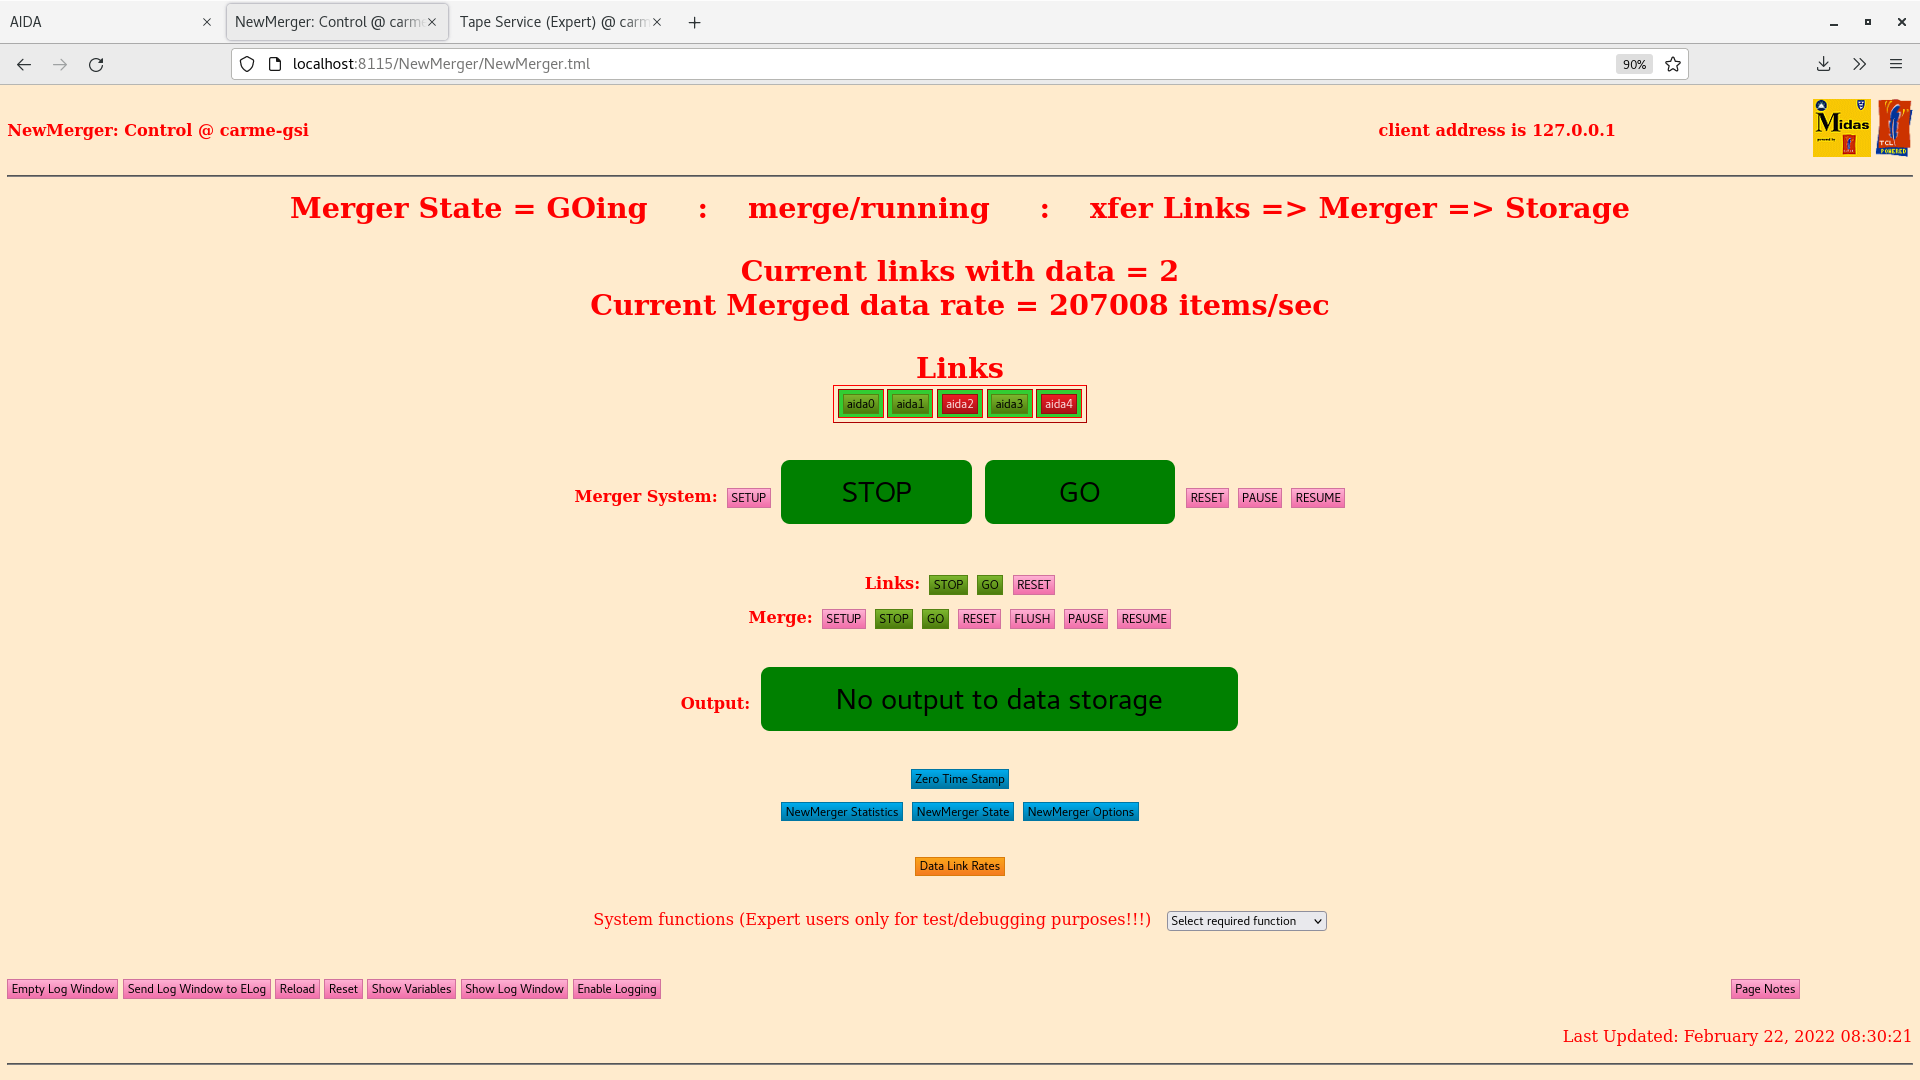
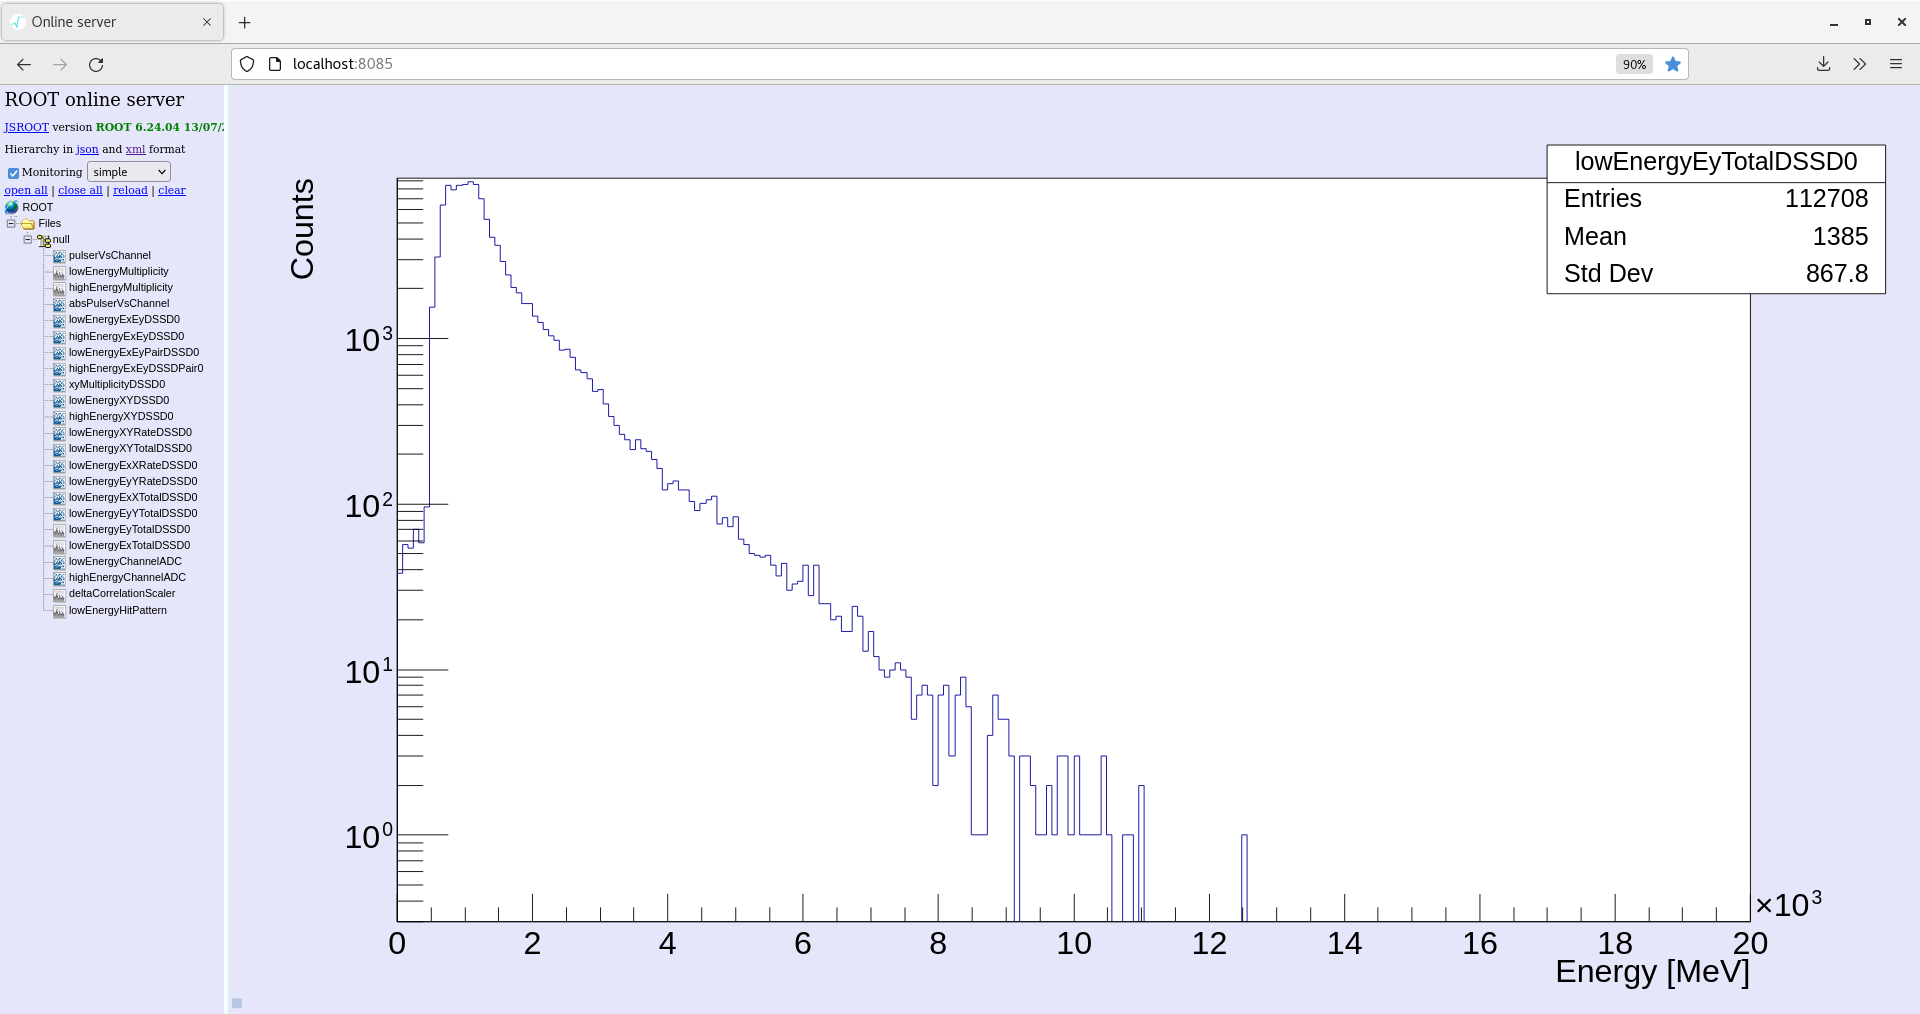
RSS, OF, ML | Beam ON, Target ON Run 54 |
08:30
Beam ON ~1.0E7 pps
Target ON and open to the ring
YR09xxx ETarget ~1.9e-10 (saturated)
Target E4 inlet pressure ~8.8E-9 mbar
Dump S3 ~ 6.8E-10 mbar
Nozzle temperature 150 K
Run 54 started, monitoring code restarted.
FH and ML are optimising the beam. |
| Attachment 1: 8-merger-2022-02-22_08-30-27.png
|
|
| Attachment 2: 8-leakage-2022-02-22_08-30-44.png
|

|
| Attachment 3: 8-adc-data-2022-02-22_08-28-58.png
|

|
| Attachment 4: 8-spectrum-2022-02-22_08-28-34.png
|

|
| Attachment 5: 8-xy-total-2022-02-22_08-32-04.png
|

|
| Attachment 6: 8-ex-energy-2022-02-22_08-31-08.png
|

|
| Attachment 7: 8-ey-energy-2022-02-22_08-31-32.png
|
|
| Attachment 8: 8-correlation-2022-02-22_08-30-00.png
|

|
| Attachment 9: 8-good-events-2022-02-22_08-29-33.png
|

|
| Attachment 10: 8-temp-2022-02-22_08-28-09.png
|

|
|
|
229
|
Tue Feb 22 06:30:09 2022 |
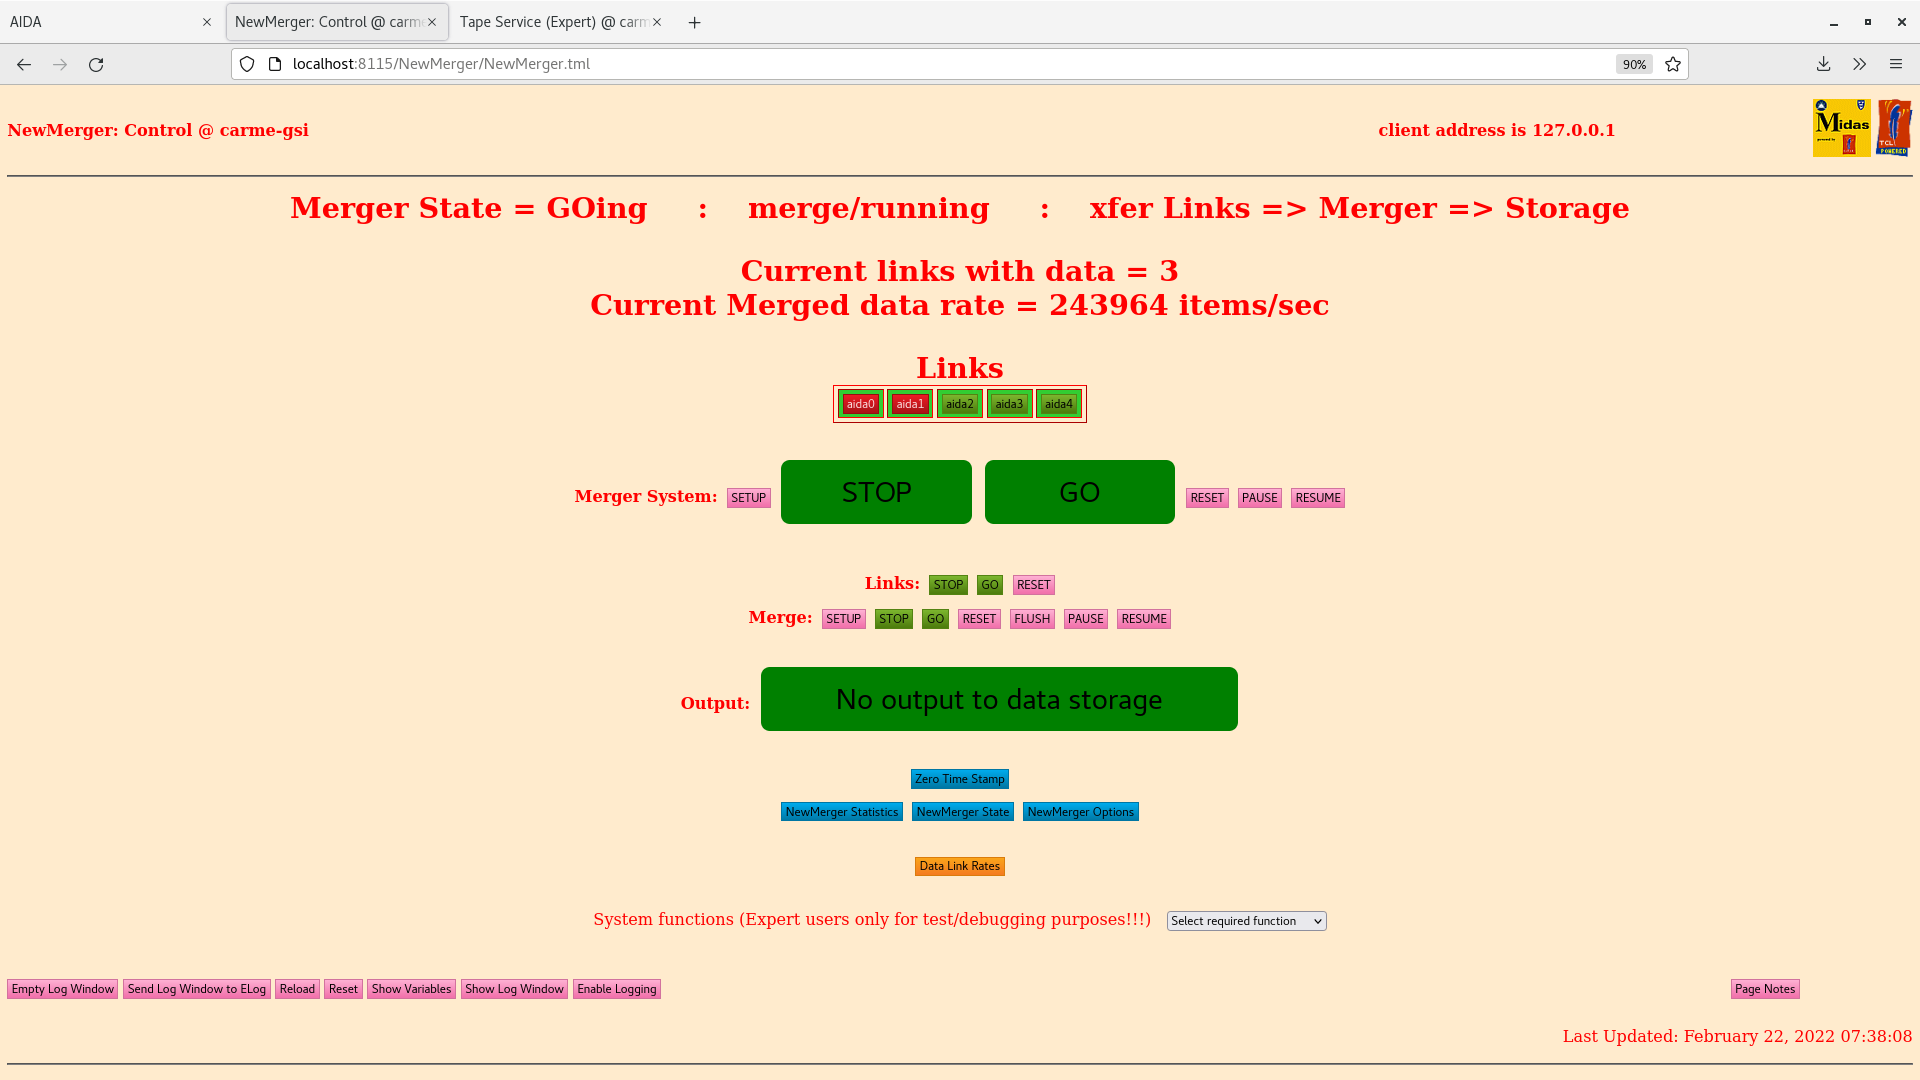
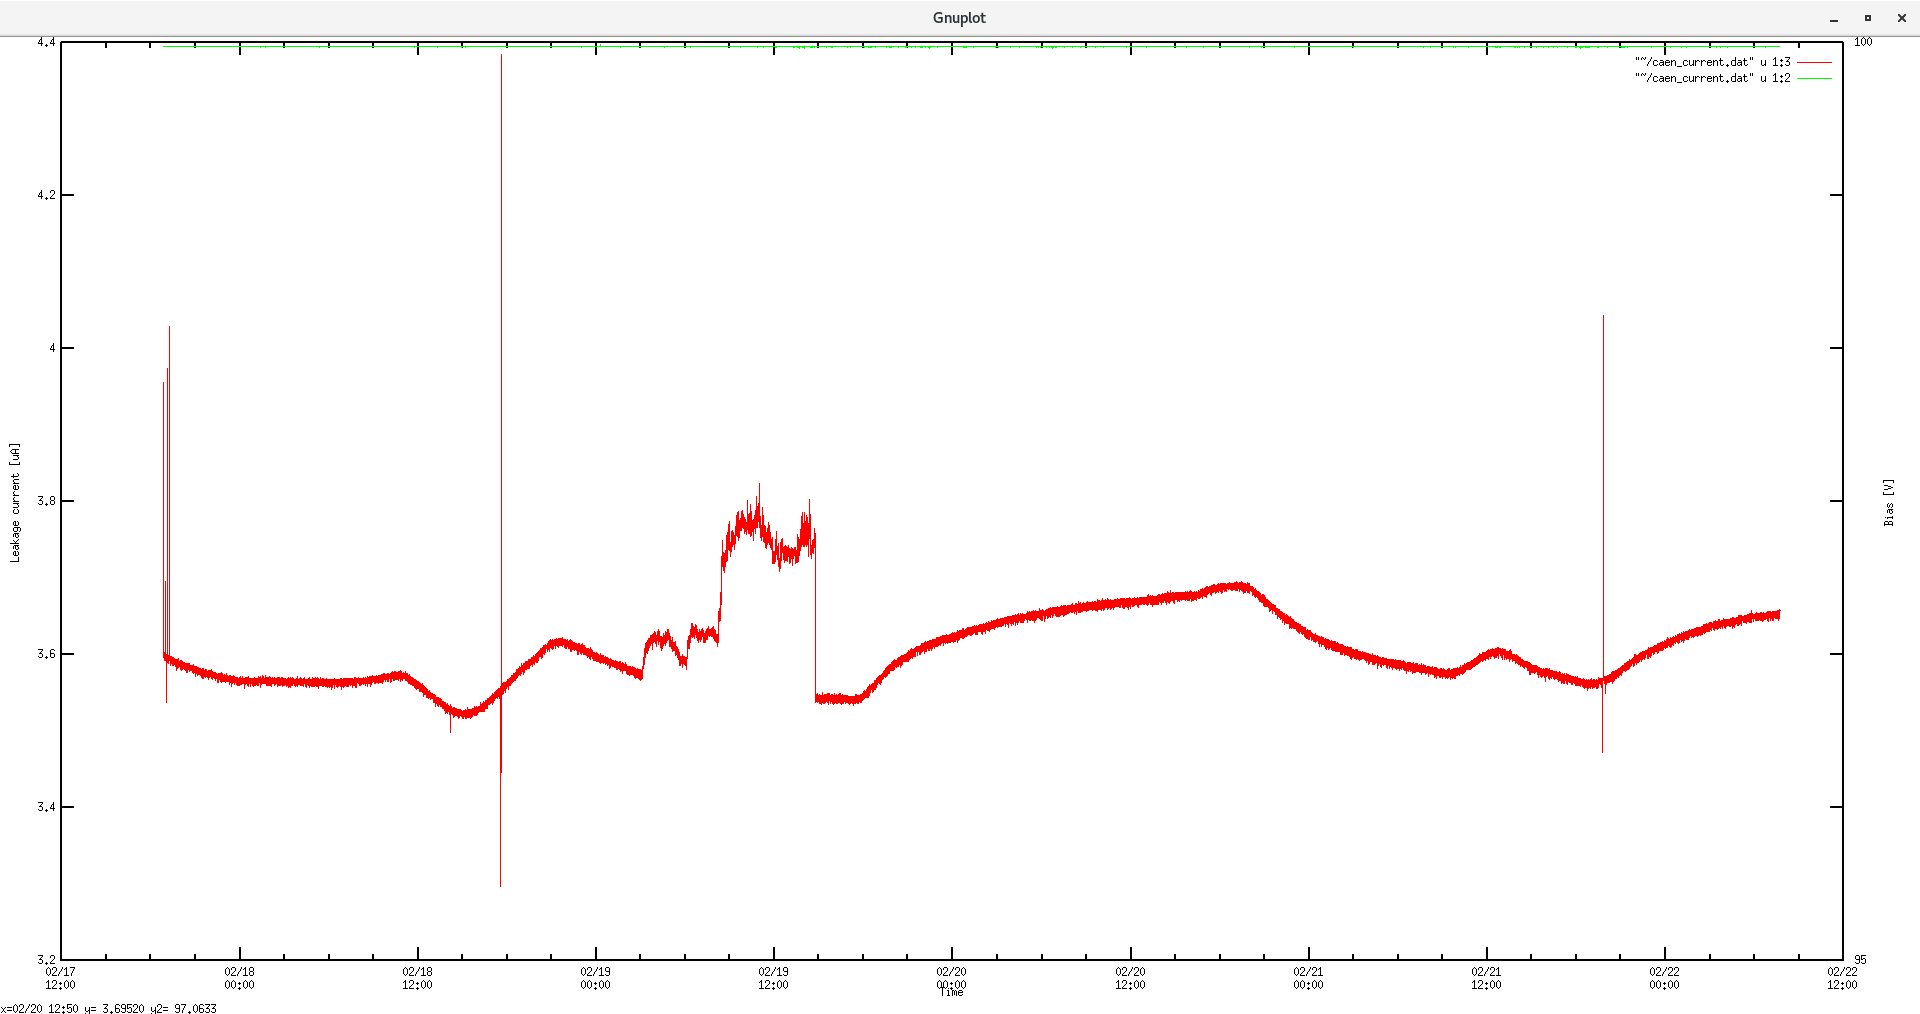
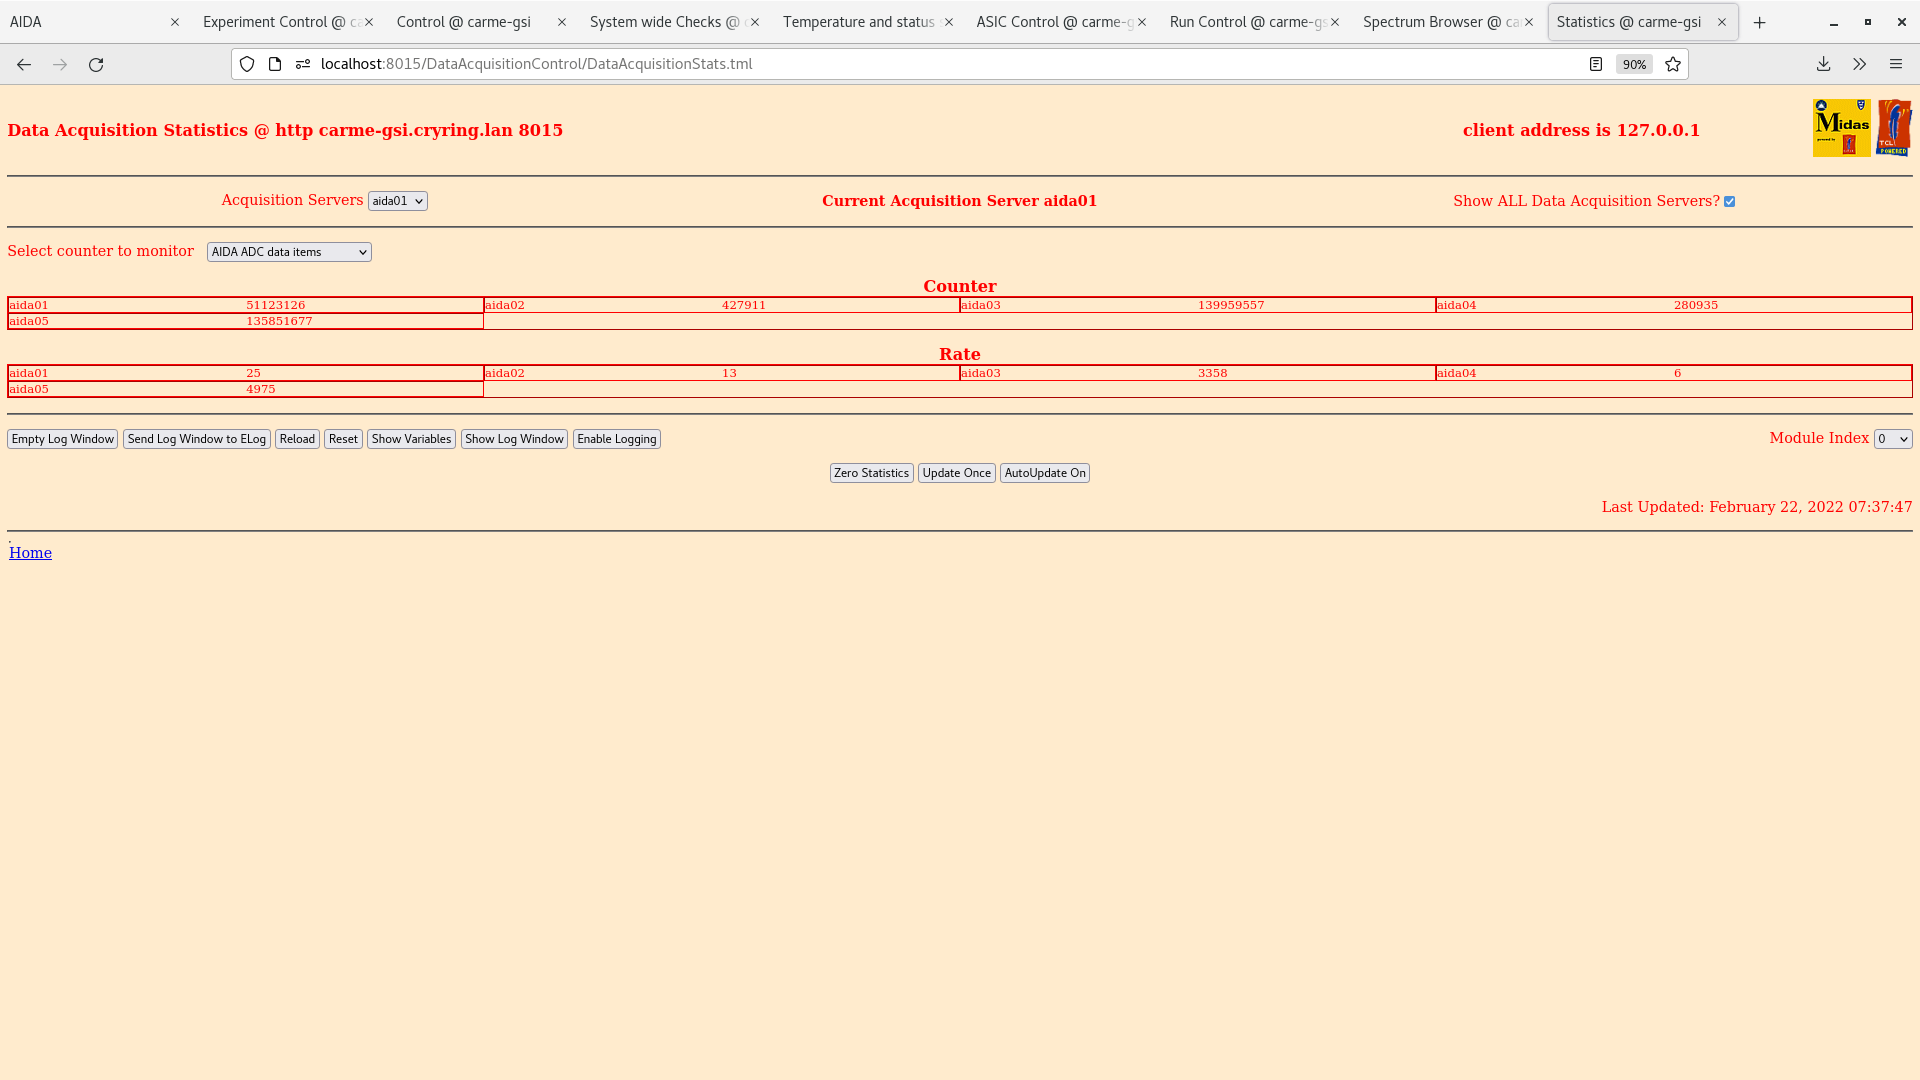
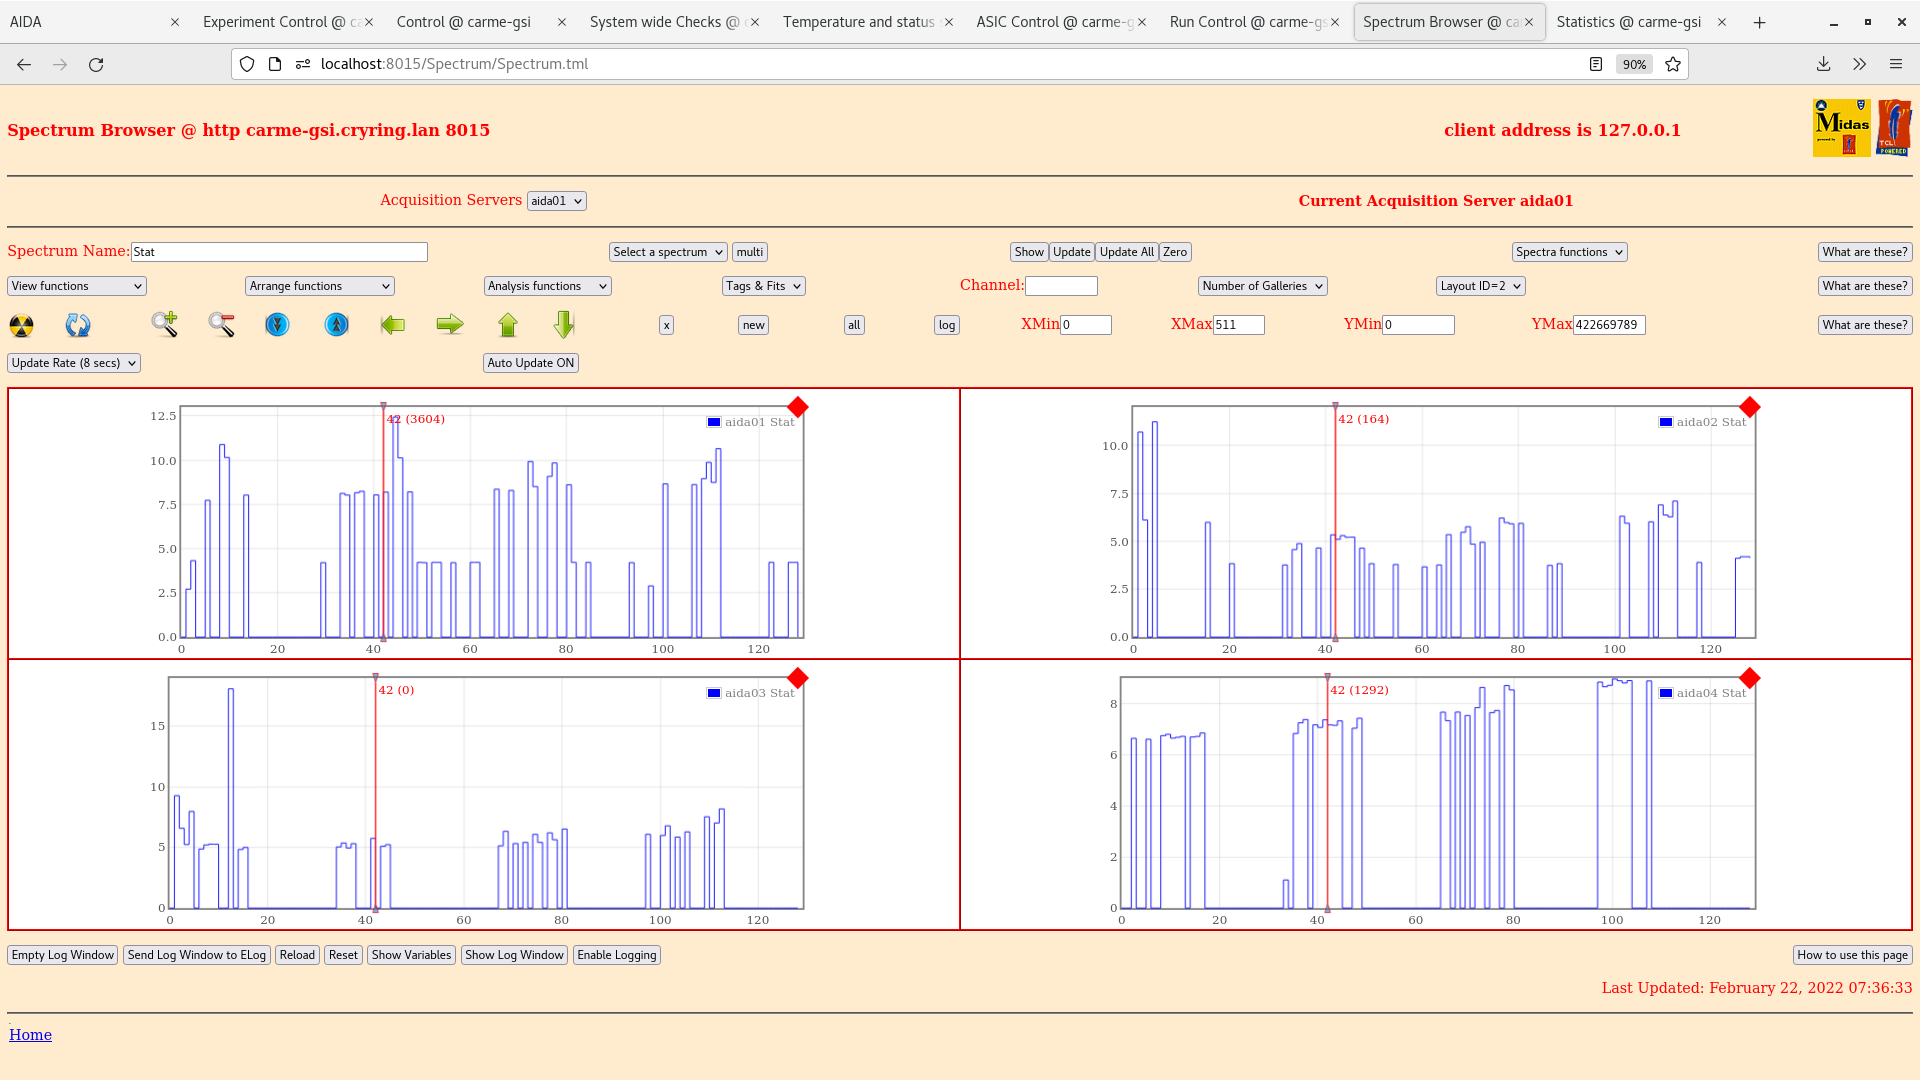
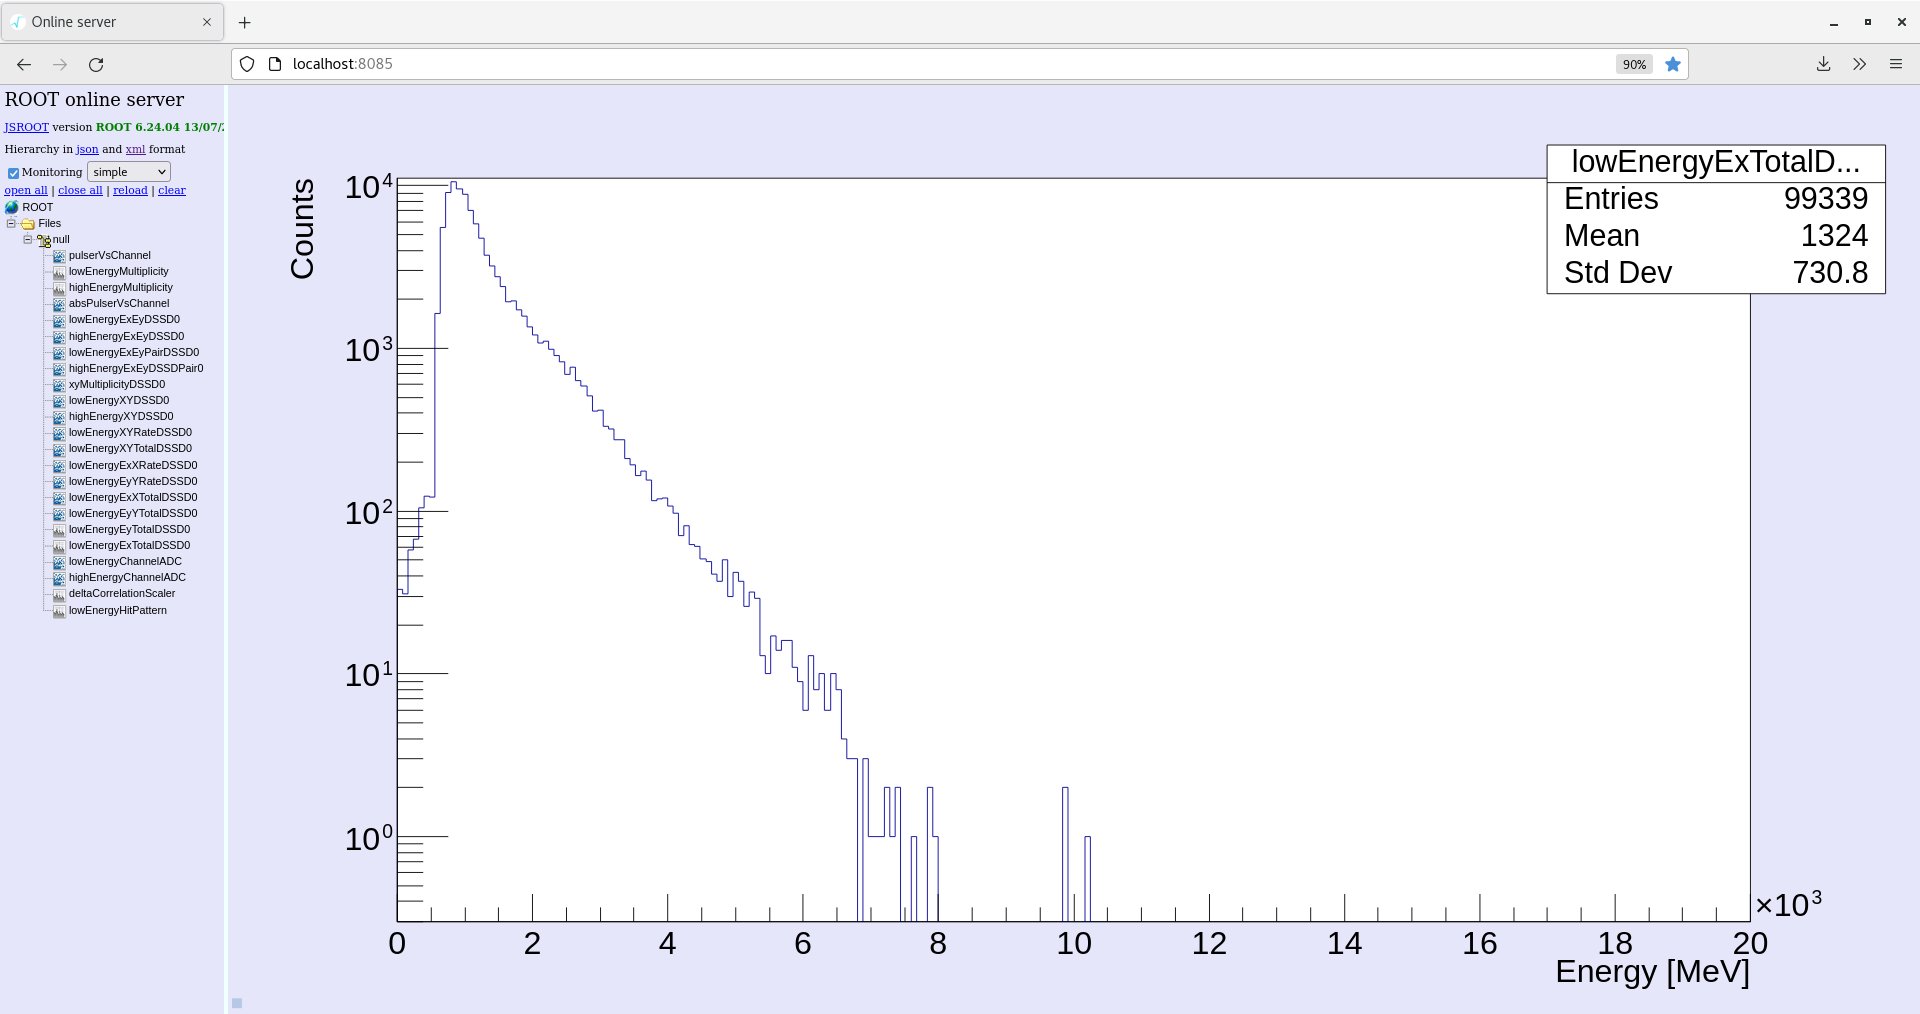
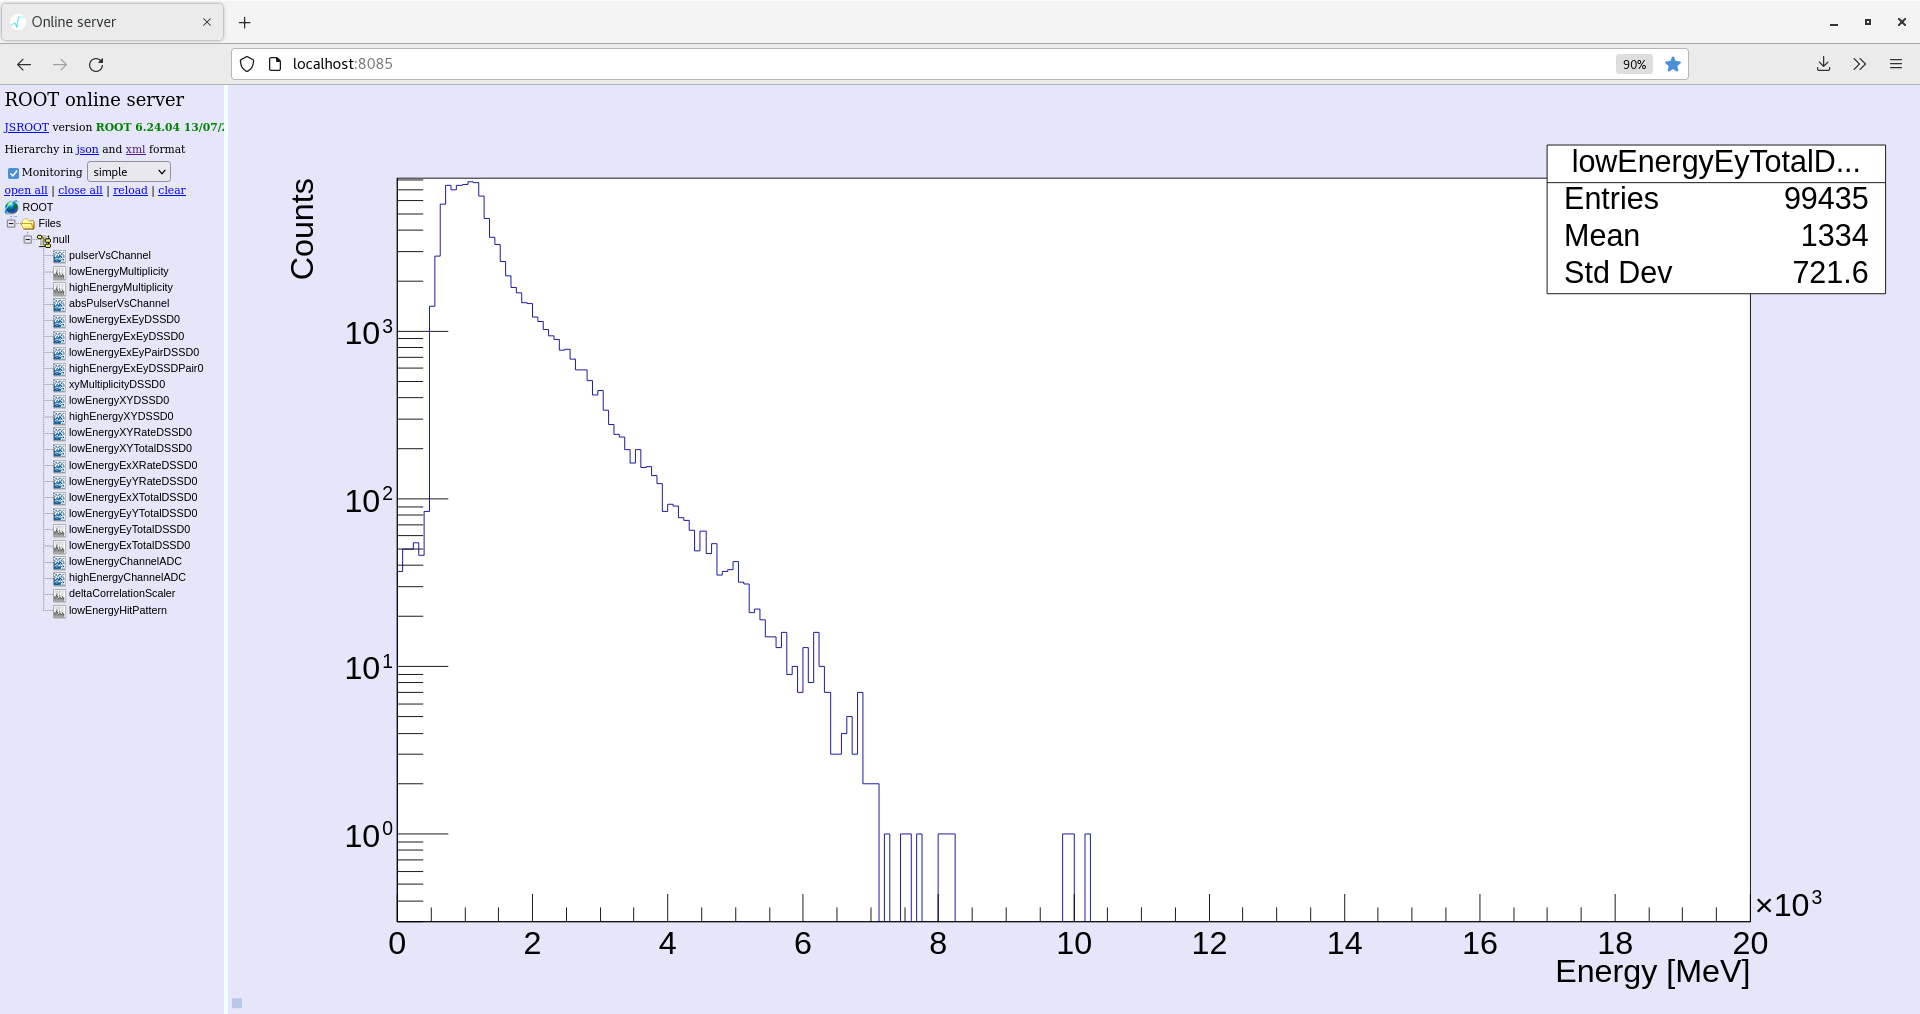
RSS, OF | Beam ON, Target ON Run 54 |
07:30
Beam ON ~8.0E6 pps
Target ON and open to the ring
YR09xxx ETarget ~1.9e-10 (saturated)
Target E4 inlet pressure ~8.8E-9 mbar
Dump S3 ~ 6.8E-10 mbar
Nozzle temperature 150 K
Run 54 started, monitoring code restarted.
08:00 The beam is electron cooled by FH and the orbit of the beam is slighty changed. |
| Attachment 1: temp-2022-02-22_07-36-13.png
|

|
| Attachment 2: merger-2022-02-22_07-38-15.png
|
|
| Attachment 3: leakage-2022-02-22_07-38-32.png
|
|
| Attachment 4: adc-data-2022-02-22_07-37-51.png
|
|
| Attachment 5: spectrum-2022-02-22_07-36-41.png
|
|
| Attachment 6: ex-energy-2022-02-22_07-39-00.png
|
|
| Attachment 7: ey-energy-2022-02-22_07-39-20.png
|
|
| Attachment 8: xy-energy-2022-02-22_07-40-26.png
|

|
| Attachment 9: correlation-2022-02-22_07-37-00.png
|

|
| Attachment 10: good-events-2022-02-22_07-37-21.png
|

|
|
|
228
|
Tue Feb 22 05:47:18 2022 |
JM, CB, LV, PM, AK | Beam ON, Target ON Run 54 - 2 events at 10MeV! |
06:47
Beam ON ~2.0E6 pps, still fluctates between 1e6 and 6e6 (like a step function)
Target ON and open to the ring
YR09xxx ETarget ~1.8e-10 (saturated)
Target E4 inlet pressure 8.0E-9 mbar
Dump S3 ~ 6.6E-10 mbar
Nozzle temperature 150 K
Run 54 started, monitoring code restarted. |
| Attachment 1: Screenshot_from_2022-02-22_06-43-36.png
|

|
| Attachment 2: Screenshot_from_2022-02-22_06-43-20.png
|

|
| Attachment 3: Screenshot_from_2022-02-22_06-42-48.png
|

|
| Attachment 4: Screenshot_from_2022-02-22_06-42-27.png
|

|
| Attachment 5: Screenshot_from_2022-02-22_06-42-00.png
|

|
| Attachment 6: Screenshot_from_2022-02-22_06-46-02.png
|

|
| Attachment 7: Screenshot_from_2022-02-22_06-45-48.png
|

|
| Attachment 8: Screenshot_from_2022-02-22_06-45-30.png
|

|
| Attachment 9: Screenshot_from_2022-02-22_06-44-28.png
|

|
| Attachment 10: Screenshot_from_2022-02-22_06-43-54.png
|

|
| Attachment 11: Screenshot_from_2022-02-22_06-46-32.png
|

|
|
|
227
|
Tue Feb 22 05:12:38 2022 |
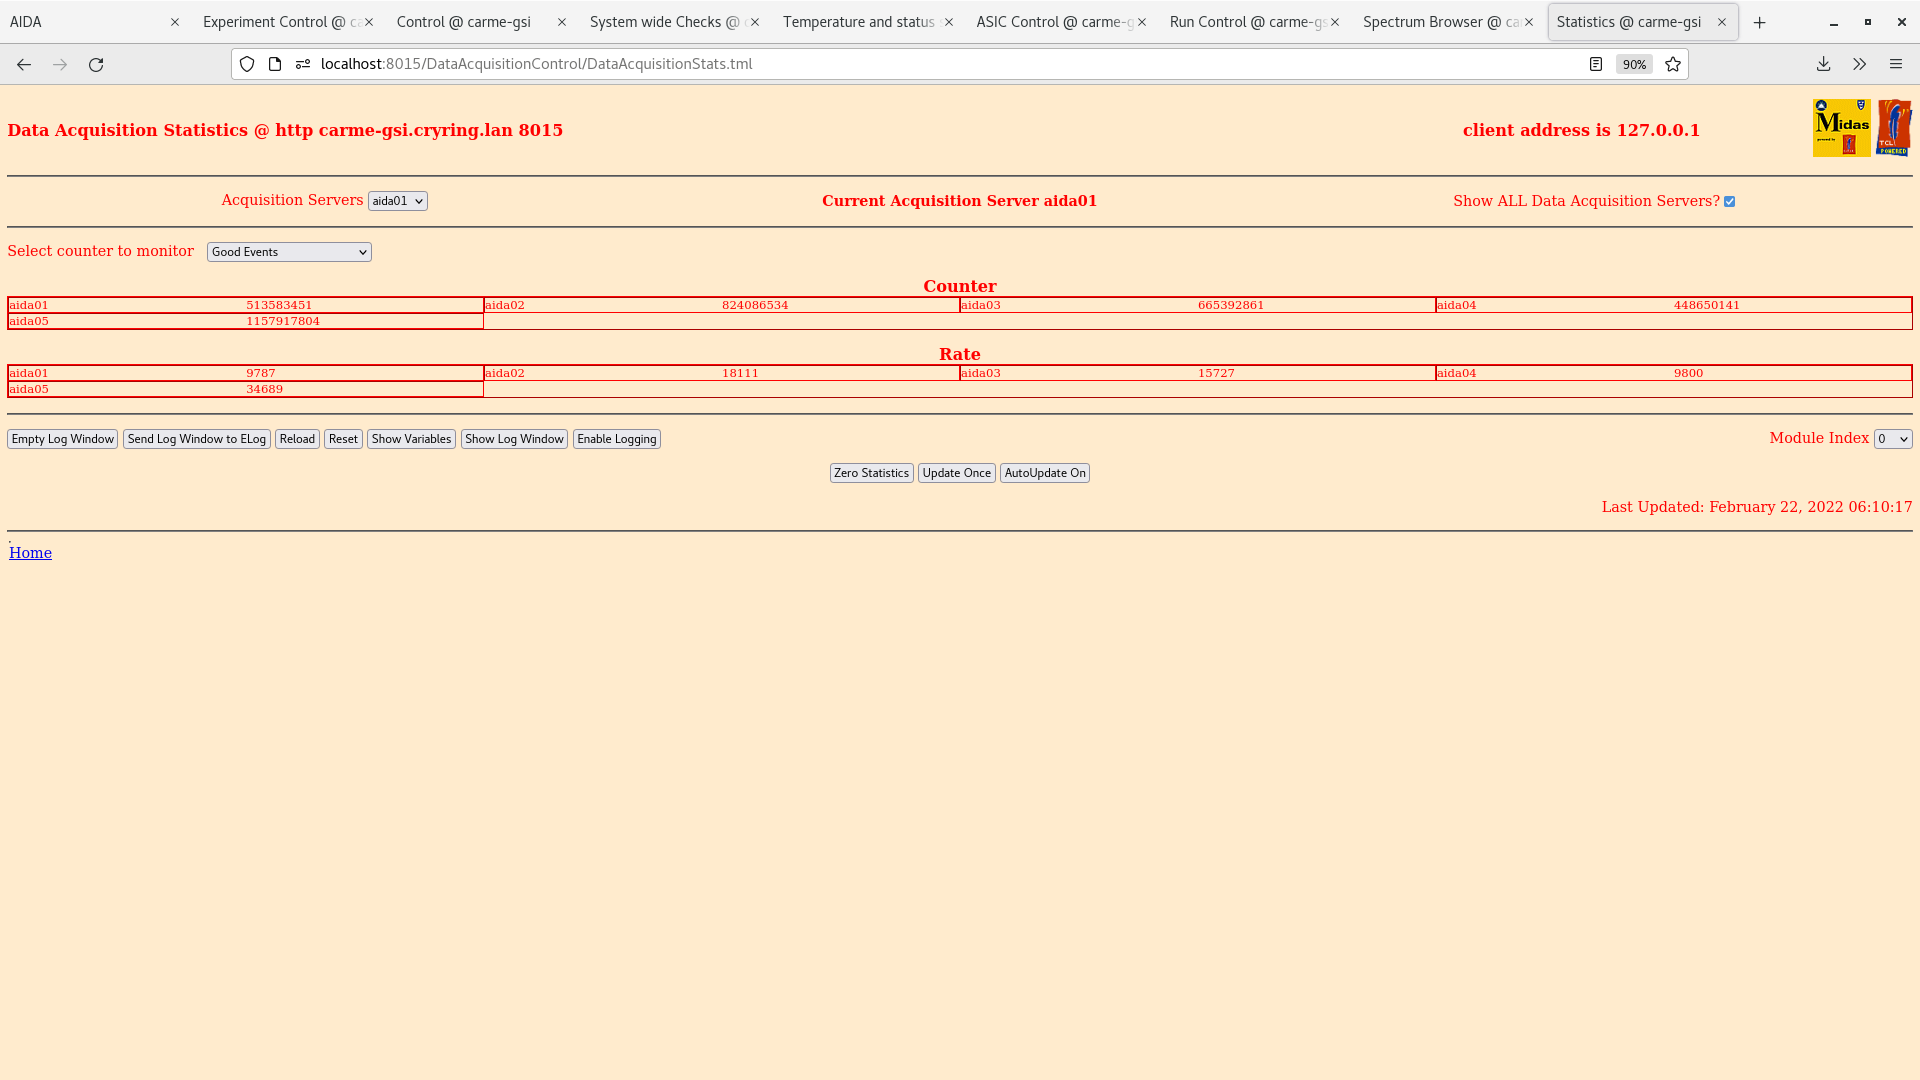
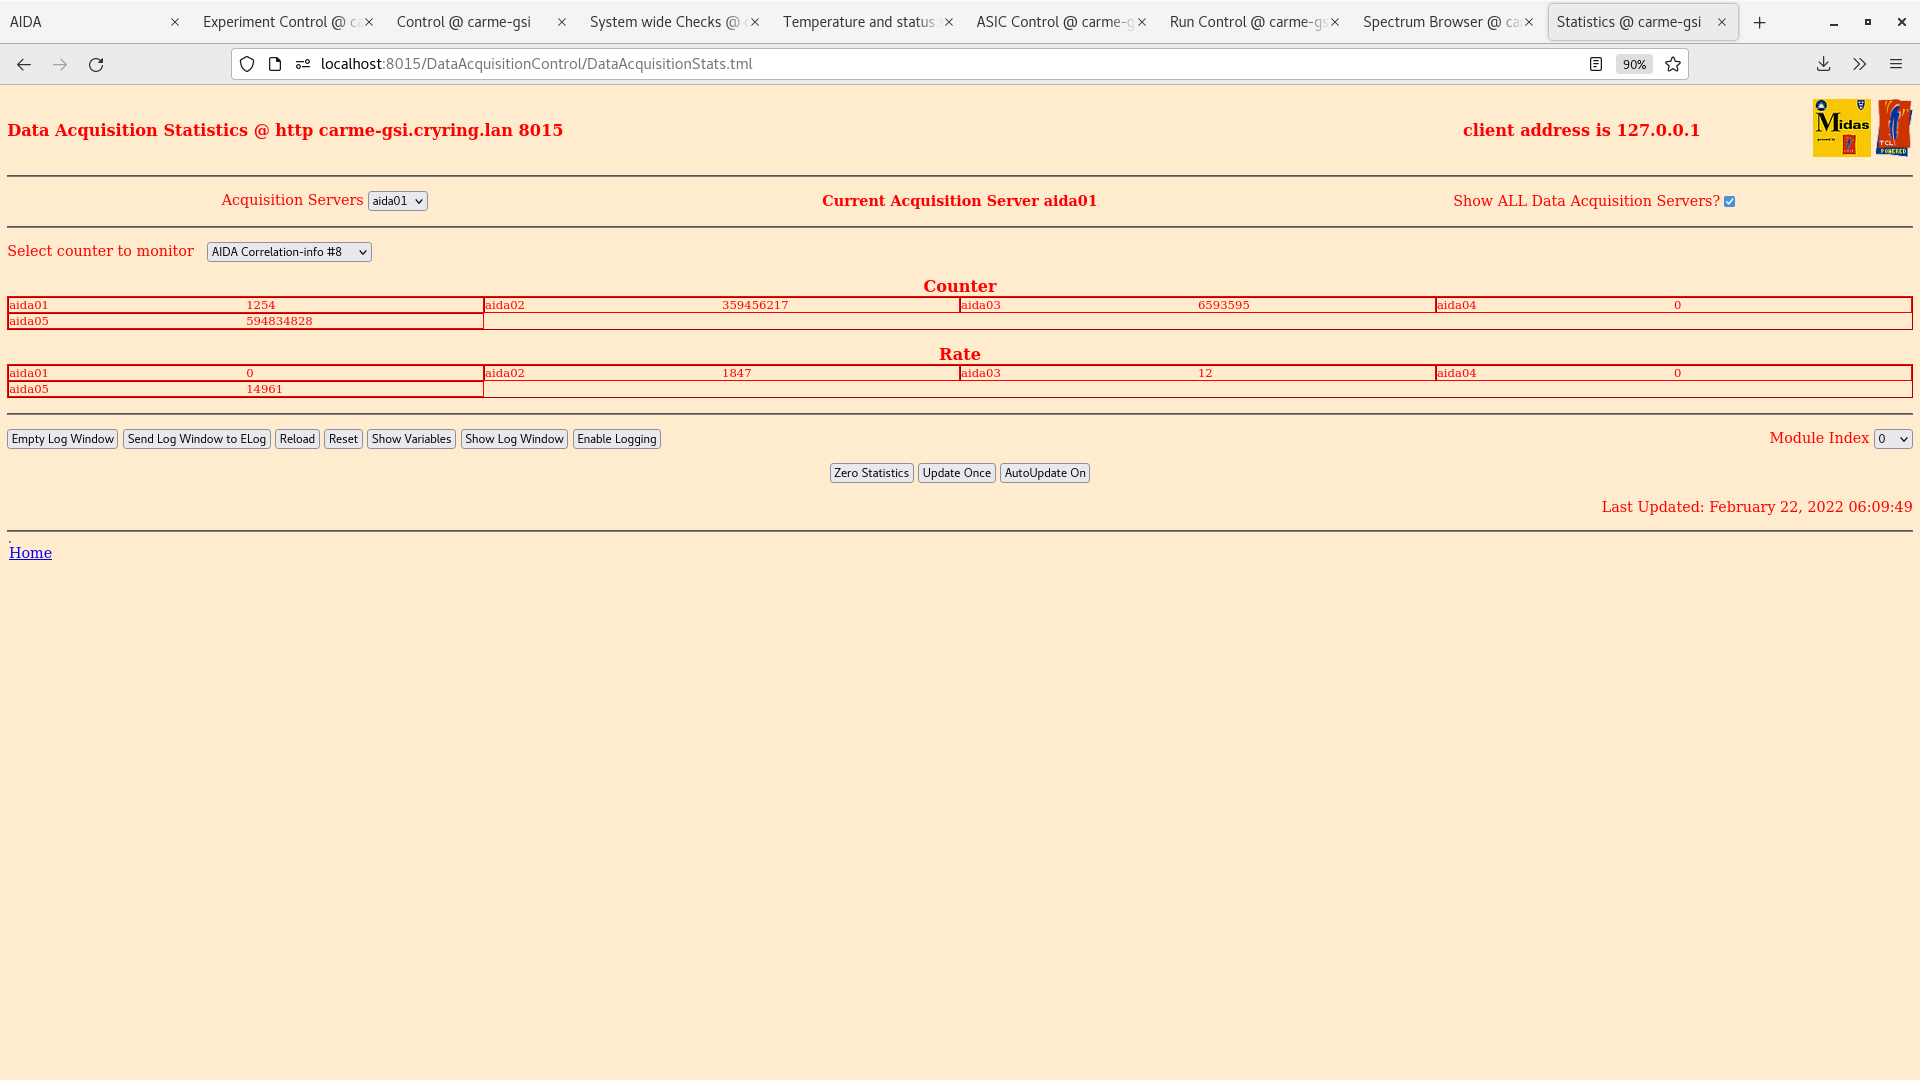
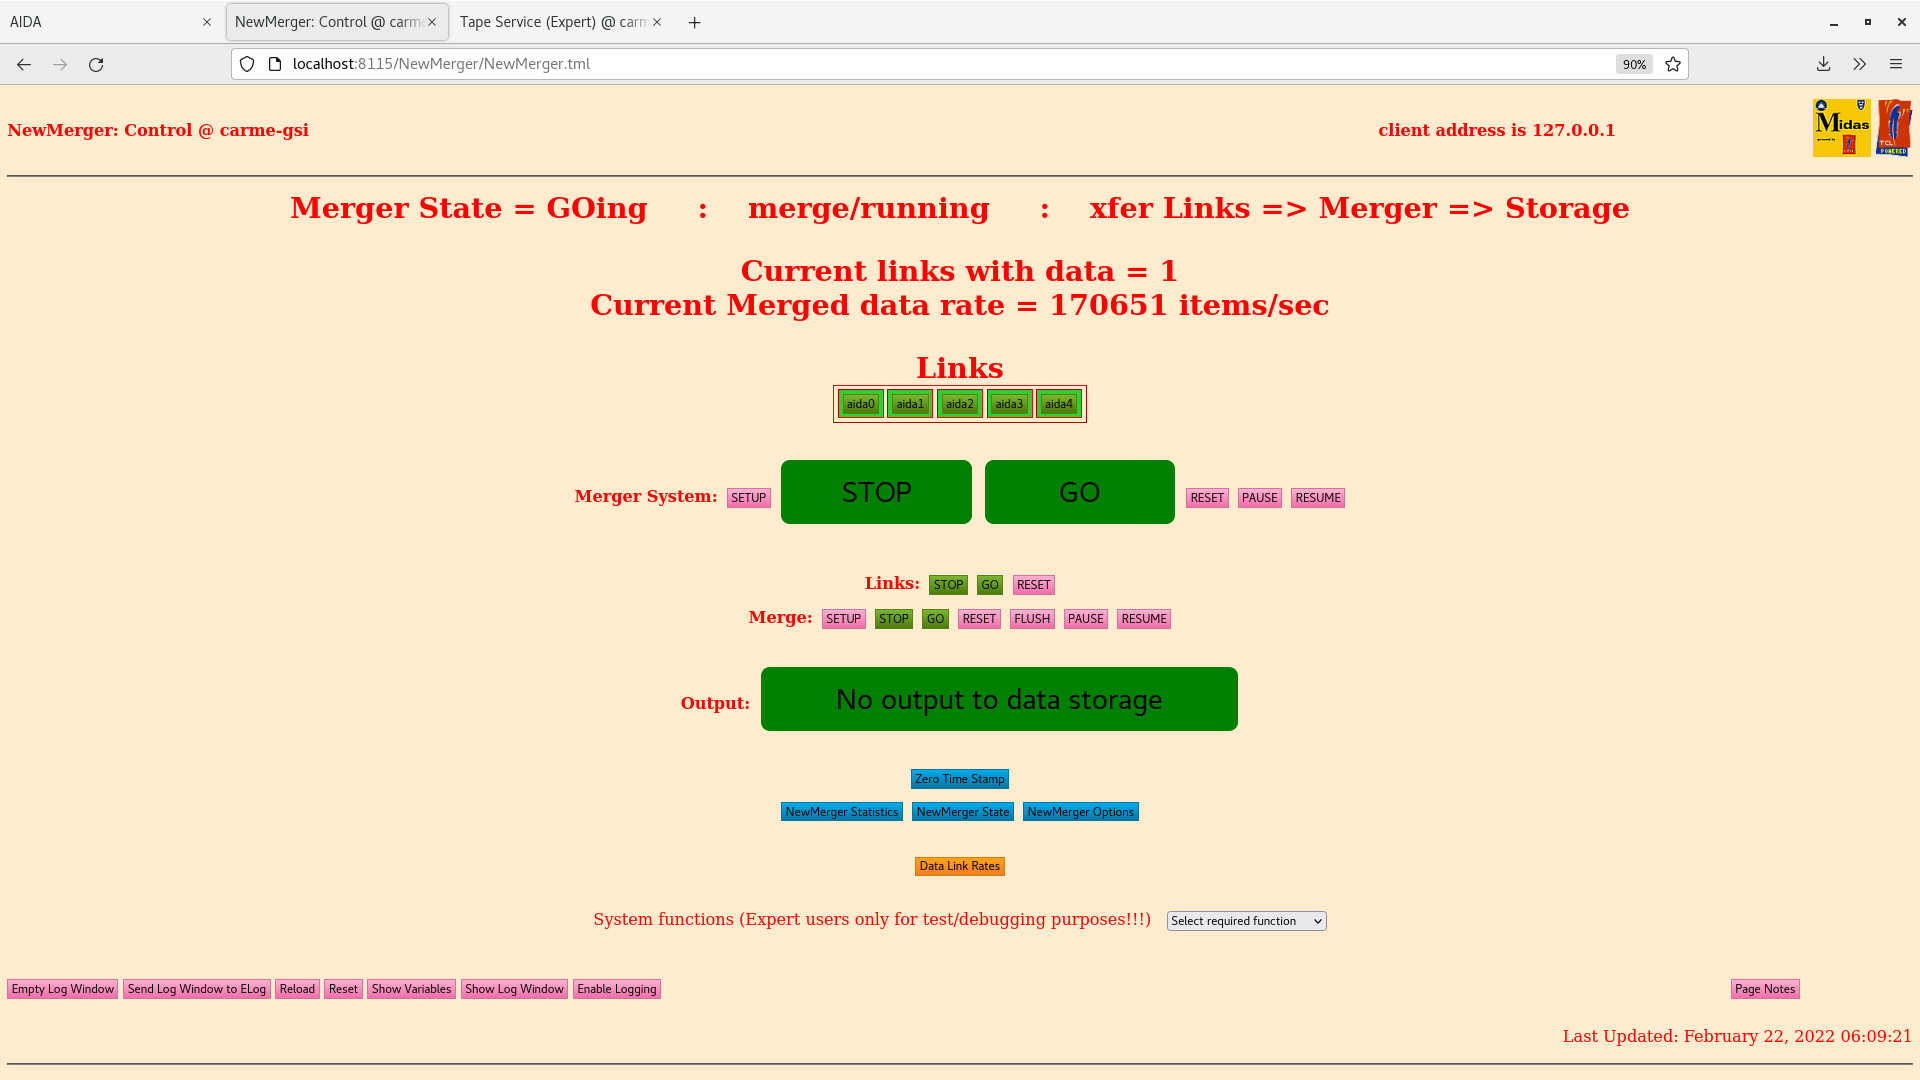
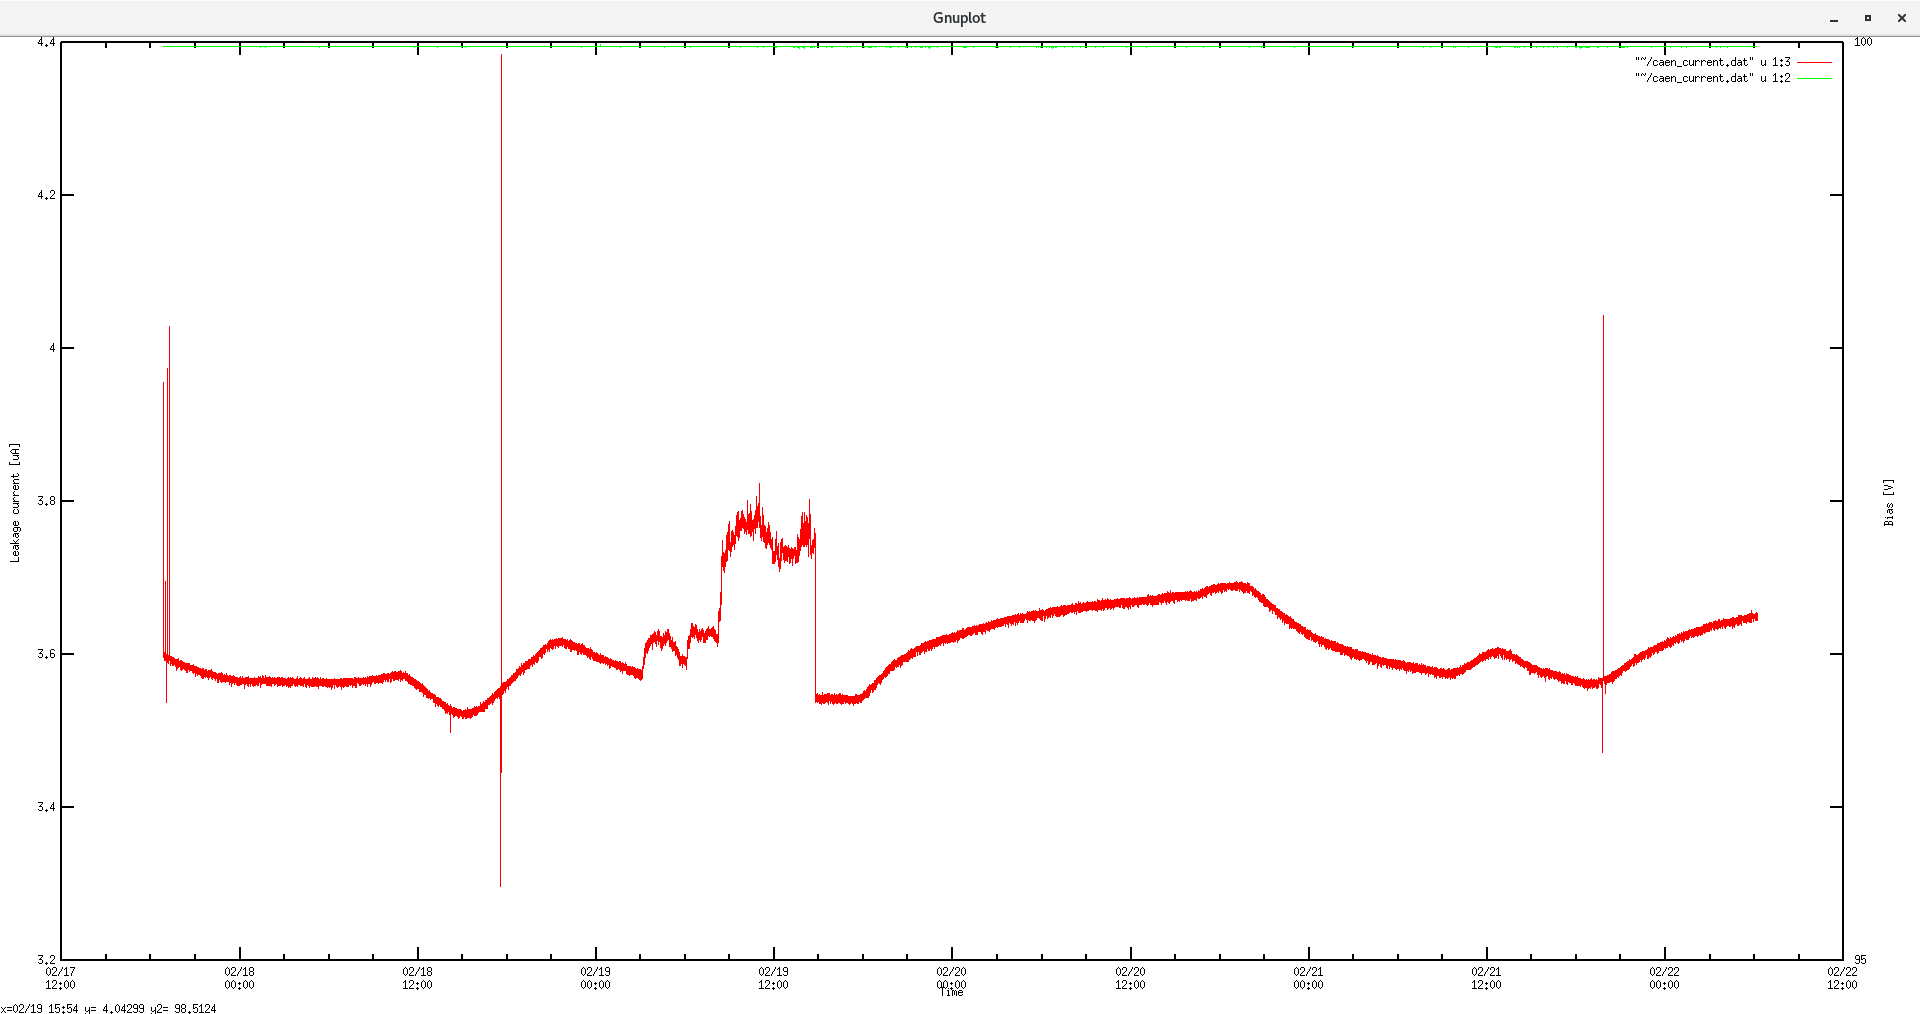
JM, CB, LV, PM, AK | Beam ON, Target ON Run 54 |
06:00
Beam ON ~1.5E6 pps, still fluctates between 1e6 and 6e6 (like a step function)
Target ON and open to the ring
YR09xxx ETarget ~1.8e-10
Target E4 inlet pressure 8.2E-9 mbar
Dump S3 ~ 6.5E-10 mbar
Nozzle temperature 150 K
Run 54 started, monitoring code restarted. |
| Attachment 1: Screenshot_from_2022-02-22_06-11-18.png
|

|
| Attachment 2: Screenshot_from_2022-02-22_06-10-59.png
|

|
| Attachment 3: Screenshot_from_2022-02-22_06-10-22.png
|
|
| Attachment 4: Screenshot_from_2022-02-22_06-10-09.png
|

|
| Attachment 5: Screenshot_from_2022-02-22_06-09-54.png
|
|
| Attachment 6: Screenshot_from_2022-02-22_06-09-31.png
|
|
| Attachment 7: Screenshot_from_2022-02-22_06-09-12.png
|

|
| Attachment 8: Screenshot_from_2022-02-22_06-08-58.png
|
|
| Attachment 9: Screenshot_from_2022-02-22_06-08-22.png
|
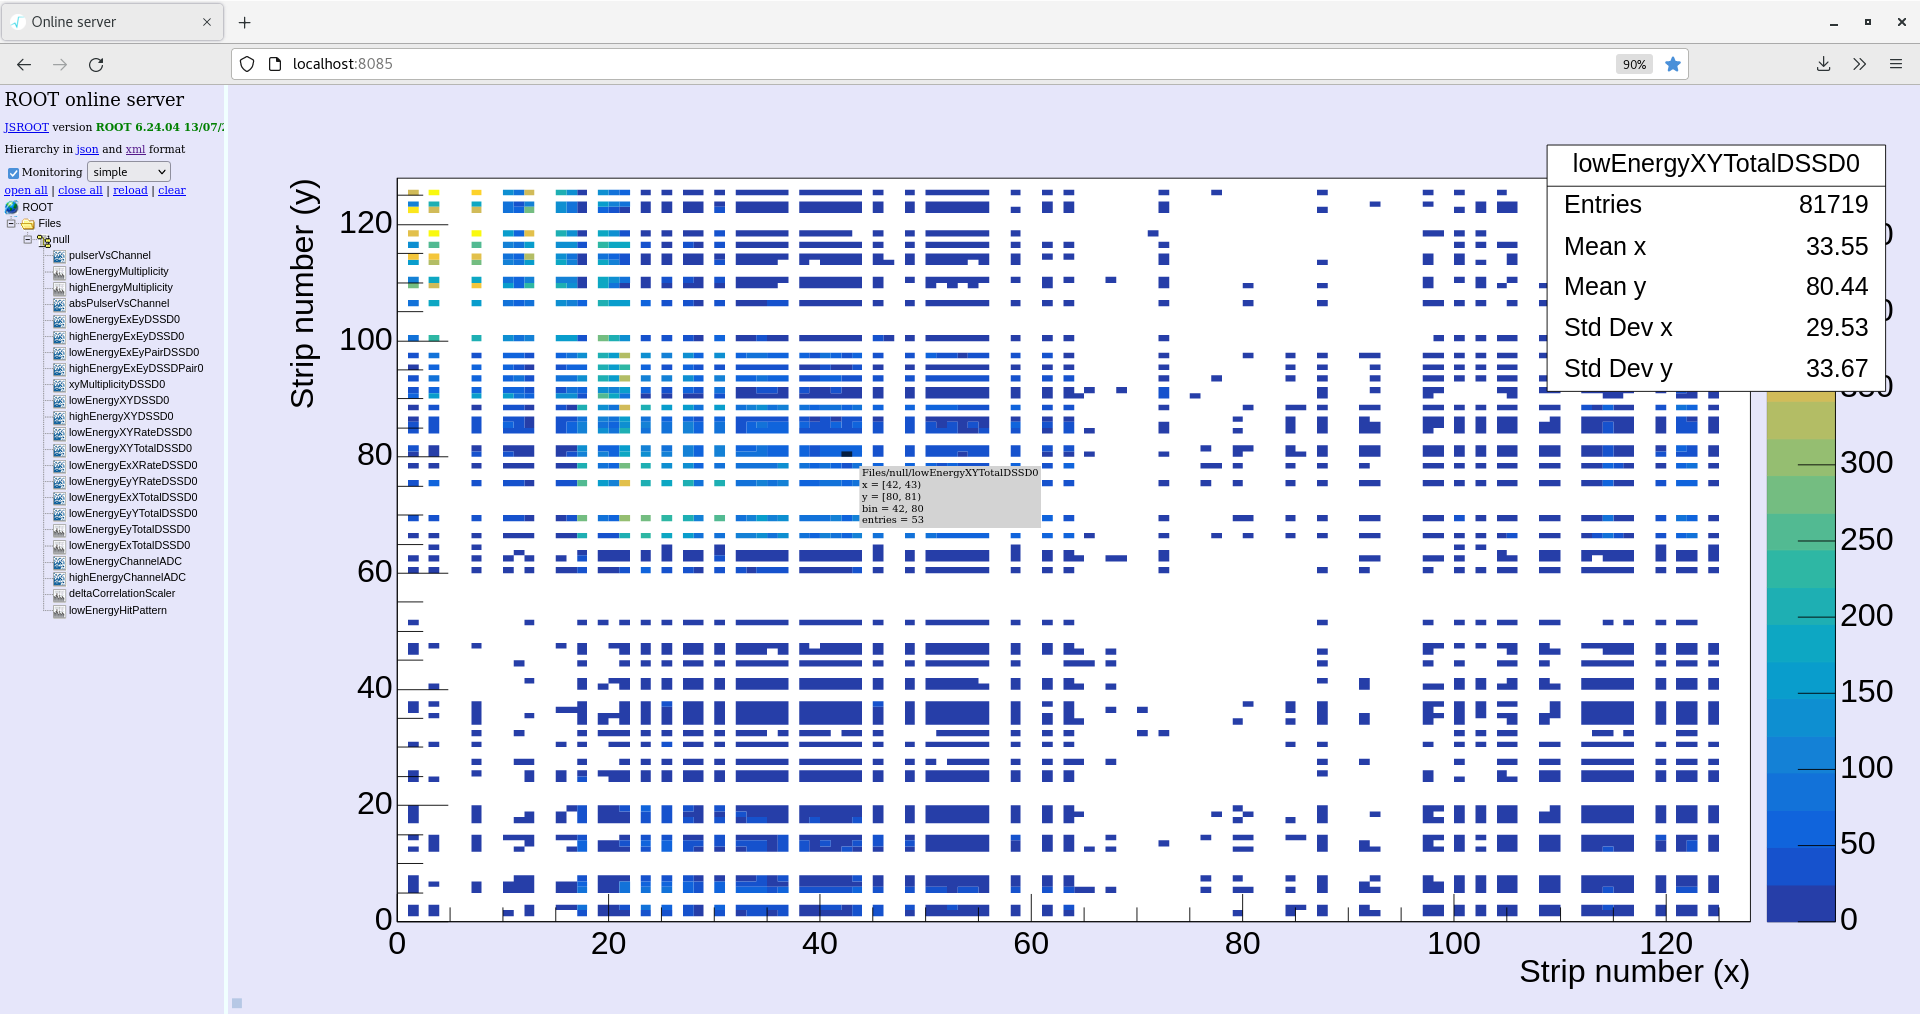
|
| Attachment 10: Screenshot_from_2022-02-22_06-07-57.png
|
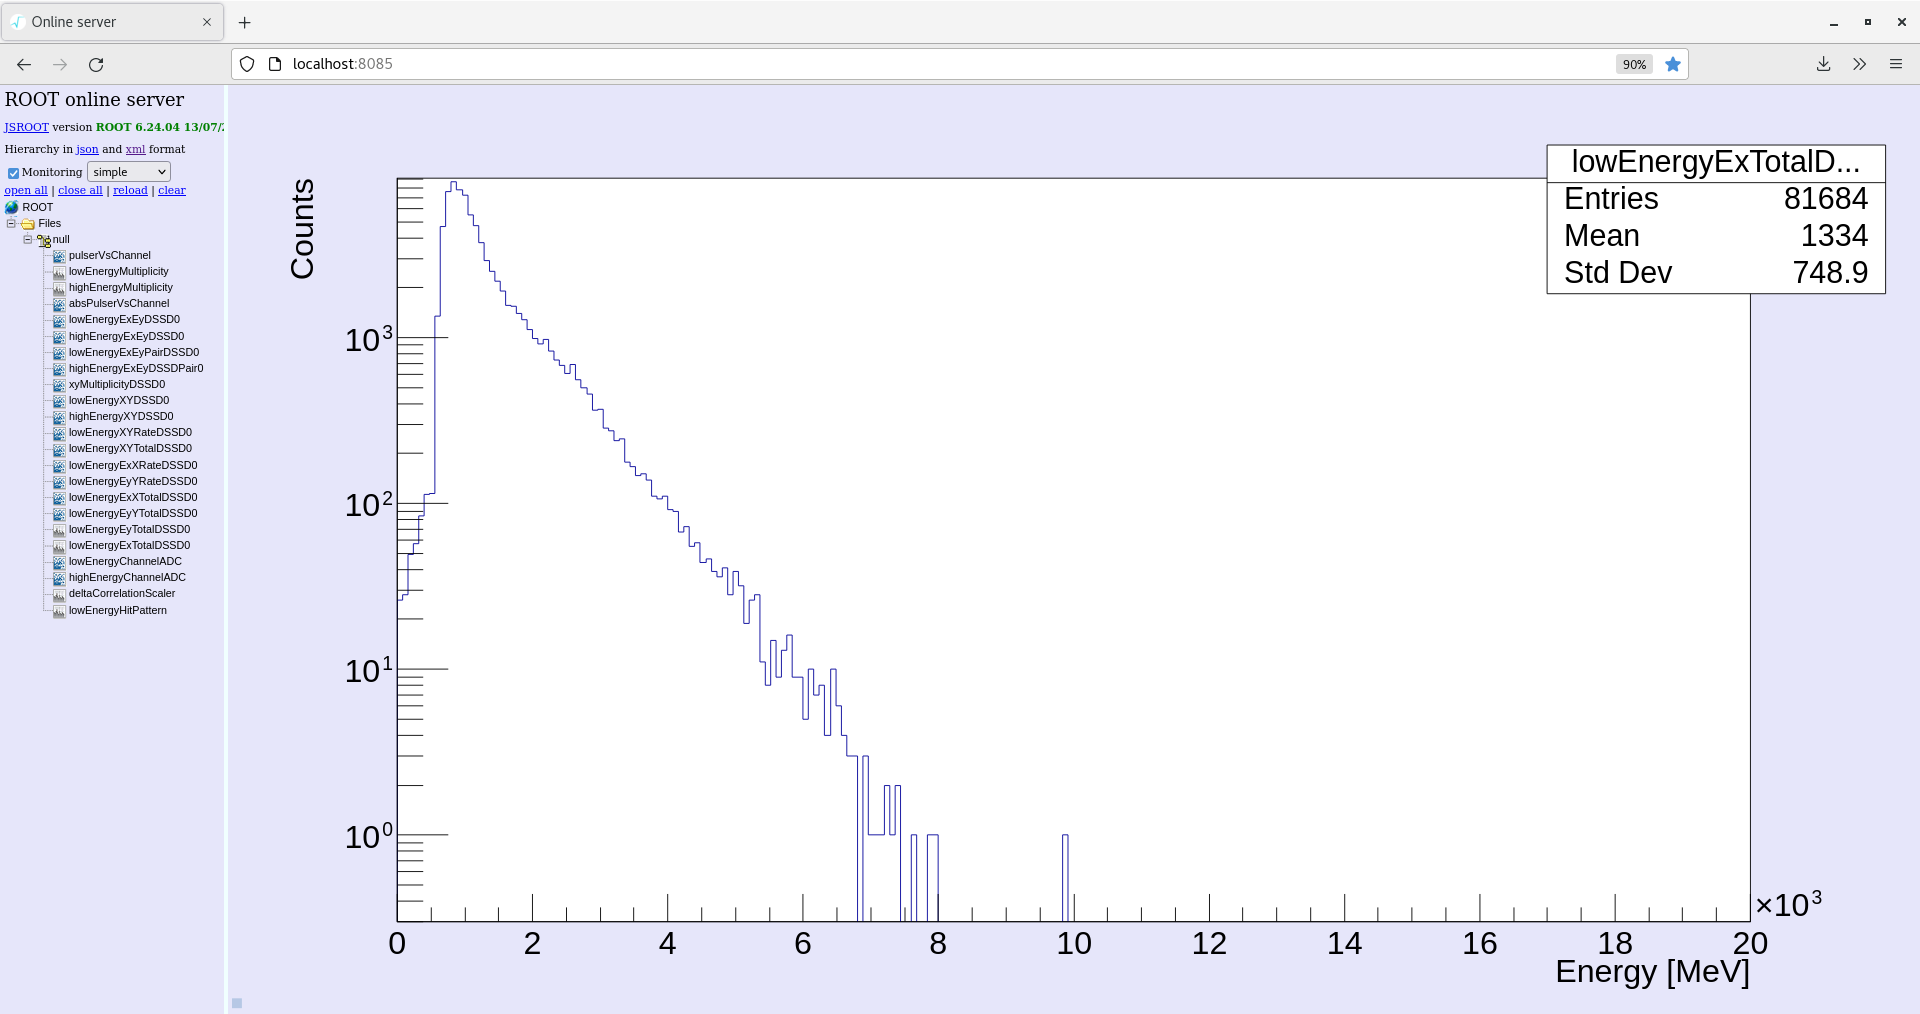
|
| Attachment 11: Screenshot_from_2022-02-22_06-07-46.png
|

|